RS Production Screens user guide
Screens is the tool to create and maintain your own visual report pages.
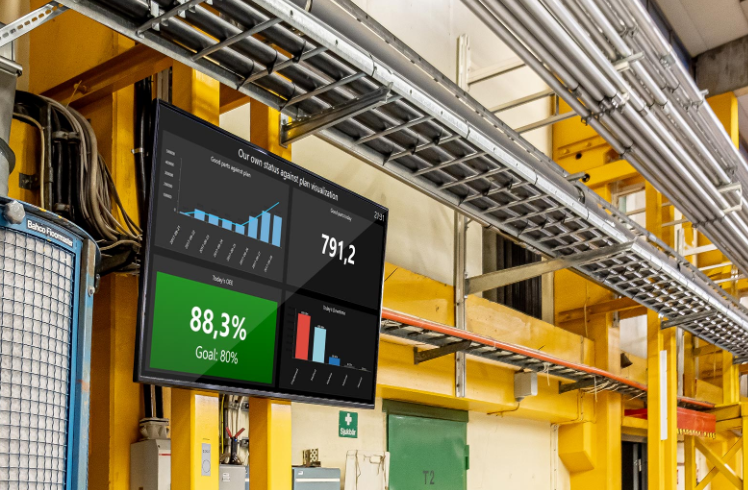
The pages you create with Screens can be shown within different parts of RS Production, not only for TV-screens (Info Screens)
Show a Screen as a page in Operator tools
Show a Screen as an Office tools report
Create your first Screen
![]() Don’t forget to click Save in the bottom left corner when you are done editing your Screens page, otherwise all your settings and work will get lost.
Don’t forget to click Save in the bottom left corner when you are done editing your Screens page, otherwise all your settings and work will get lost.
In the Office tools menu, go to System administration and then click Screens.
First time you get there, you will meet this page below.
Click the button Create your first to go on.
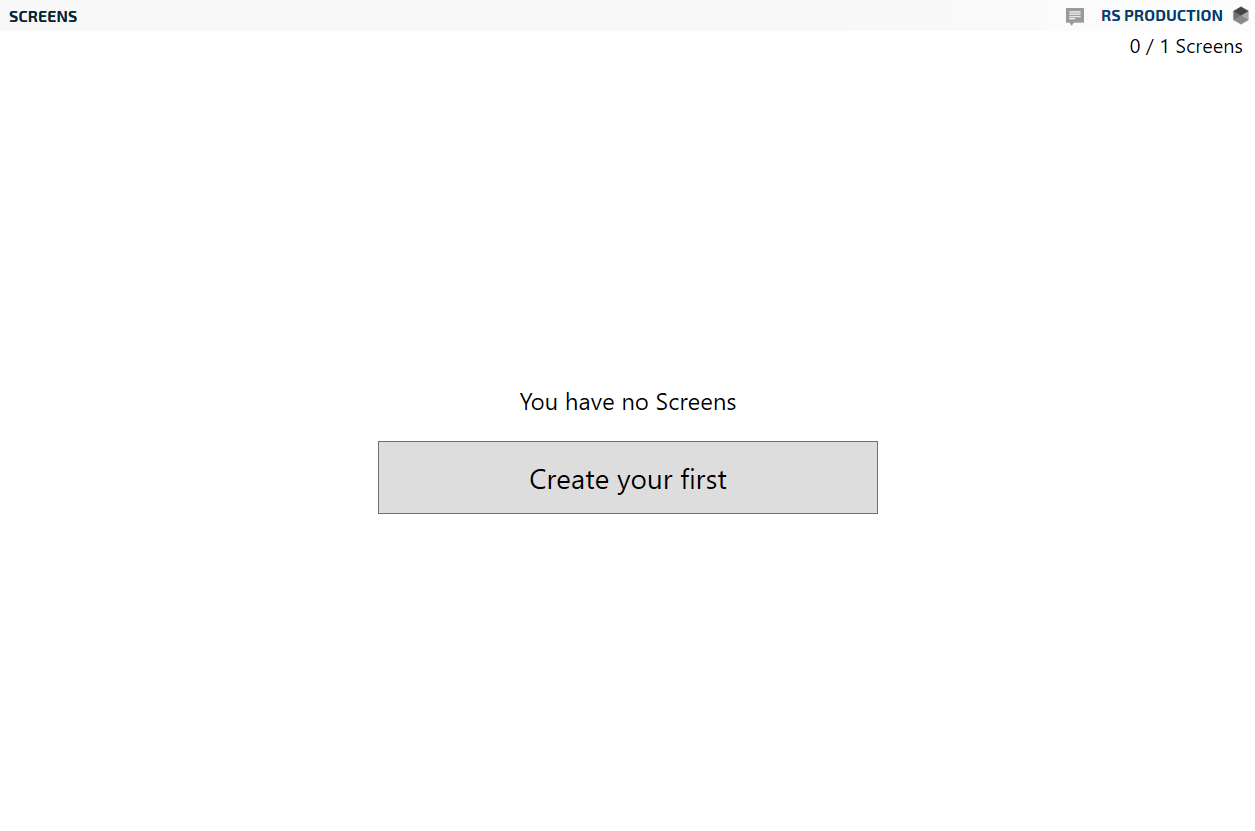
![]() In the top right corner, you see how many Screens licenses you have left and how many you have in total.
In the top right corner, you see how many Screens licenses you have left and how many you have in total.
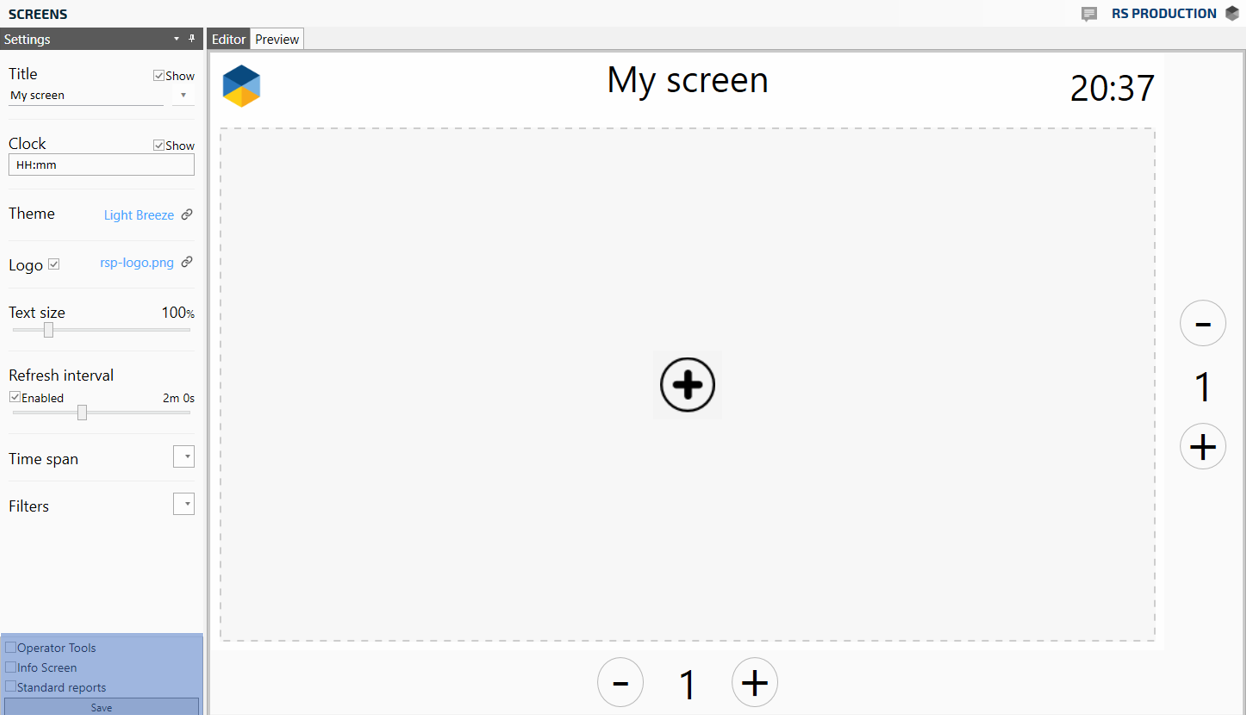
Overview of the editor
The Screens editor is devided into two areas. Settings to the left
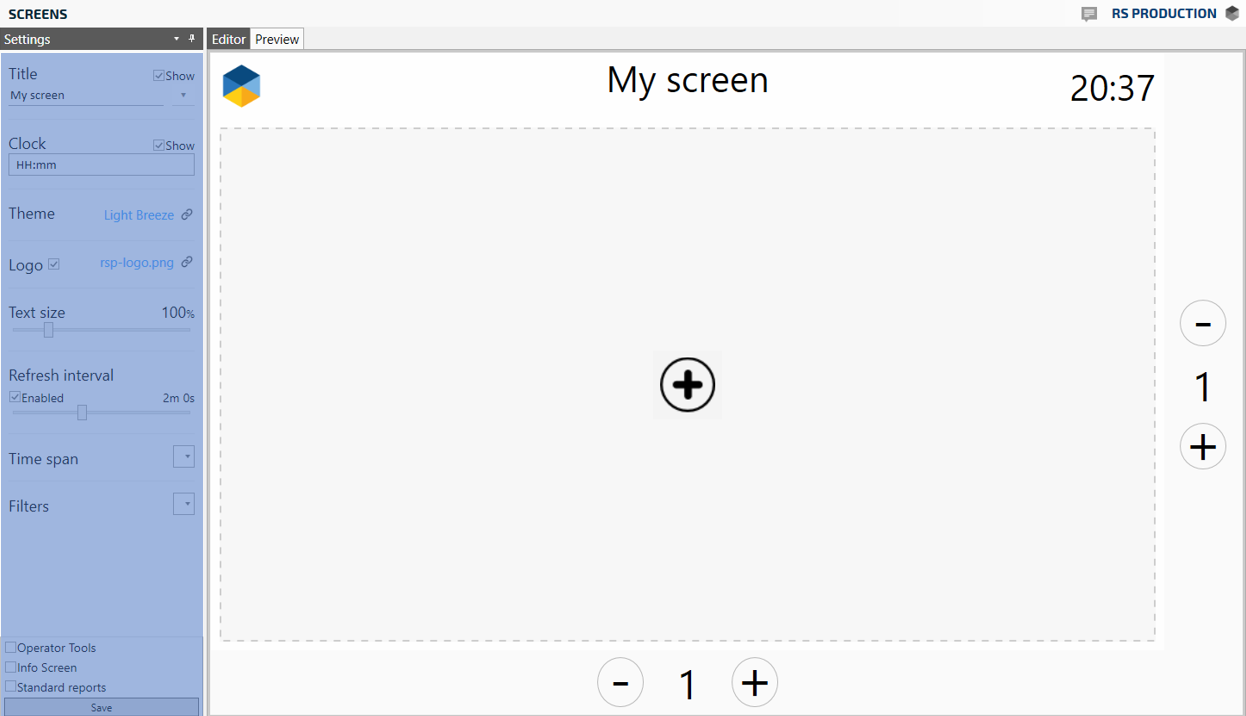
Editor/Preview to the right
Create your own page layout
A Screens page is made up of cells. Each cell can show one Screens component. Go here to read more about Overview of screens components
Start by adding the number of cells you want to have. Use the [+] and [-] buttons to add/remove cells.
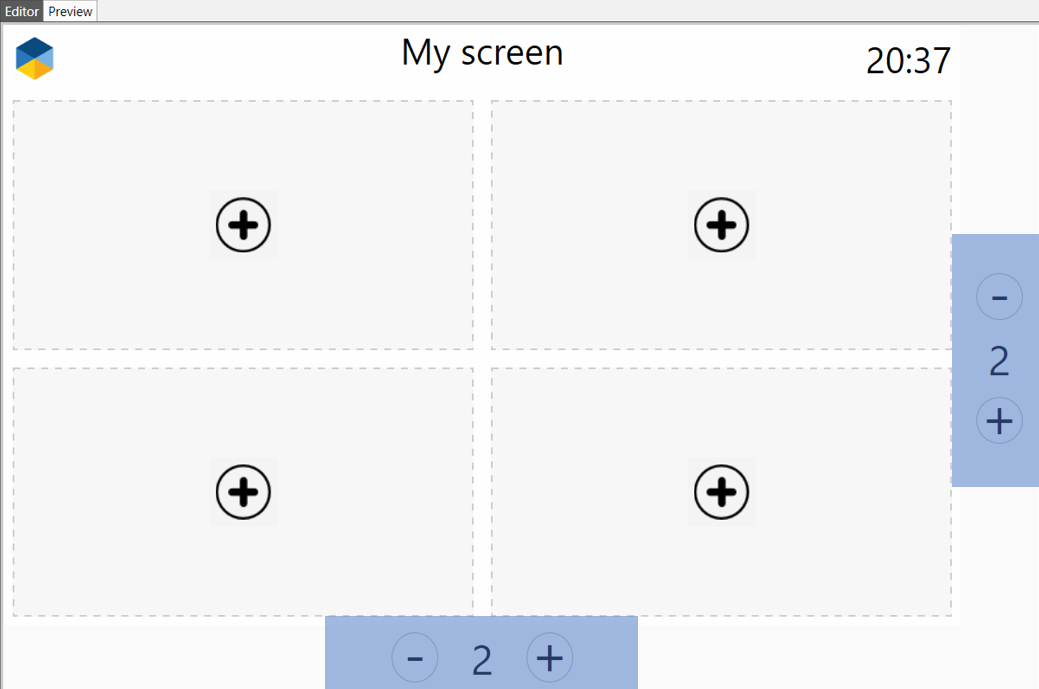
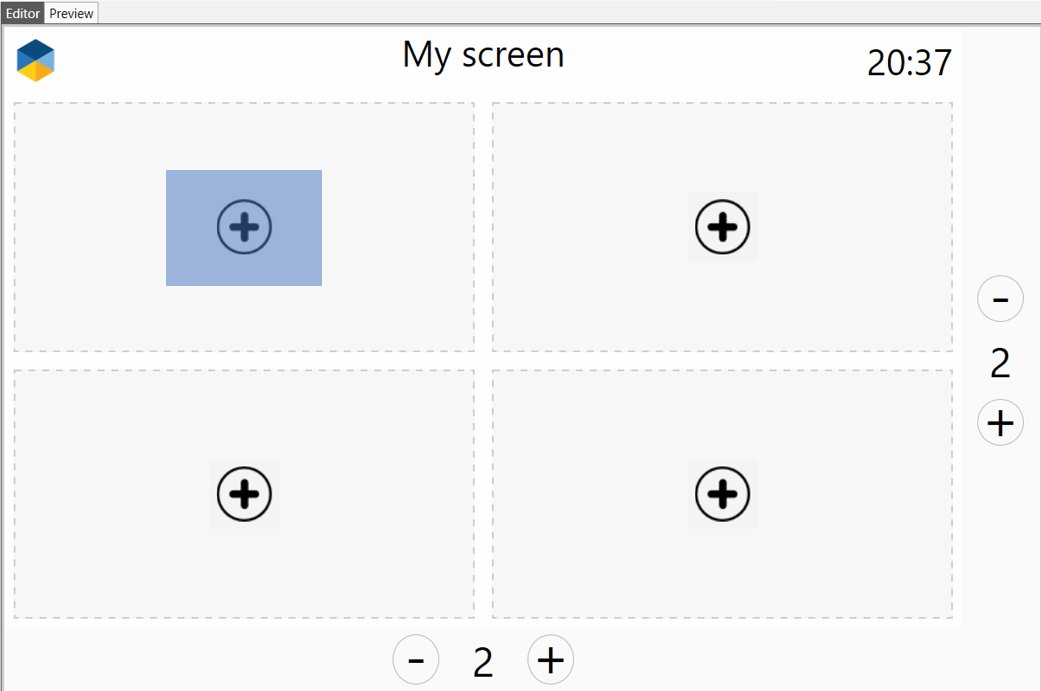
Click the [+] button in any of the cells to select a Screens component for that cell.
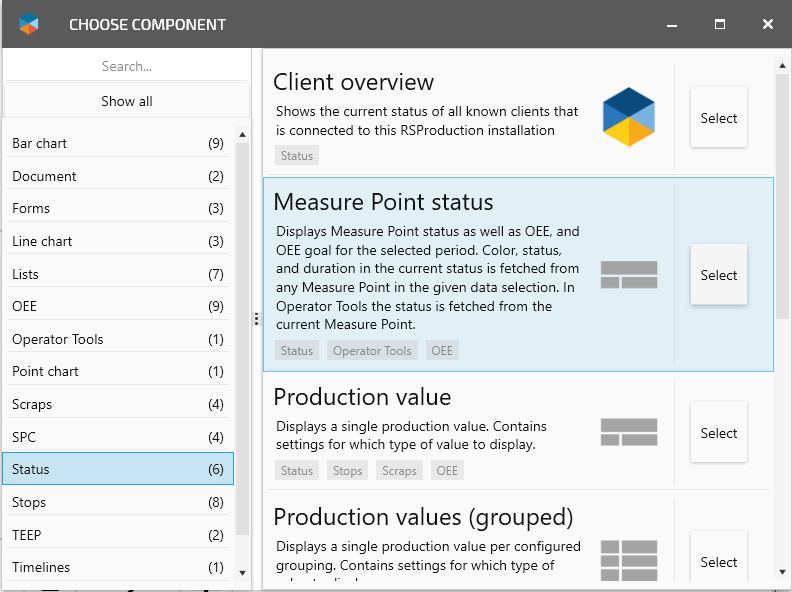
In the popup that shows, select the Screens component you want to include for that cell. In this example case, “Measure point status”
When you have selected the Screens component you want to use, an instance of it will be created and assigned to the cell you selected earlier.
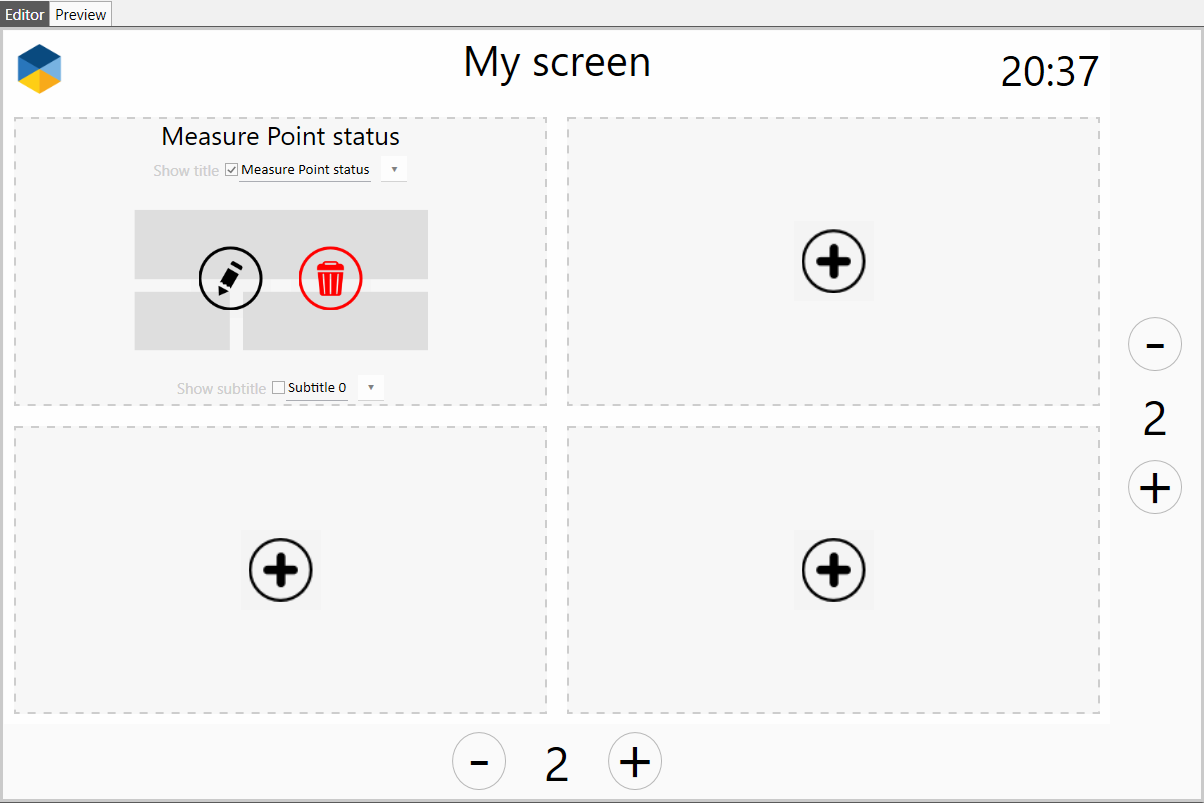
Basic settings on your newly created Screens component
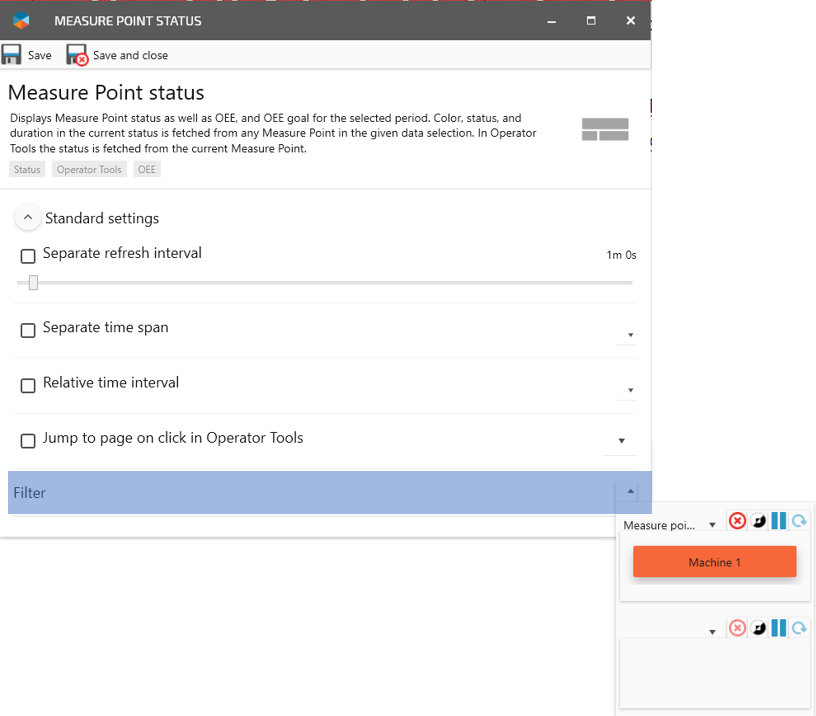
When a Screens component is selected for a cell, the editor card for this specific Screens component will pop up. All Screens components have the same standard settings. Some Screens components also have additional settings.
![]() Note that you can create a very well working Screens page with only very basic settings. The example below is based on this type of basic settings.
Note that you can create a very well working Screens page with only very basic settings. The example below is based on this type of basic settings.
Connect a measure point
To connect the Screens component to a measure point,
Click the dropdown menu arrow on the right side of the Filter row.
In the new small popup at the bottom right, select Measure point in the list of data types (Article, Article run, Operator. etc …)
Mark one or more measure points you want to visualize in this specific cell of your Screens page.
![]() Note that some Screens components can only show data from one Measure point (for example “Measure point status”). Some can show data from any number of Measure points (for example “OEE”).
Note that some Screens components can only show data from one Measure point (for example “Measure point status”). Some can show data from any number of Measure points (for example “OEE”).
Define the time frame
Some Screens components (For example “OEE”) needs a defined time frame to show something relevant.
You can either select a time “Separate time span” or a “Relative time interval” (related to work shift or order run)
After you have selected time frame, click Save and close.
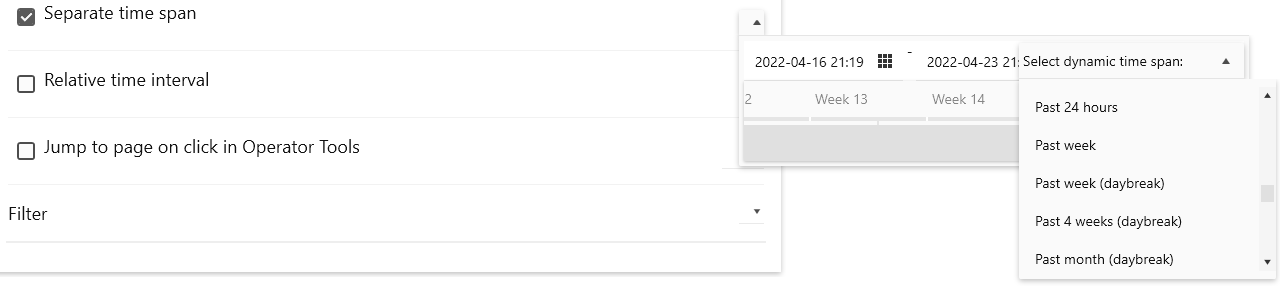
Separate time span
This lets you select any time span you want. It can be a hard coded time span (from date X to date Y), or a time span related to time or calendar.
Mark the checkbox “Separate time span” (and uncheck “Relative time span” if it is checked)
Click the dropdown arrow to the right on the Separate time span row
In the time selector control that pop up, select the relative time span that describes the time frame you want to show.
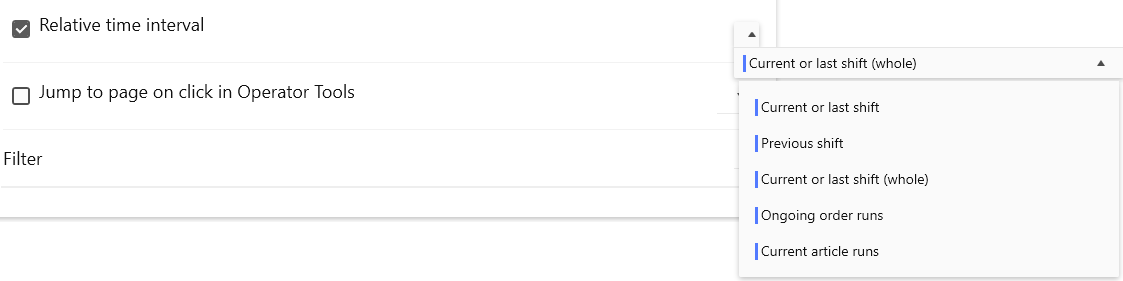
Relative time interval
In RS Production Screens, a “Relative time interval” is related to either work shift or order run.
Mark the checkbox “Relative time interval” (and uncheck “Separate time span” if it is checked)
Click the dropdown arrow to the right on the Relative time interval row
In the drop down menu that appears, select the relative time span that describes the time frame you want to show.
The pre selected time frame is “Current or last shift (whole)”. If there’s an ongoing shift it will show data for the complete shift. If there’s no ongoing shift it will instead show data for the last ended shift.
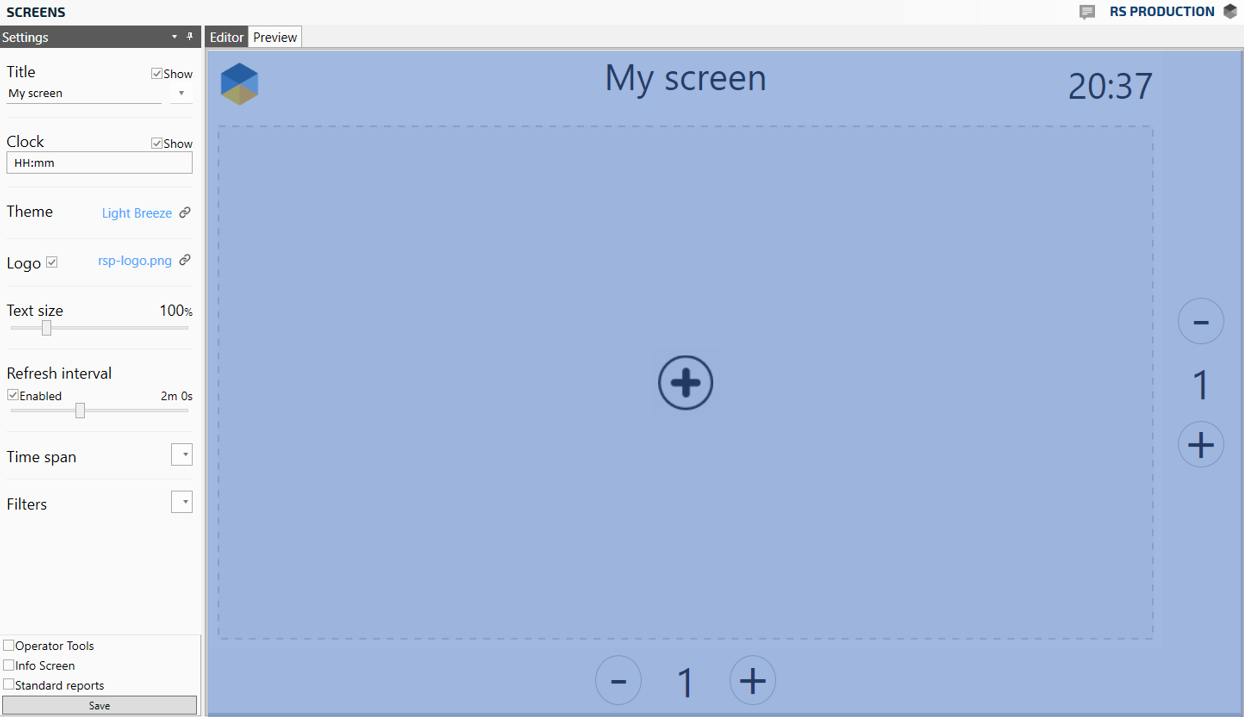
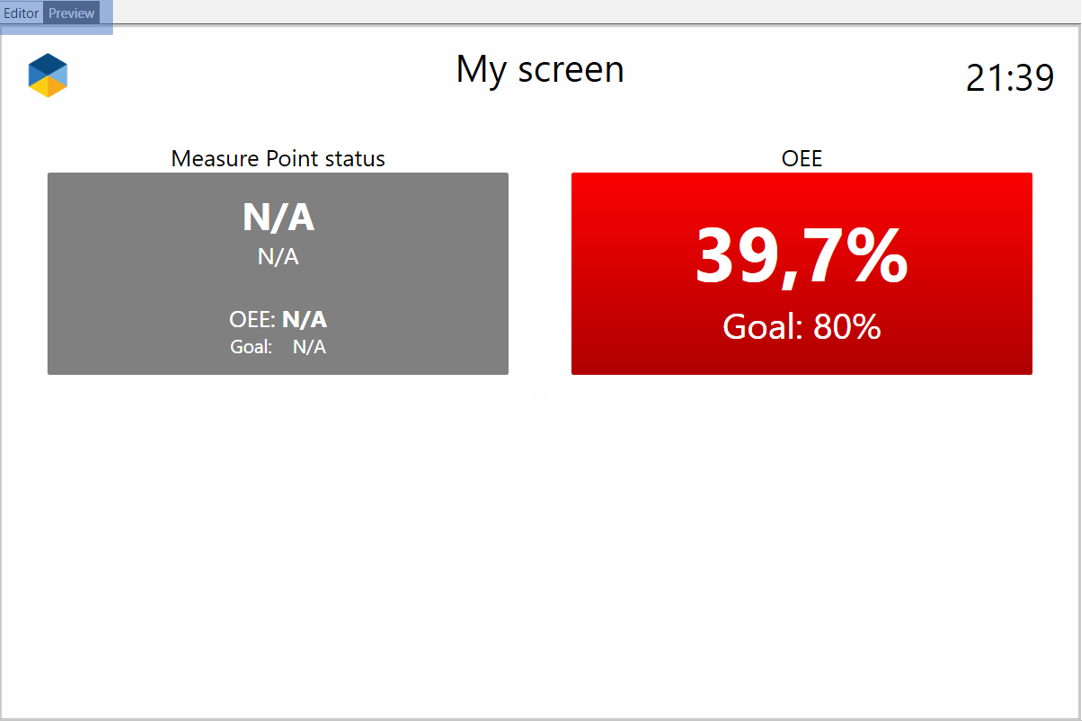
Preview your Screens page layout
To get a view of how your Screens page will look for the users, you can at any time switch from “Editor” to “Preview” in the top left corner.
Settings for your Screens page
On the left side of the Screens editor, you have the settings menu.
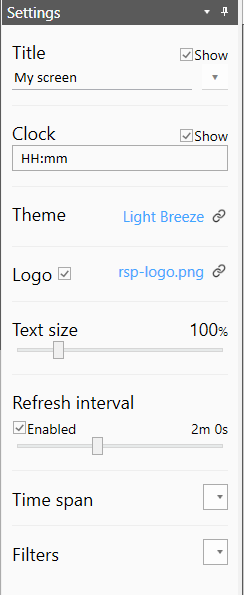
Title | The text showed centered on the top of the Screens page. Tick/untick the “Show” checkbox to hide/show. Use the language dropdown to the right on the row to translate to different languages. The language used depends on the settings on the user account that logs in to the Info Screens client. Read more about Users and operators |
|---|---|
Clock | Tick/untick the “Show” checkbox to hide/show current time in the upper right corner of the Screens page. |
Theme | Click the small chain button to the right to select the visual theme you want.
Mark the selected by clicking far on the left on the row you want to use. Click Save and close when done. |
Logo | Shows RS Production logo by default. You can select from a few other icons. Contact service@goodsolutions.se if you want to show your own logo here. |
Text size | This one lets you adjust the size of the text and by that also the allocation of space between the Screens components and the text on the Screens page. Remember that it is the end result that should look good. After you have pusblished and looked at the Screens page on the TV-screen (or report page in Office tools, or page in Operator tools), get back here and adjust to make it look great. |
Resfresh interval | RS Production is a real time software. Set how often you want the Screens page to update. Note that this setting can be over ruled on each individual Screens component on the page. |
Time span | This is a quick way to select what time span you want your Screens page to show. Note that this setting can be over ruled on each individual Screens component on the page. |
Filters | This is a quick way to select what data and dimensions you want to show on the Screen page. What measure points, work shifts, article/article types … Note that this setting can be over ruled on each individual Screens component on the page. |
![]() Note that Refresh interval, Time span and Filters settings are over ruled by settings on Screens component level.
Note that Refresh interval, Time span and Filters settings are over ruled by settings on Screens component level.
Publish your Screens page
When you feel ready to publish your Screens page, go to the bottom left area of the Screens editor.
If you don’t have any available Screens licenses, you will not be able to mark and of the destinations. You can always save the Screen without a destination. It will then become “Unpublished”.
Mark one or several destinations where you want your Screens page to be available.
Click Save at the bottom.
Info Screens (go here to read more about Start up a new Info Screen)
Operator tools (go here to read more about Show a Screen as a page in Operator tools)
Report tool (go here to read more about Show a Screen as an Office tools report)
Send a Screens page as a scheduled email
A Screens page published as a “Standard report” can (in the same way as any report in RS Production) be assigned scheduled to be sent as an email or to be printed.
Read more here about how to Send reports with scheduled email or how to create Create scheduled print reports
Manage existing Screens
In the Office tools menu, go to System administration and then click Screens.
The upper part of the page shows the published Screens pages. The lower part of the page shows the unpublished Screens pages.

Adjust an existing Screens page
Click the Edit button to adjust an existing Screens page.
Read the instructions in the “Create your first Screen” section above on this page to understand how the Screens editor works.
Create a new Screens page as copy of an existing
Click the Copy button to create a new Screens page identical to the an existing Screens page. If the Copy new button is grey, you don’t have any more Screens licenses. In the top right corner, you see how many Screens licenses you have left and how many you have in total.
Unpublish a Screens page
The number of Screens licenses limits how many Screens pages you can have published at the same time.
When you click Unpublish, one Screens license slot will be released and that Screens page will be set as unpublished.
Delete a Screens page
Click the Remove button to delete a Screens page. This will release one Screens license.
![]() Note that this will remove the Screens page and it will not be possible to undo.
Note that this will remove the Screens page and it will not be possible to undo.
Create a new Screens page from scratch
To create a a new Screens page, click the Create new button on the top left corner (and follow the instructions in the “Create your first Screen” section above on this page).
If the Create new button is grey, you don’t have any more Screens licenses. In the top right corner, you see how many Screens licenses you have left and how many you have in total.