Send reports with scheduled email
In this guide you will learn how to send reports automatically by email in Office Tools.
It can be useful if you want to send reports daily or weekly without login to RS Production in Office Tools.
Step-by-step guide
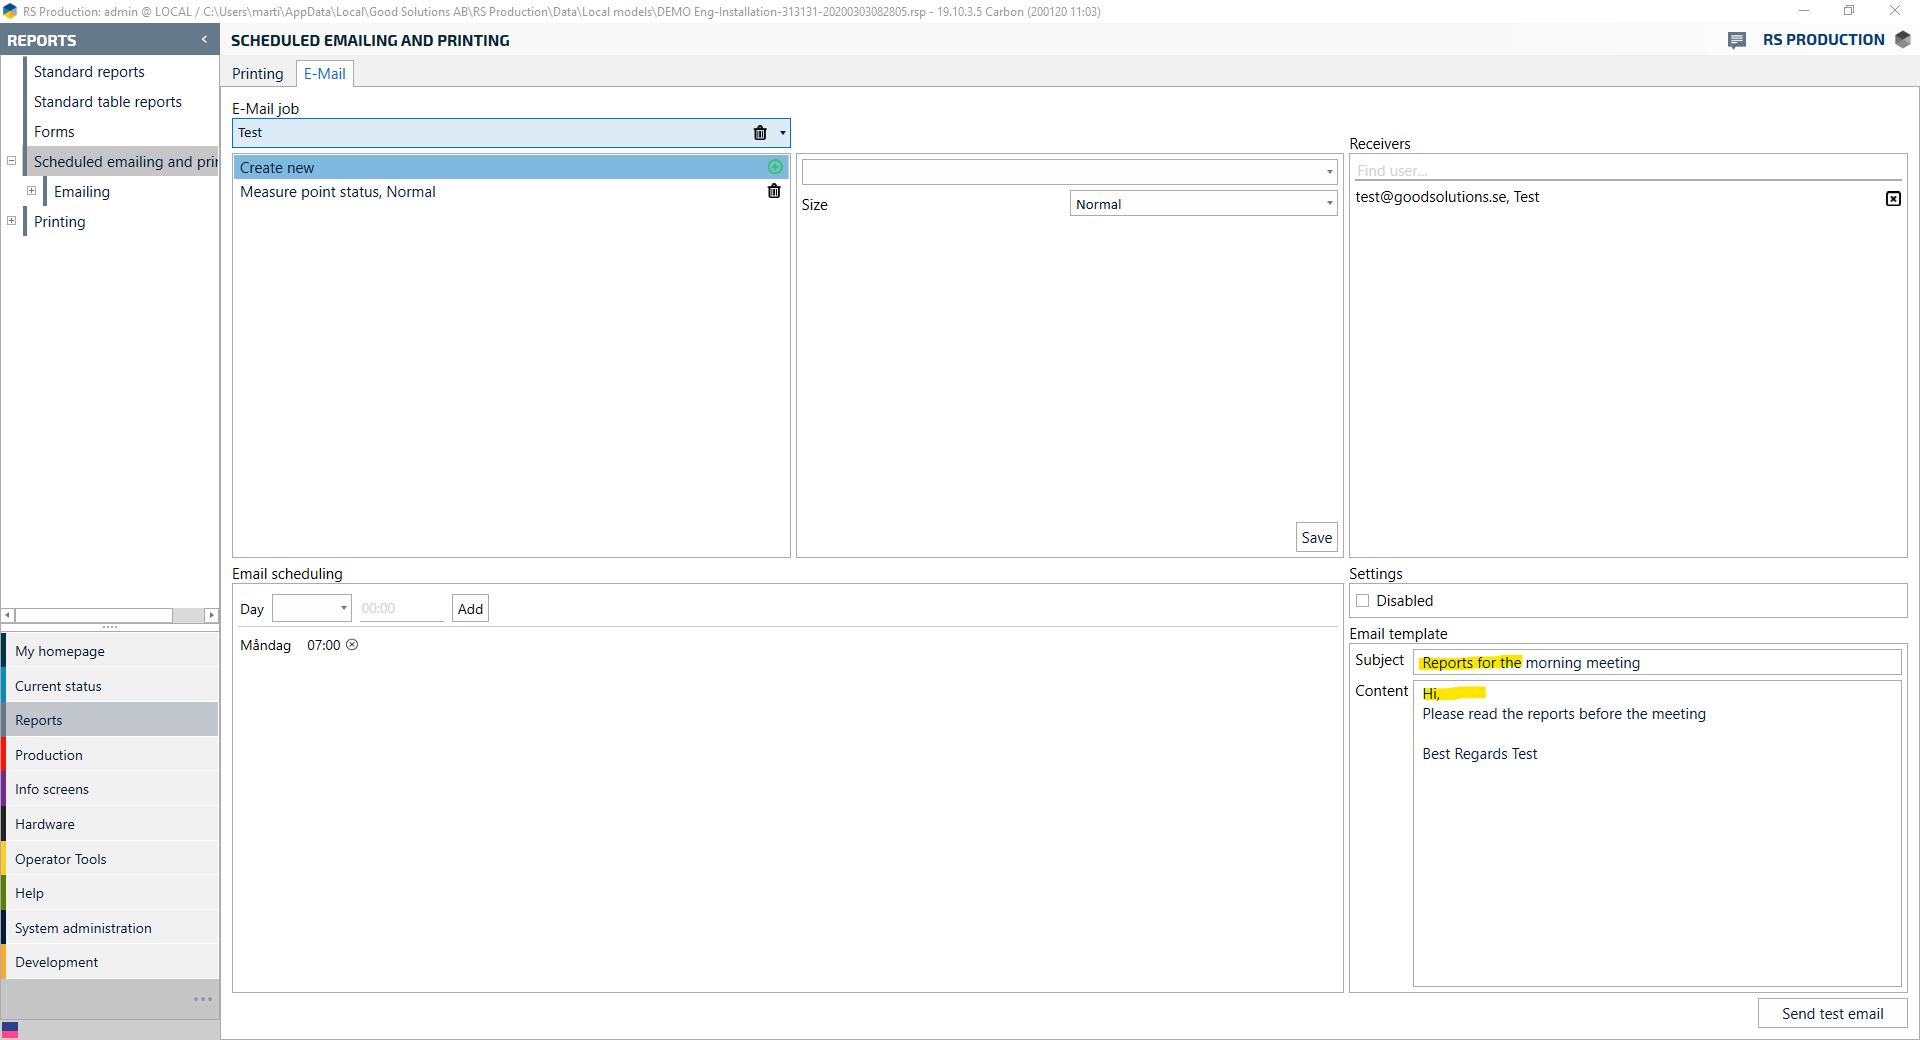
1. Go to Reports
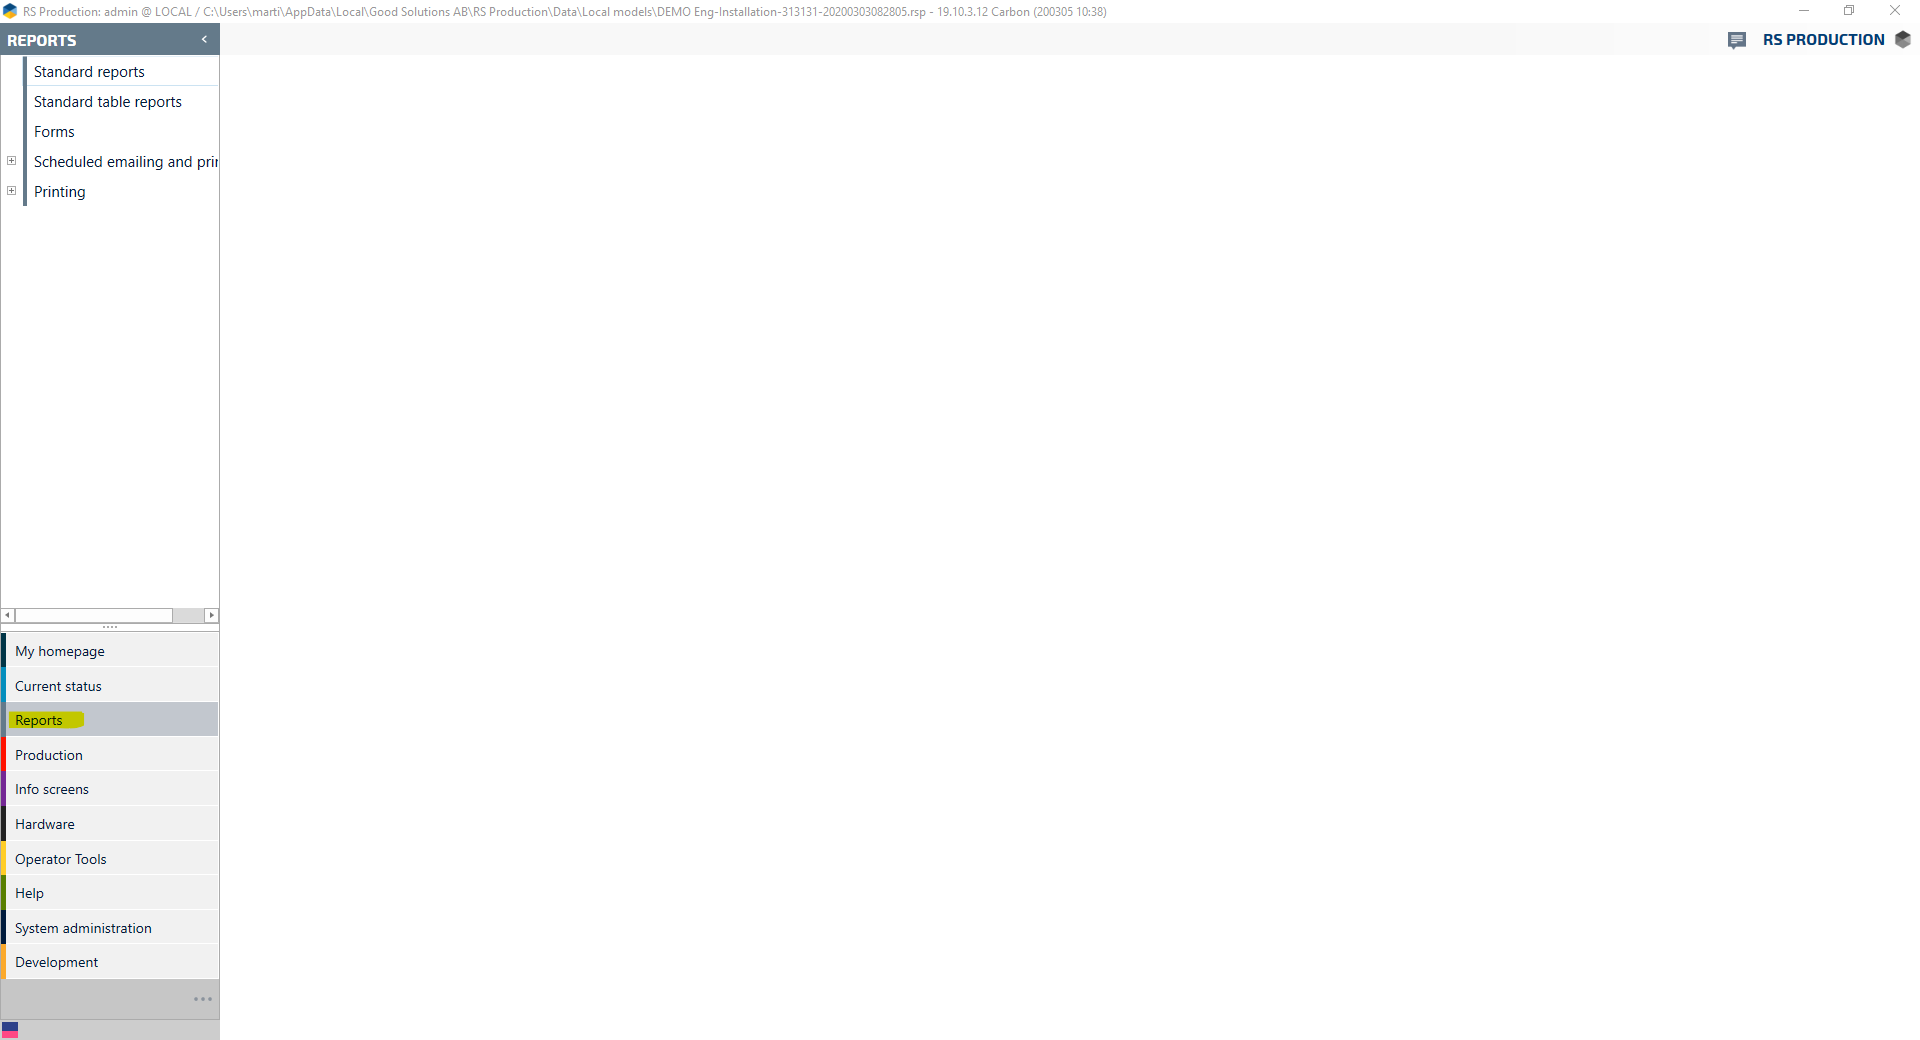
2. Go to Scheduled email and printing

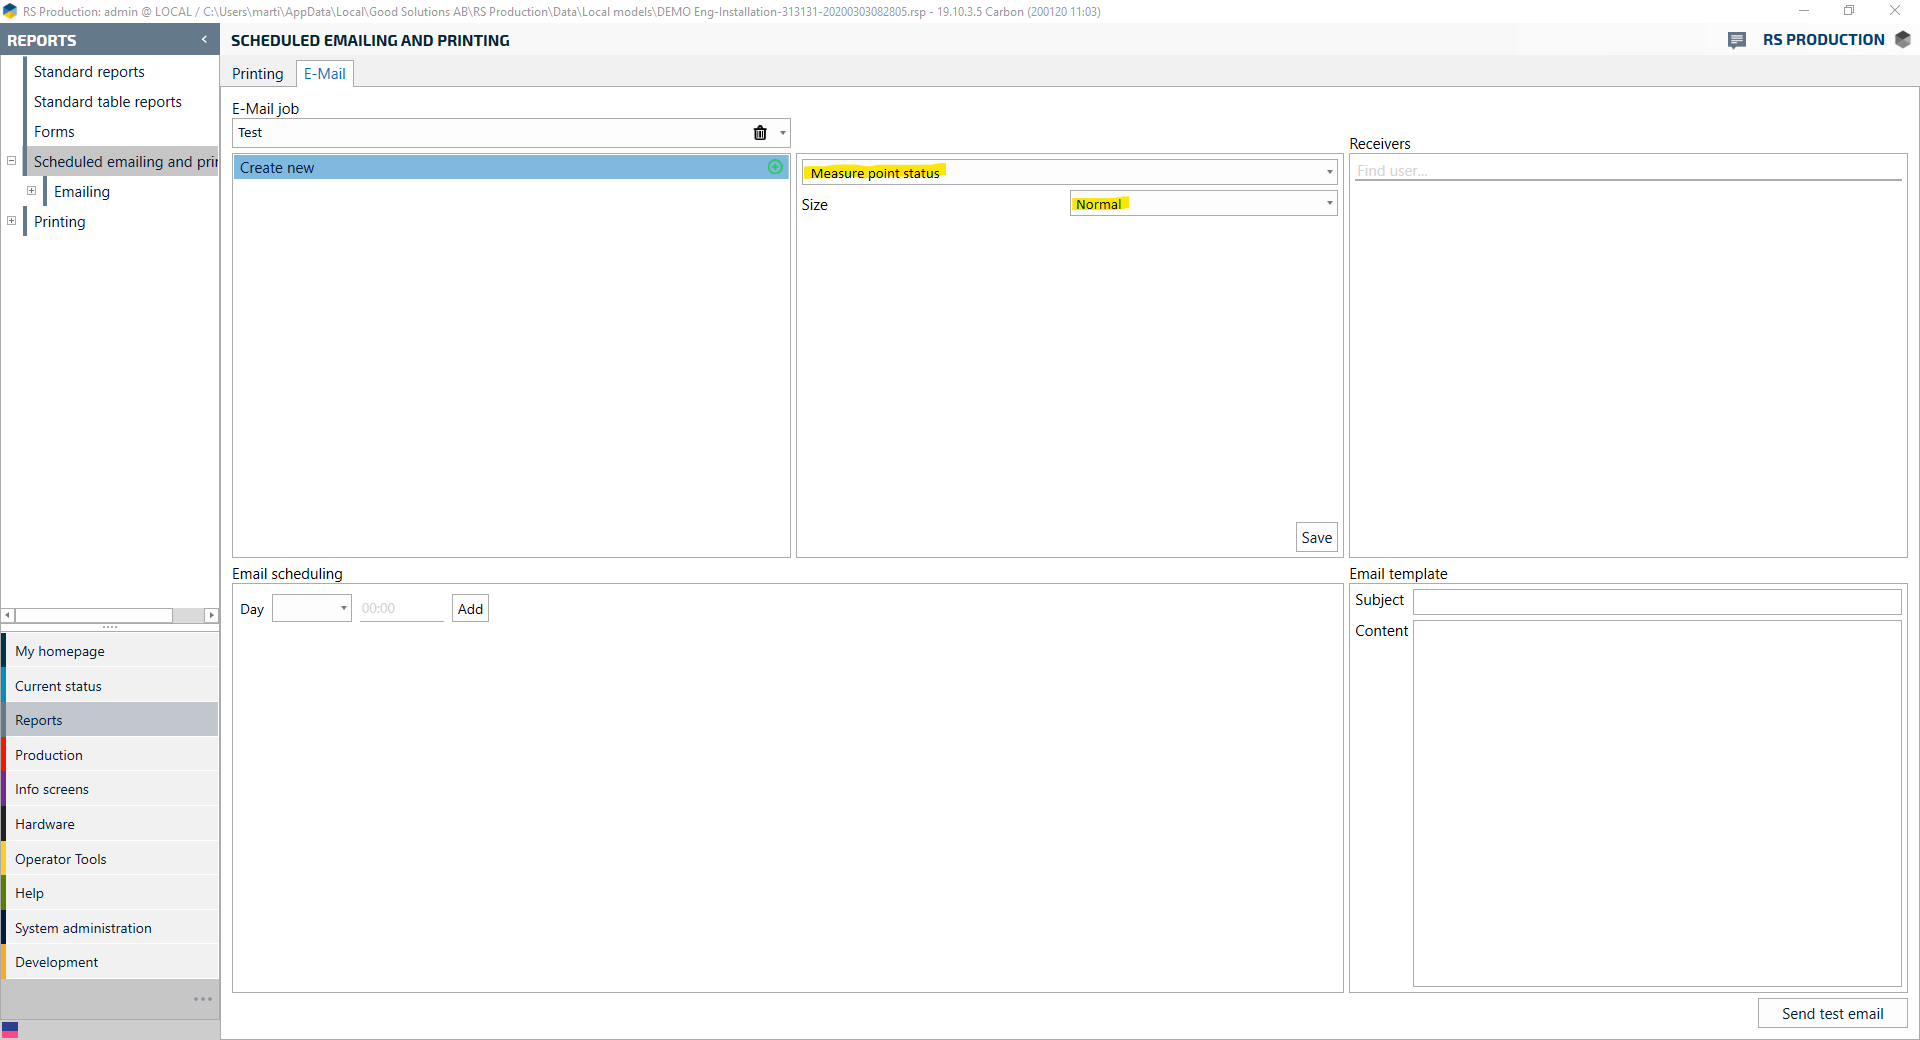
3. Go to the Email-tab
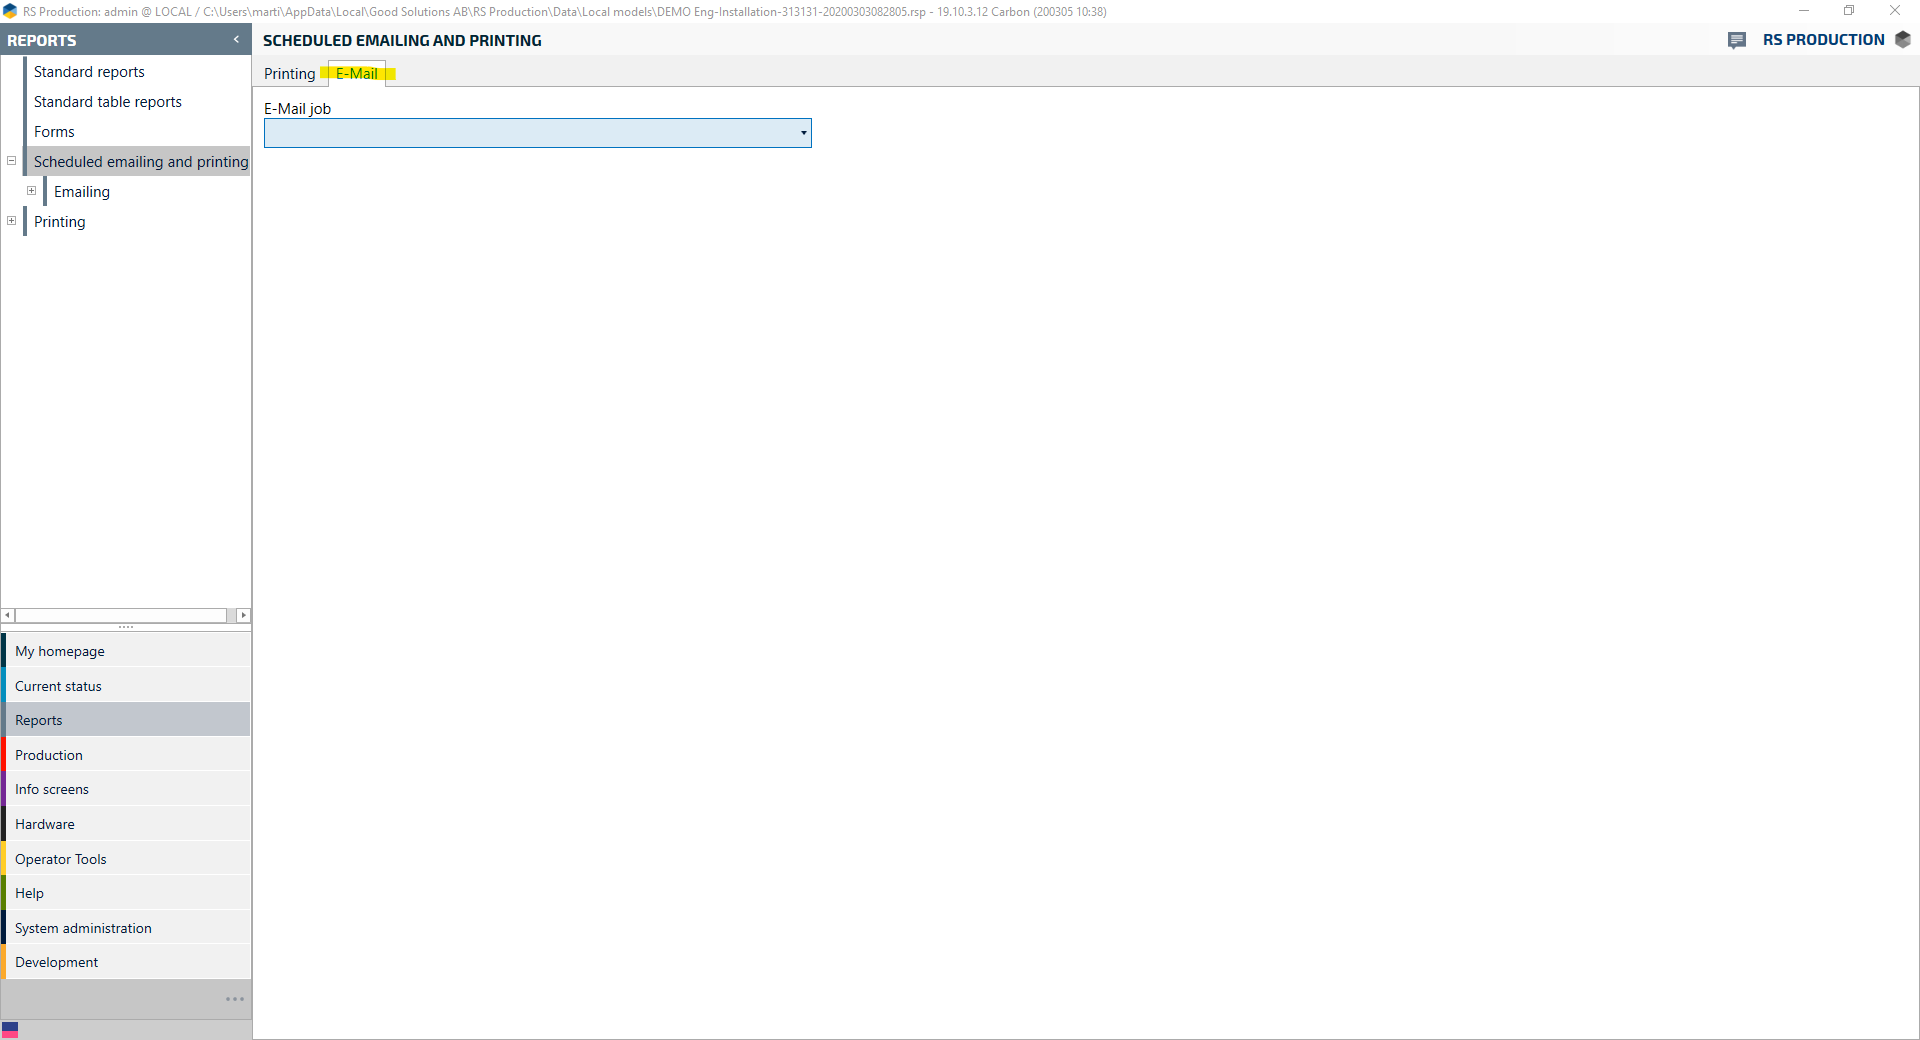
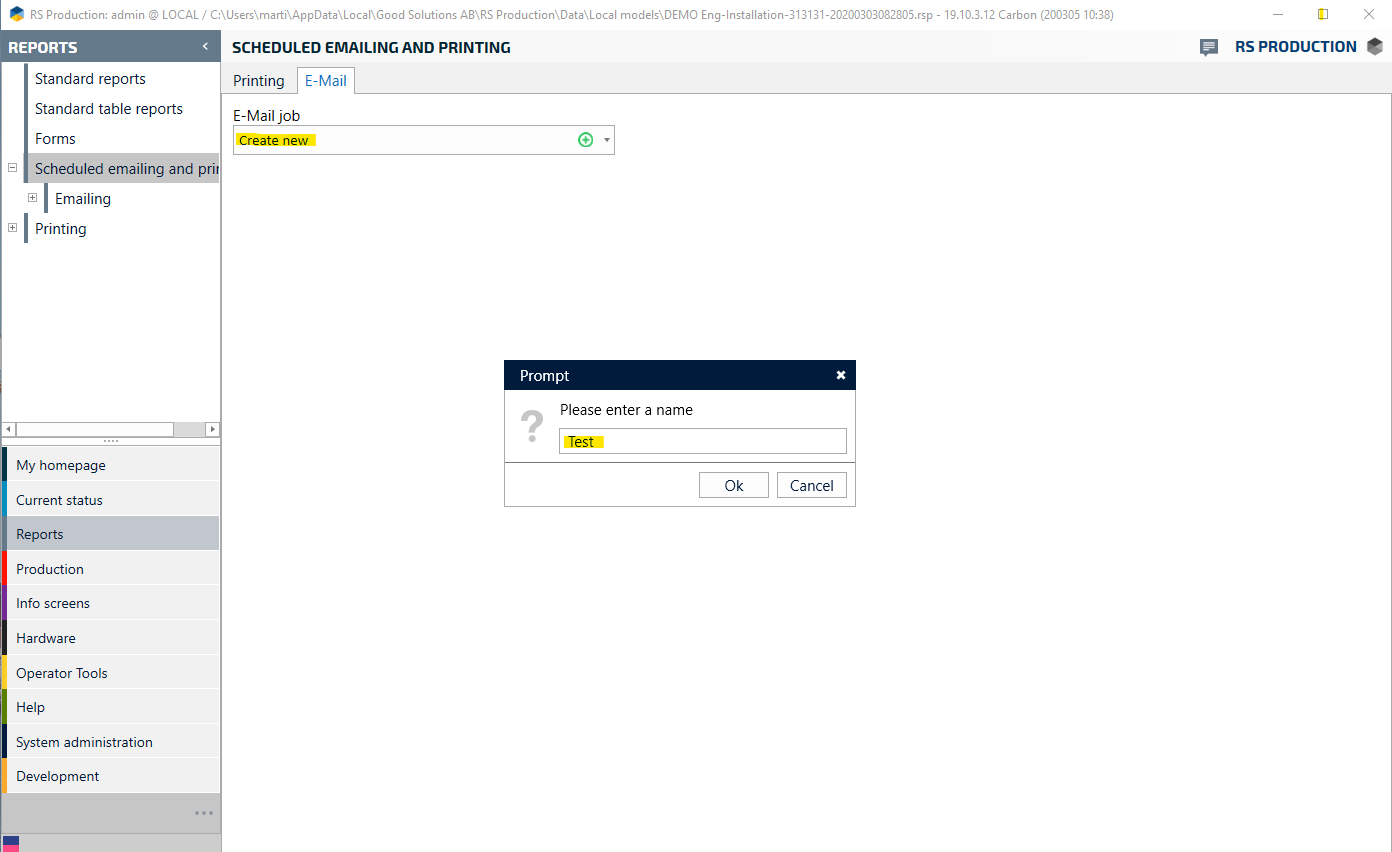
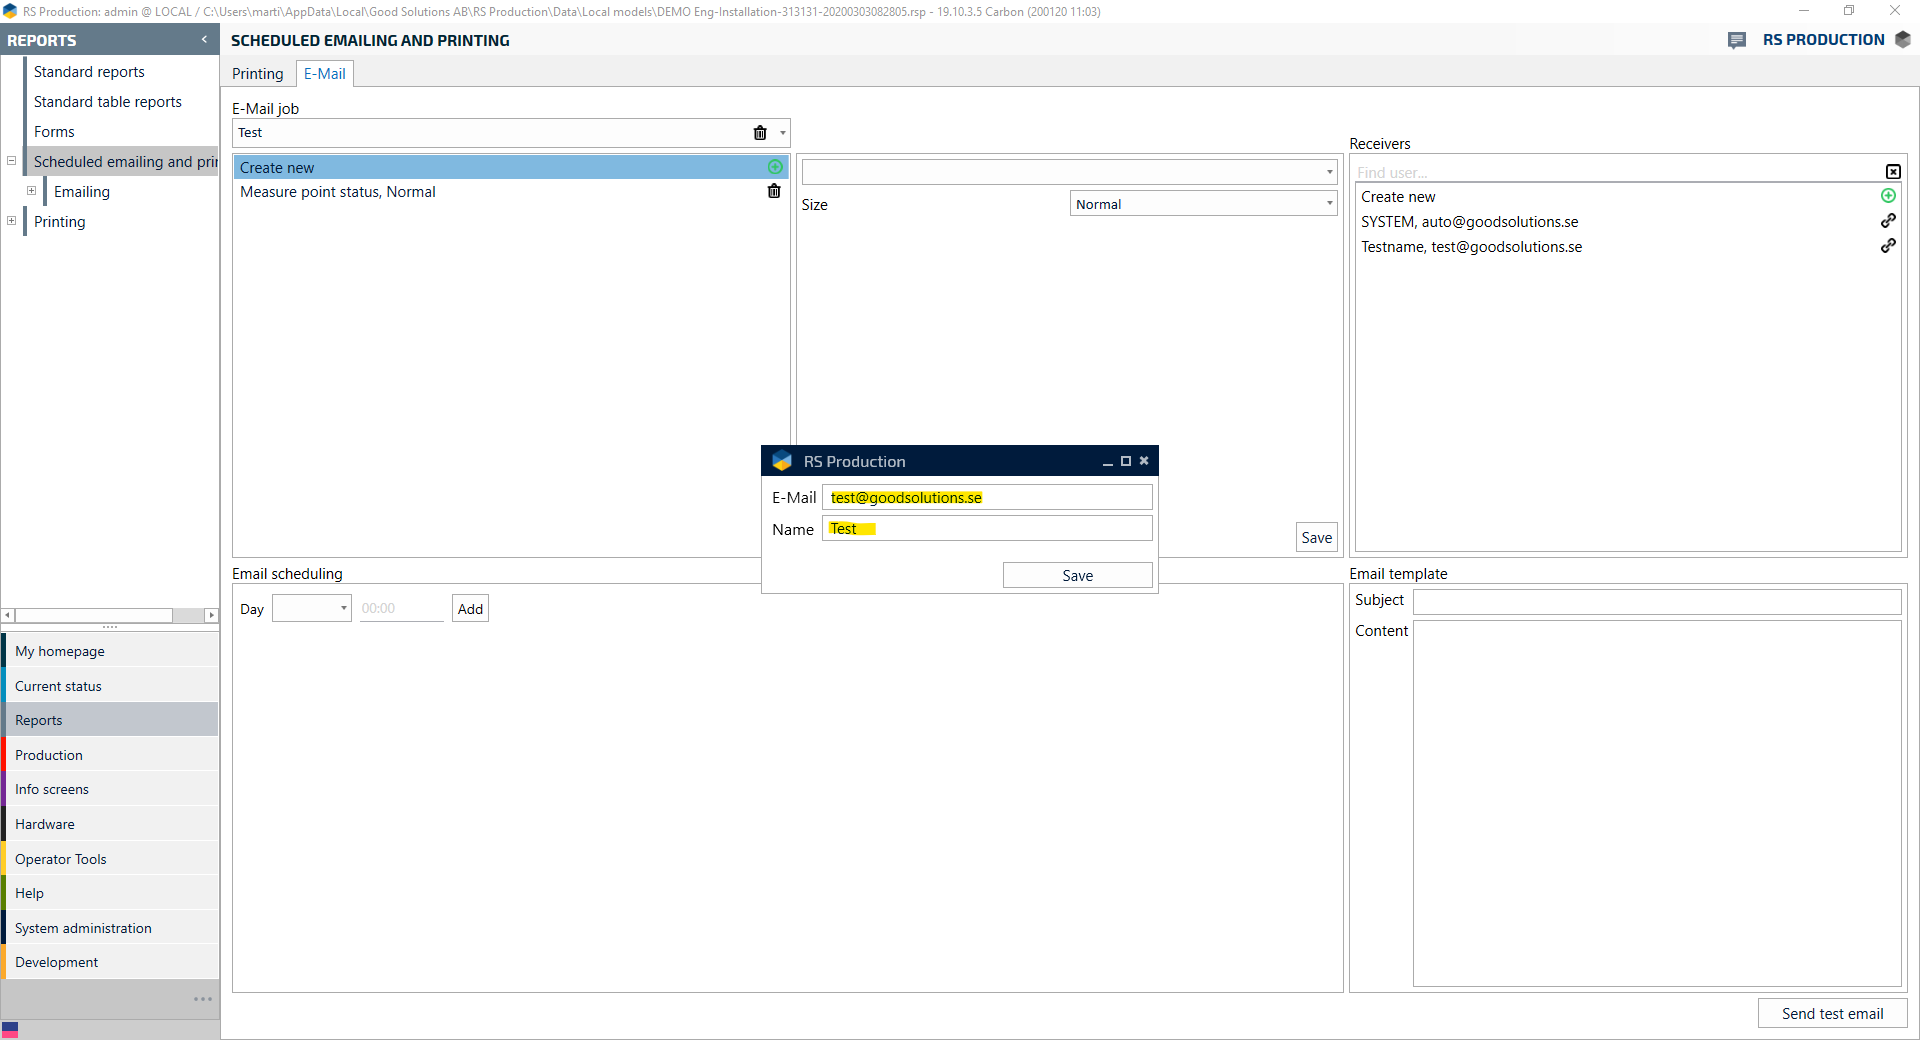
4. Go to E-mail, and then from the dropdown menu, choose Create new and give your email a name.
5. Click on Create new
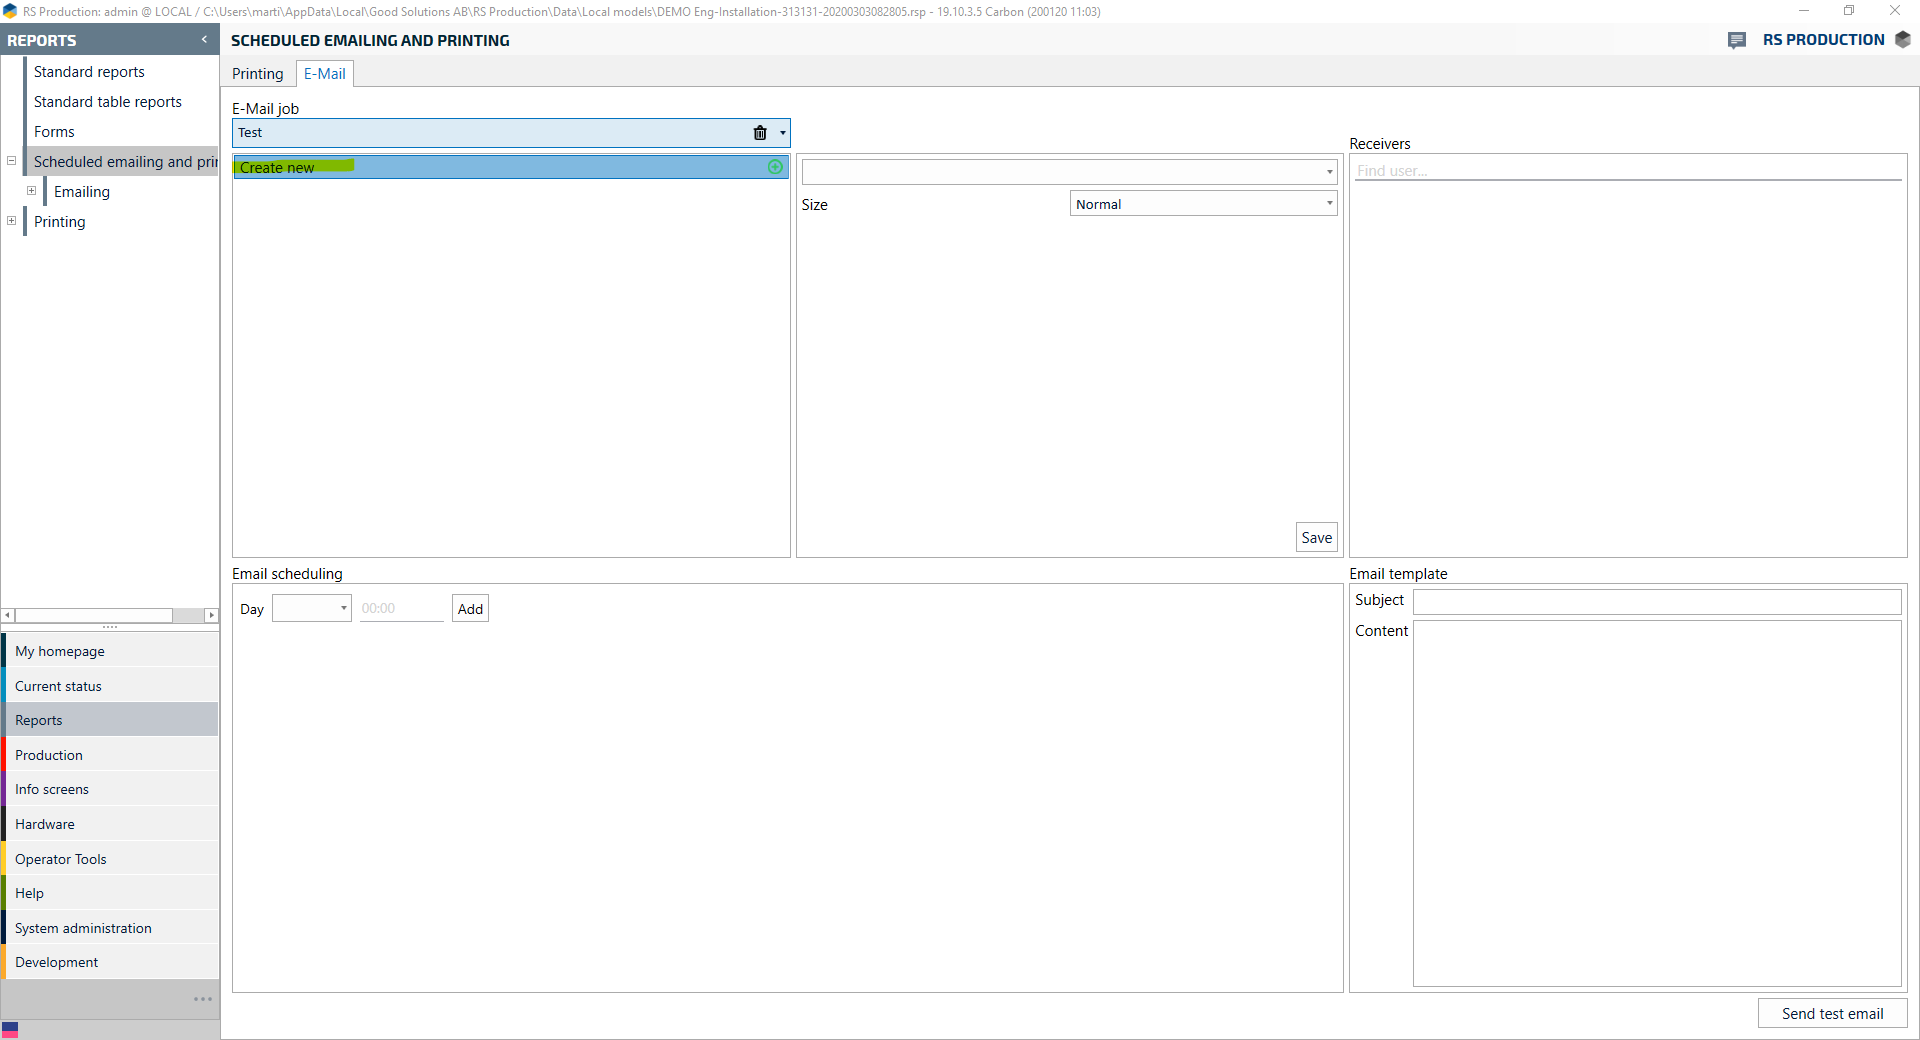
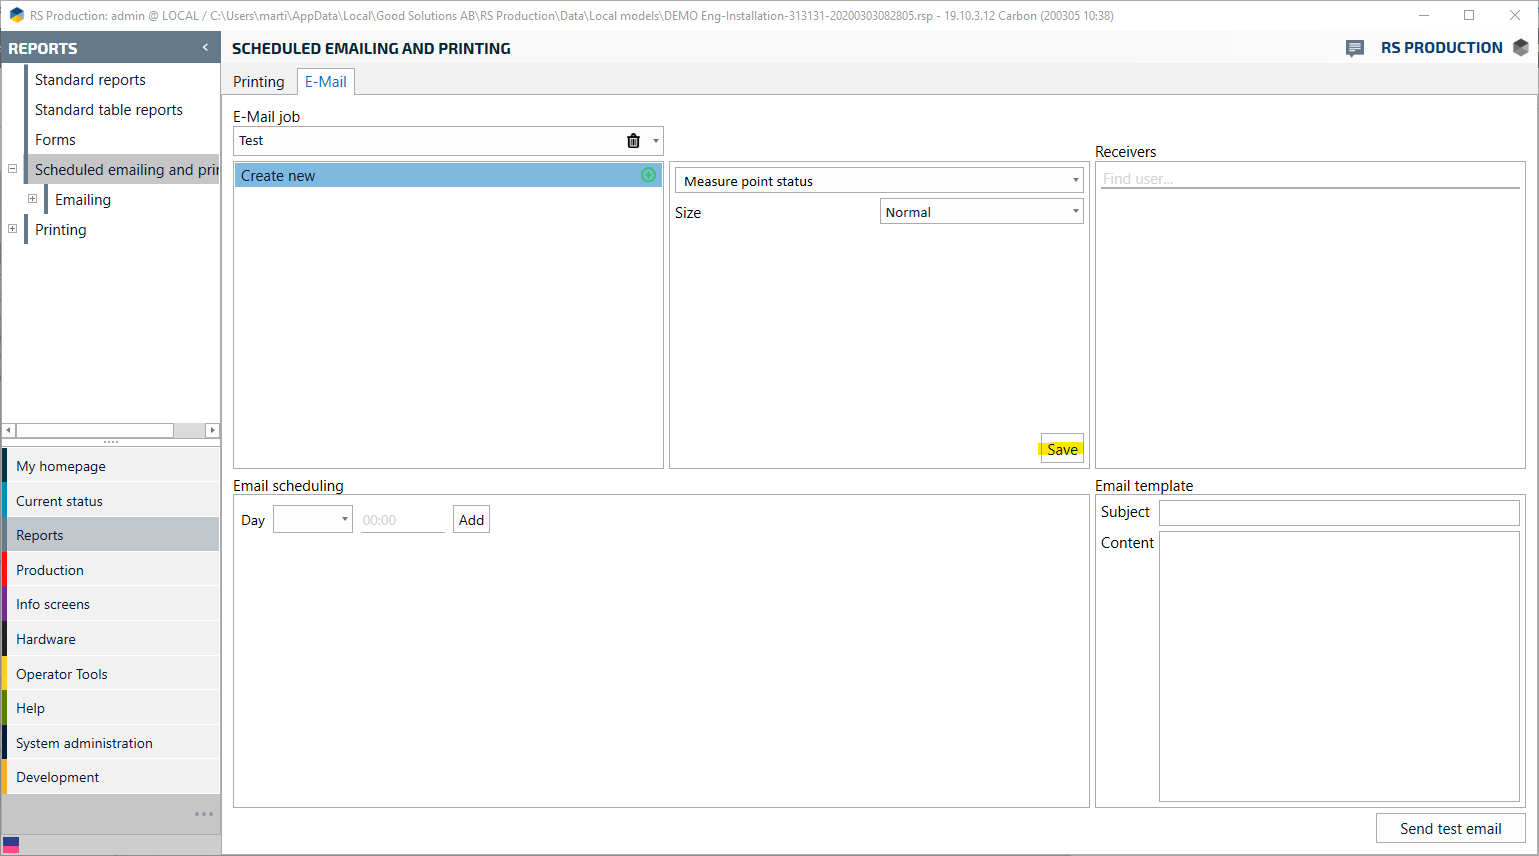
6. Choose the report that you want to include in your email, and change the size of the picture if you want.
7. Press Save
8. Repeat step 5, 6 and 7 if you want to include more reports to your e-mail.
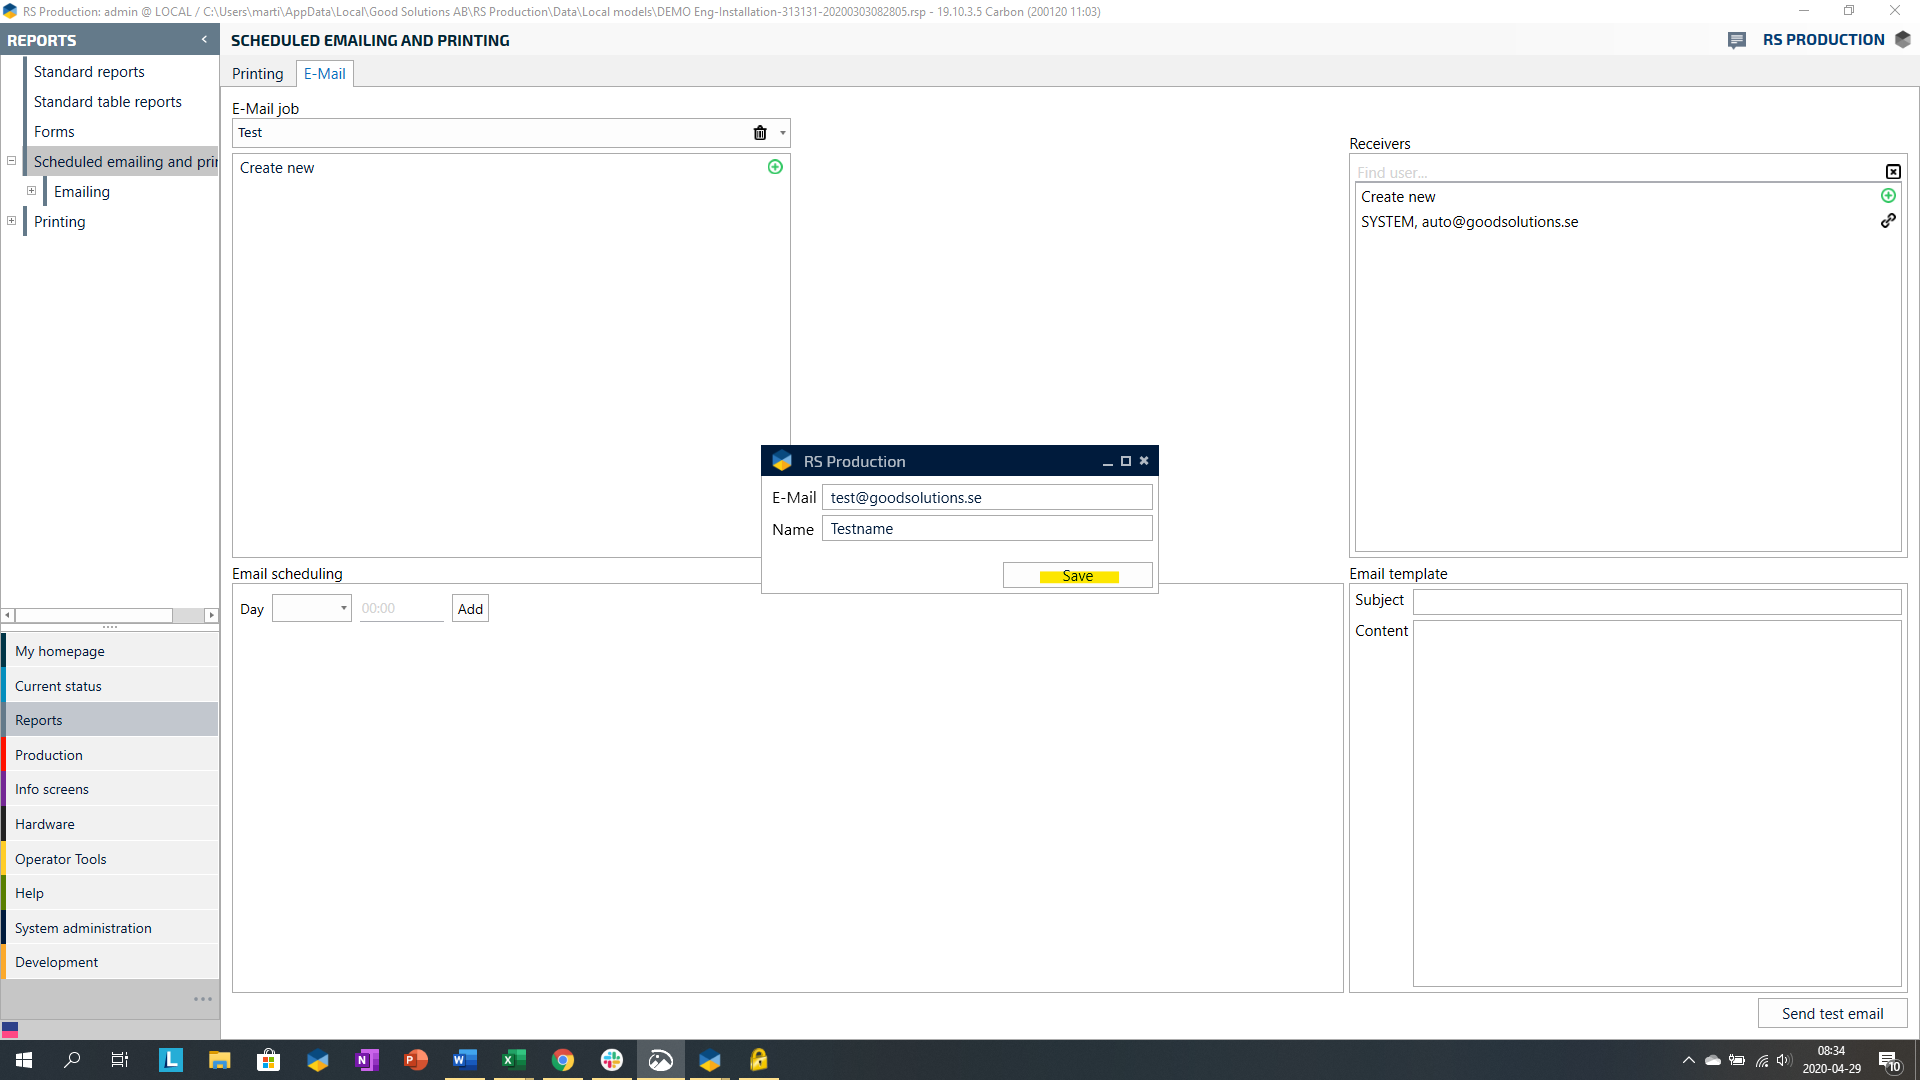
9. Click under Recievers and choose Create new
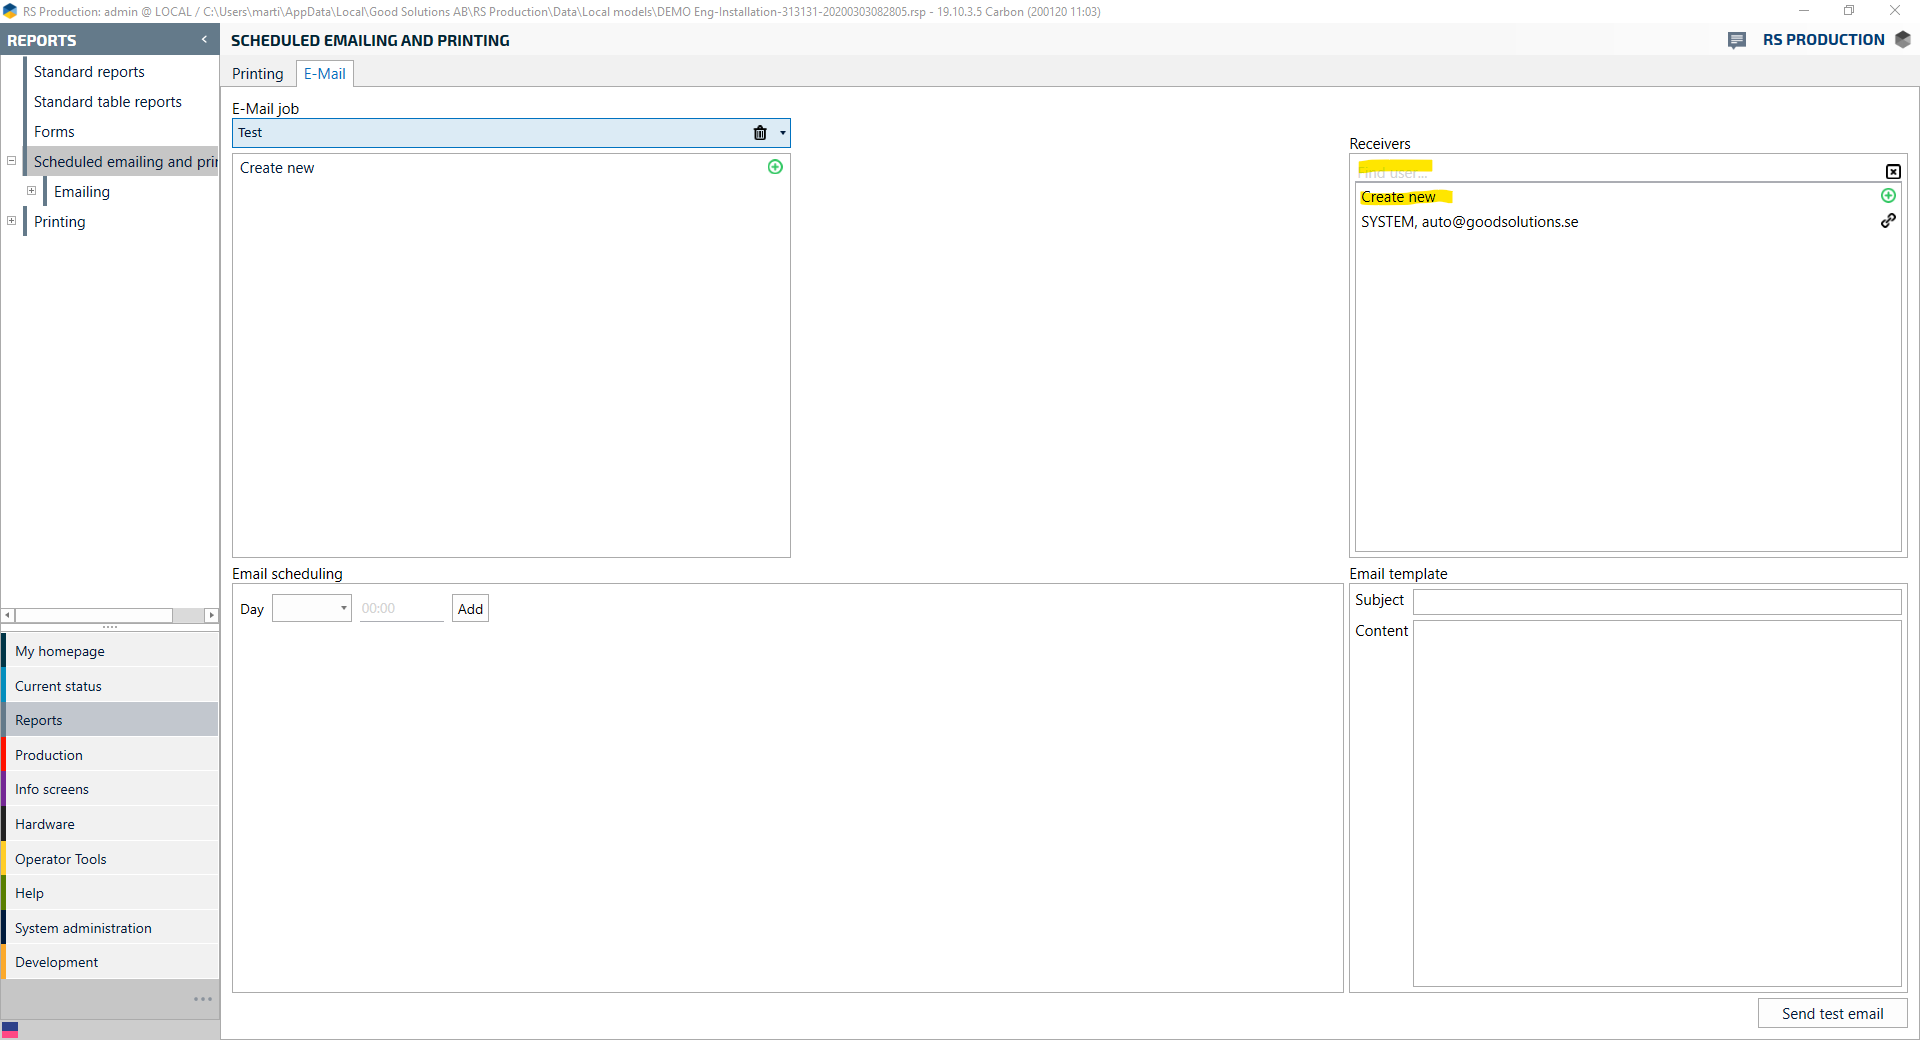
10. Fill in E-mail and Name
11. Save.
12. Repeat step 8 and 9 if you want more recievers.
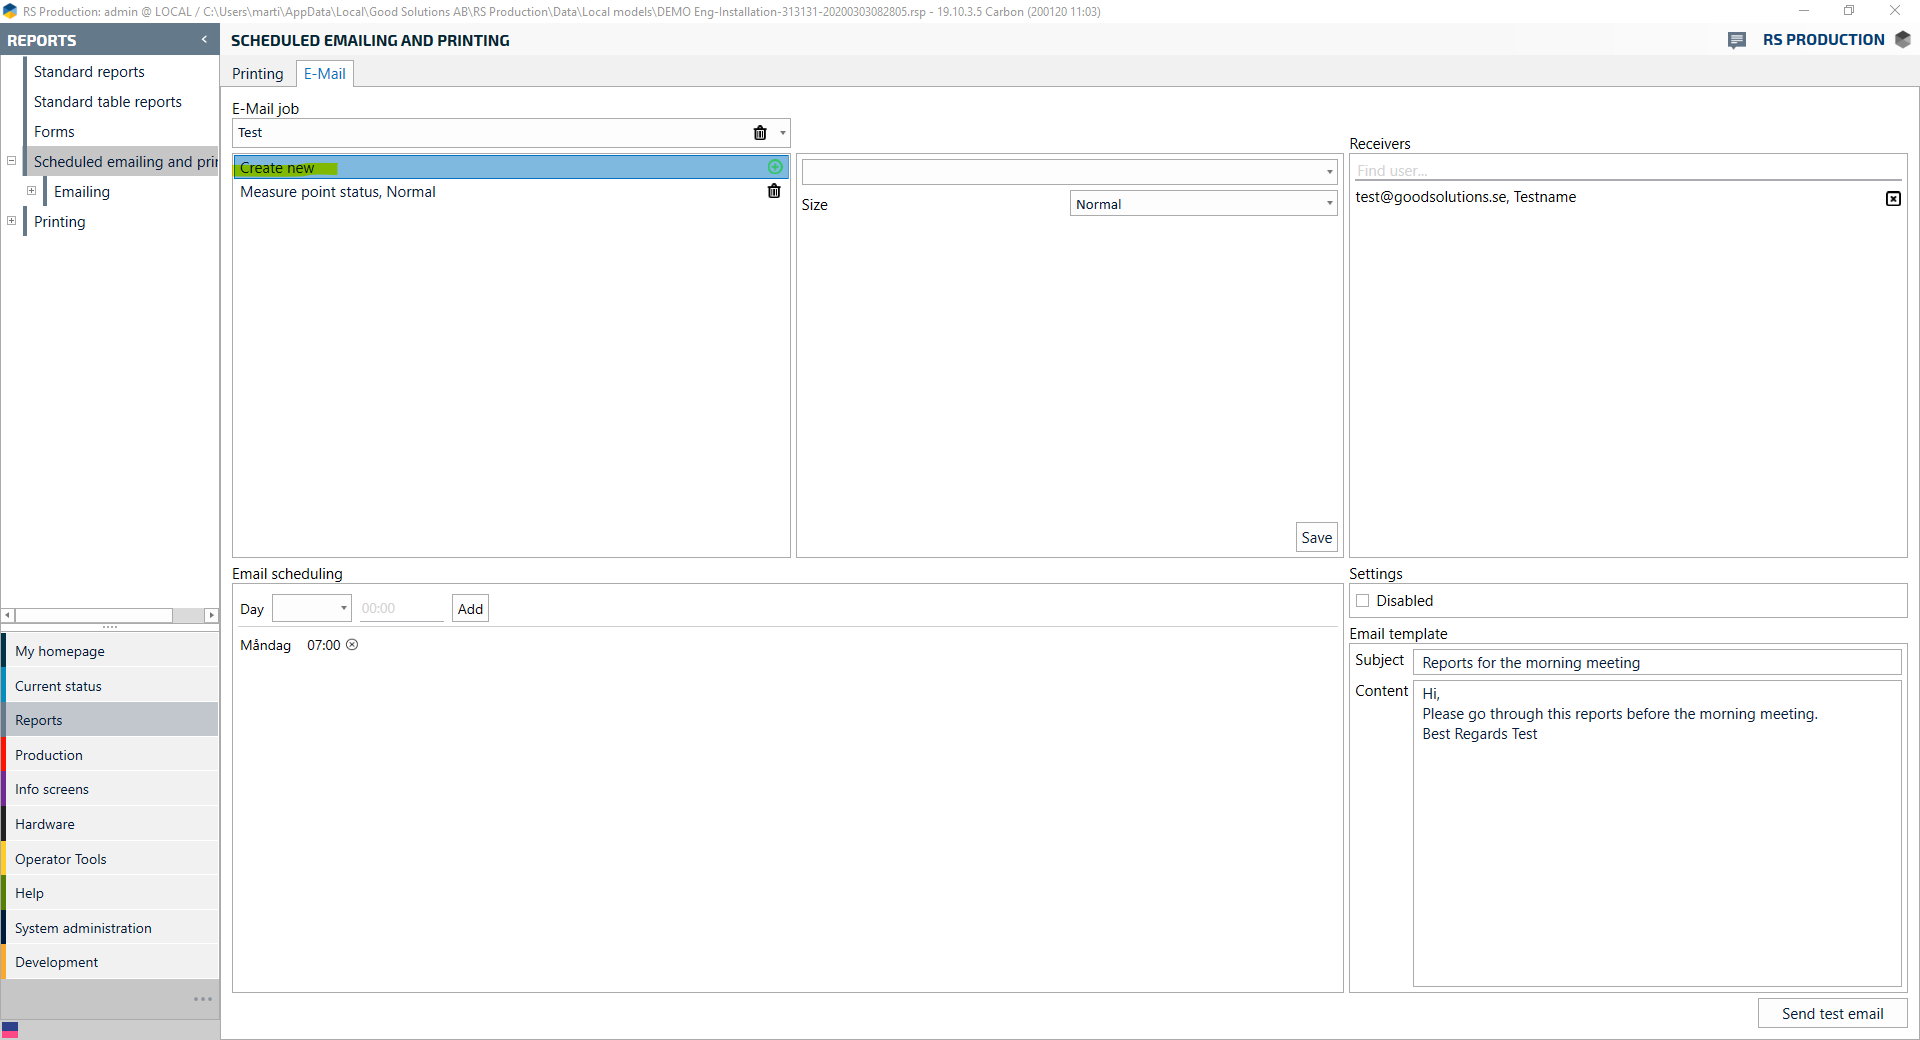
13. Fill in Day and time for the email to send. If you want to set the time before 10 0'clock, you need to ad a "0" before the first number (example: 09:00)
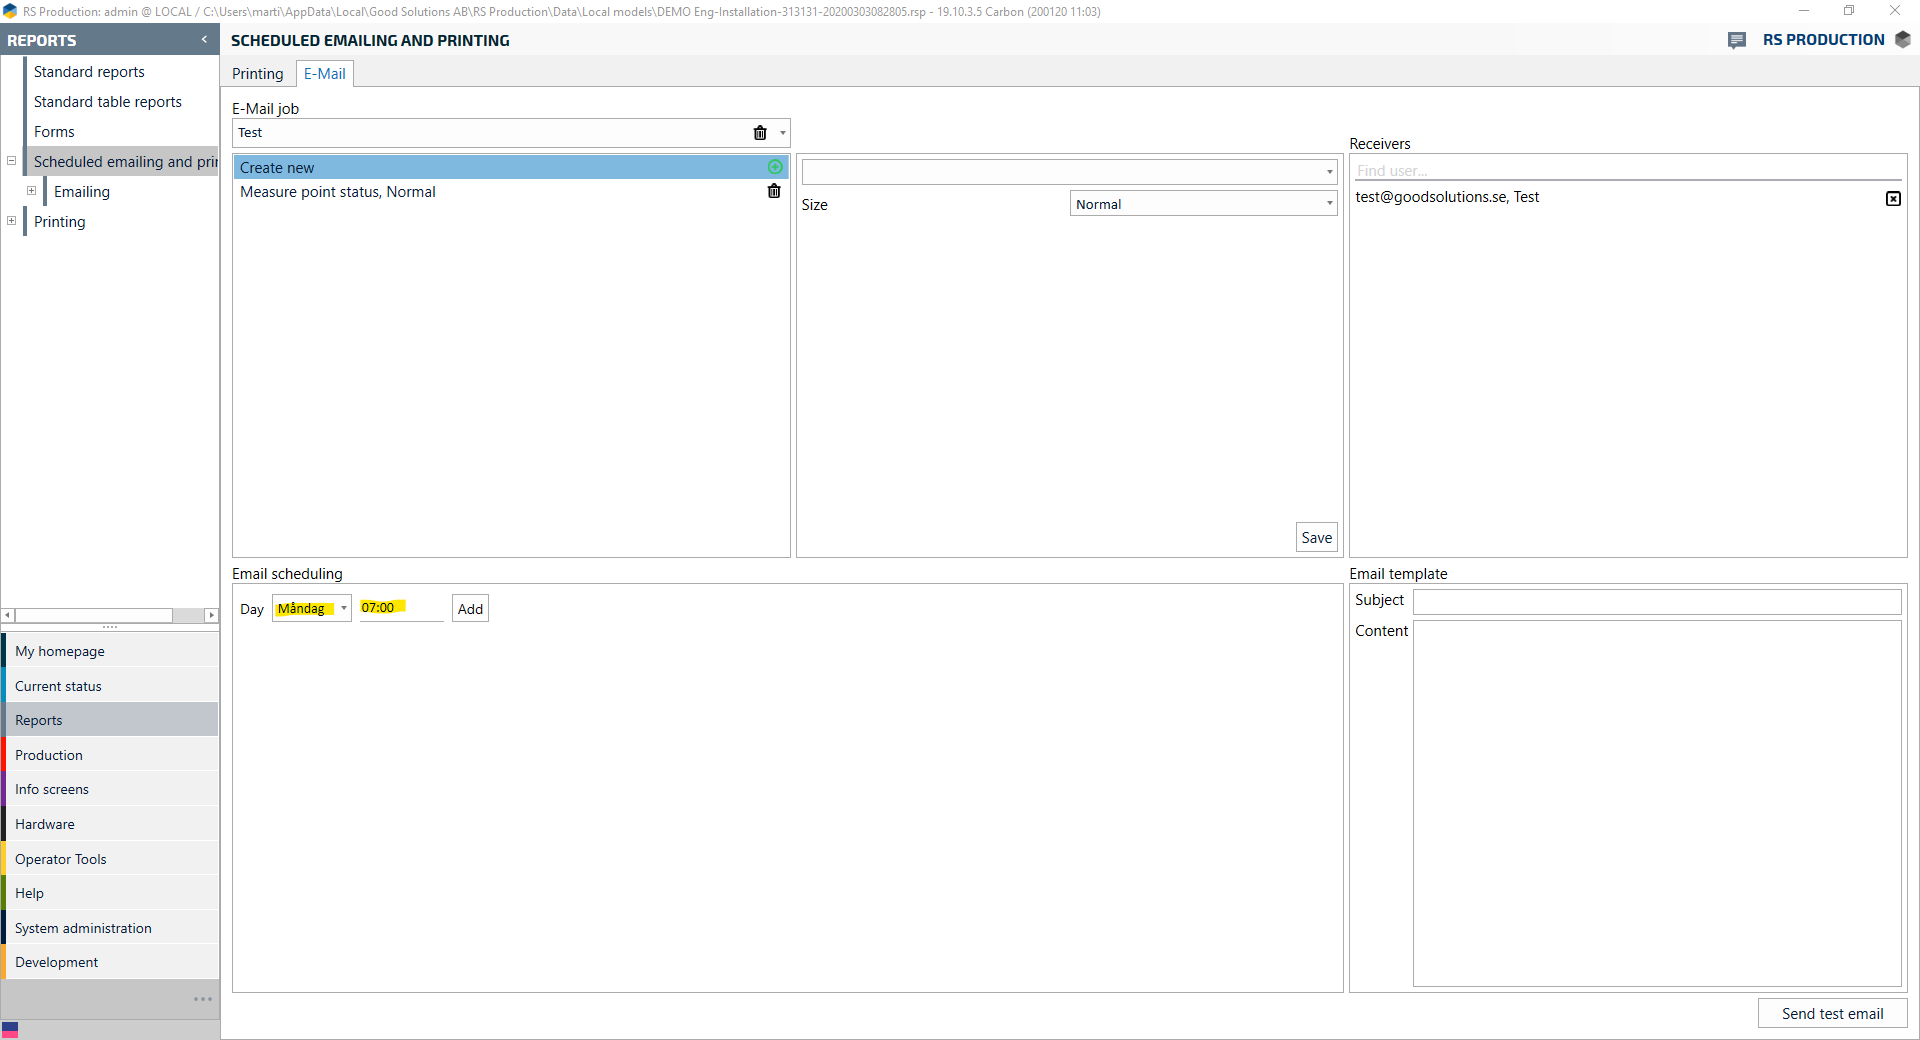
14. Press Add
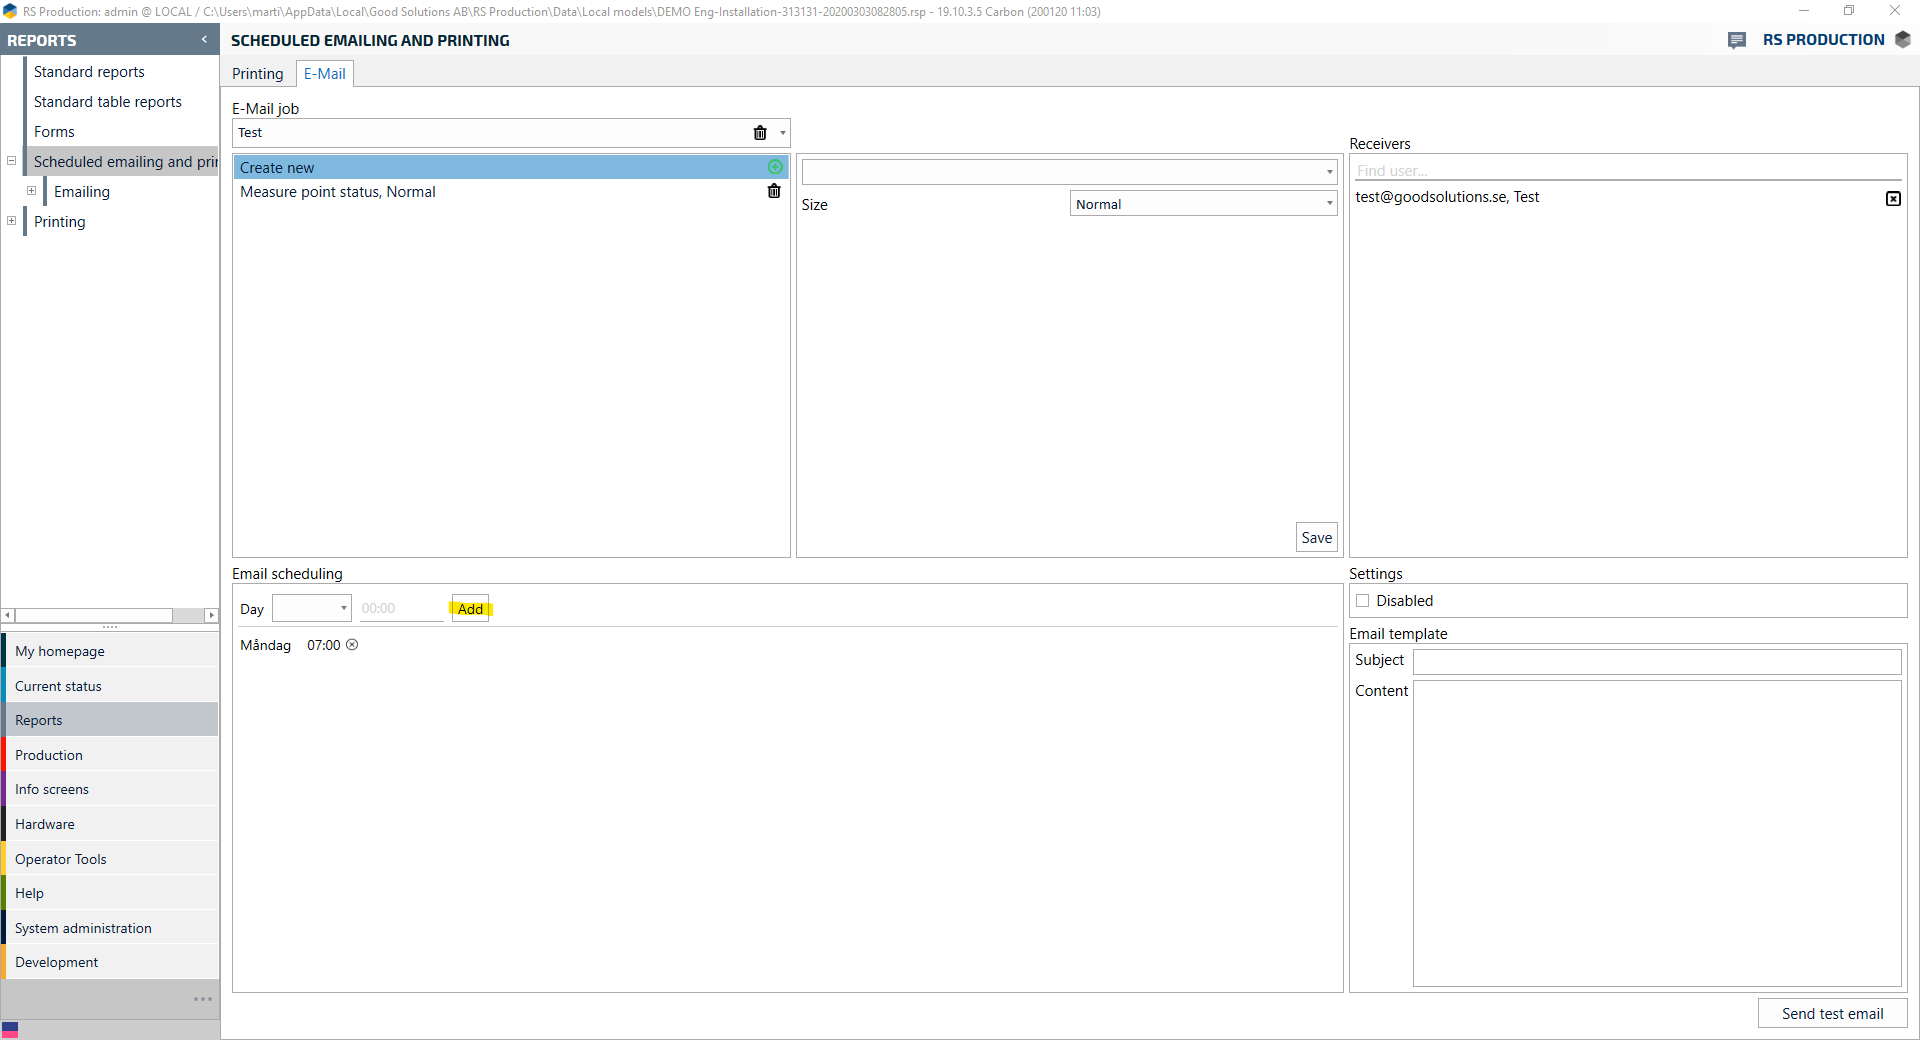
15. Fill in Subject and Contents for the email.
16. (Optional step) Click Send test mail (the automatic emails are activated once you have filled in all the fields)
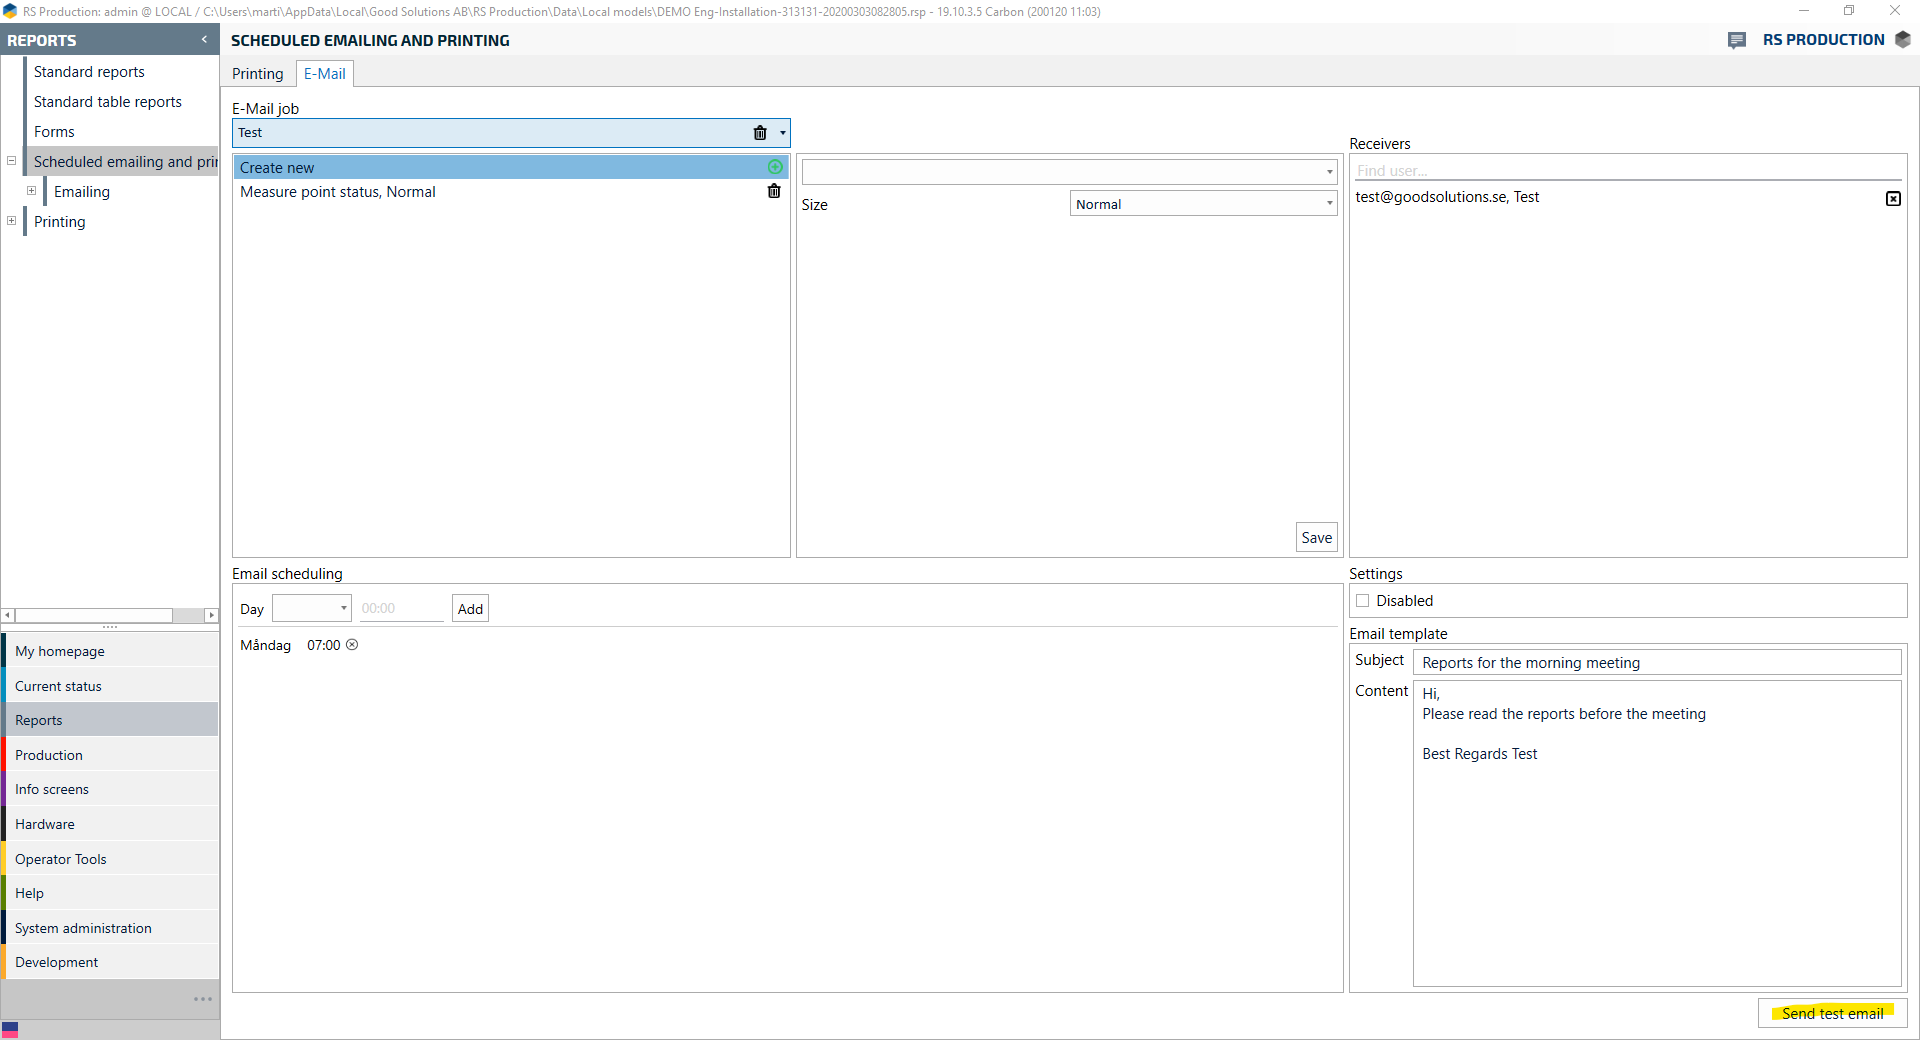
17. Finished!