
This guide explains how to configure scheduled report print jobs
Instructions
-
Go to Production -> Reports -> Scheduled emails and printouts
-
Select "Printing"
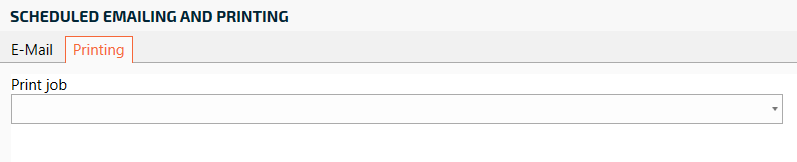
-
Click "Create New" in the list
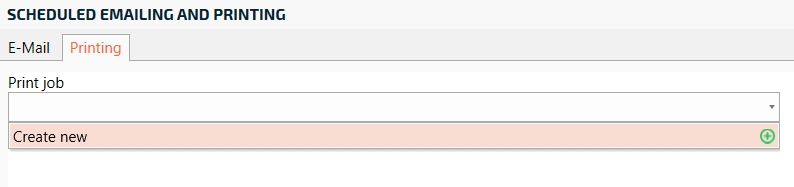
-
Enter a name for the printout and press OK
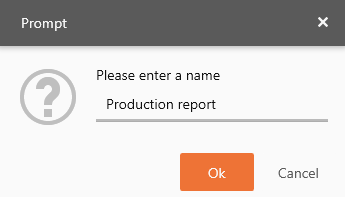
-
Click "Create New" and then select which report in the box to the right to print. Number of copies and paper orientation. Then press save. You can create multiple print reports by repeating this step again
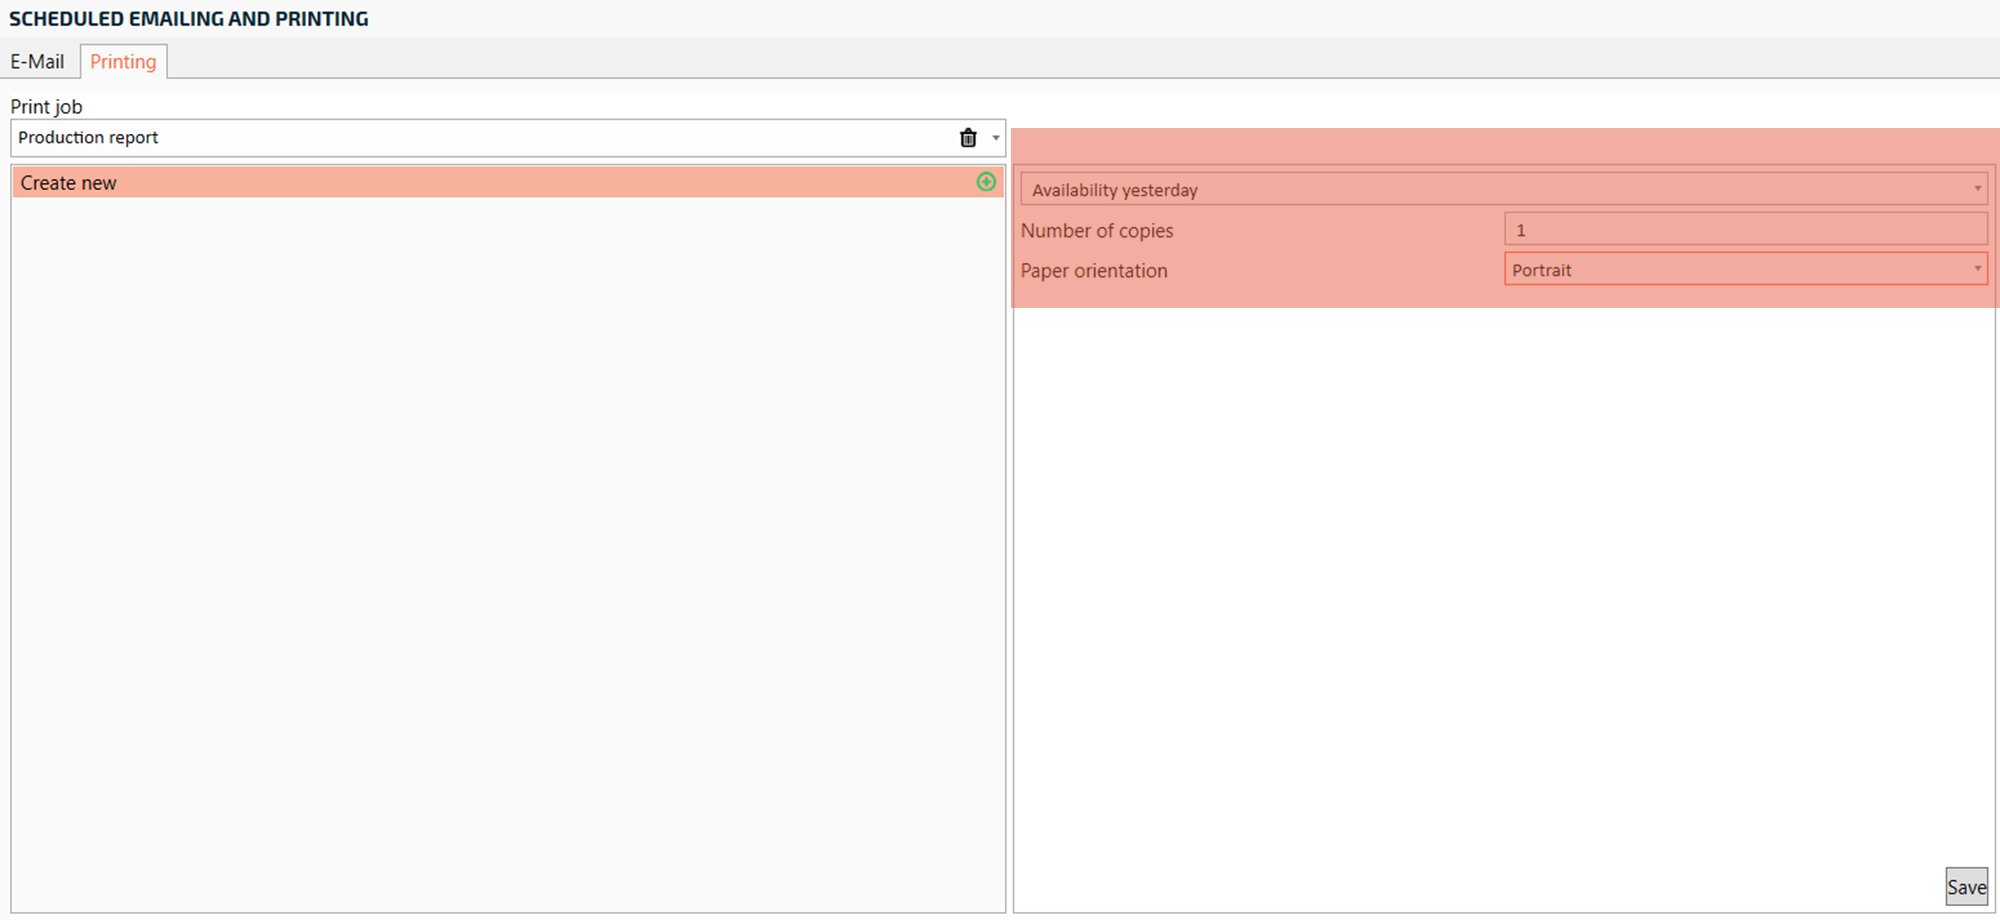
-
Then you select a printer. If it is a network printer, uncheck "Show local printers only". Select the user that should do the printing. Remember, all clients that are started with that user will attempt to print when the time comes.
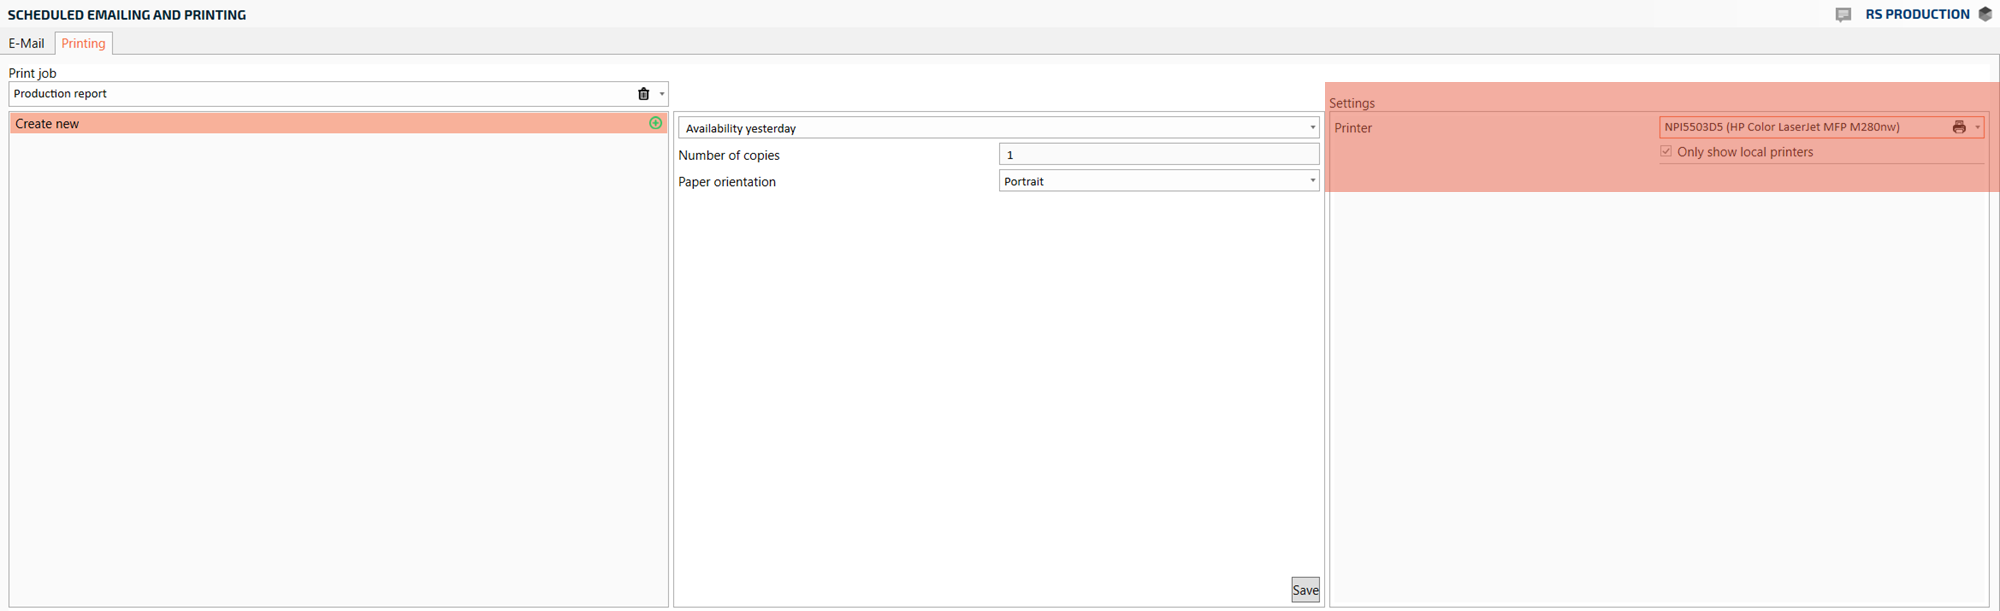
-
Then choose which day of the week and time the report will be printed automatically. Then click "Add". You can add more days of the week by repeating this step
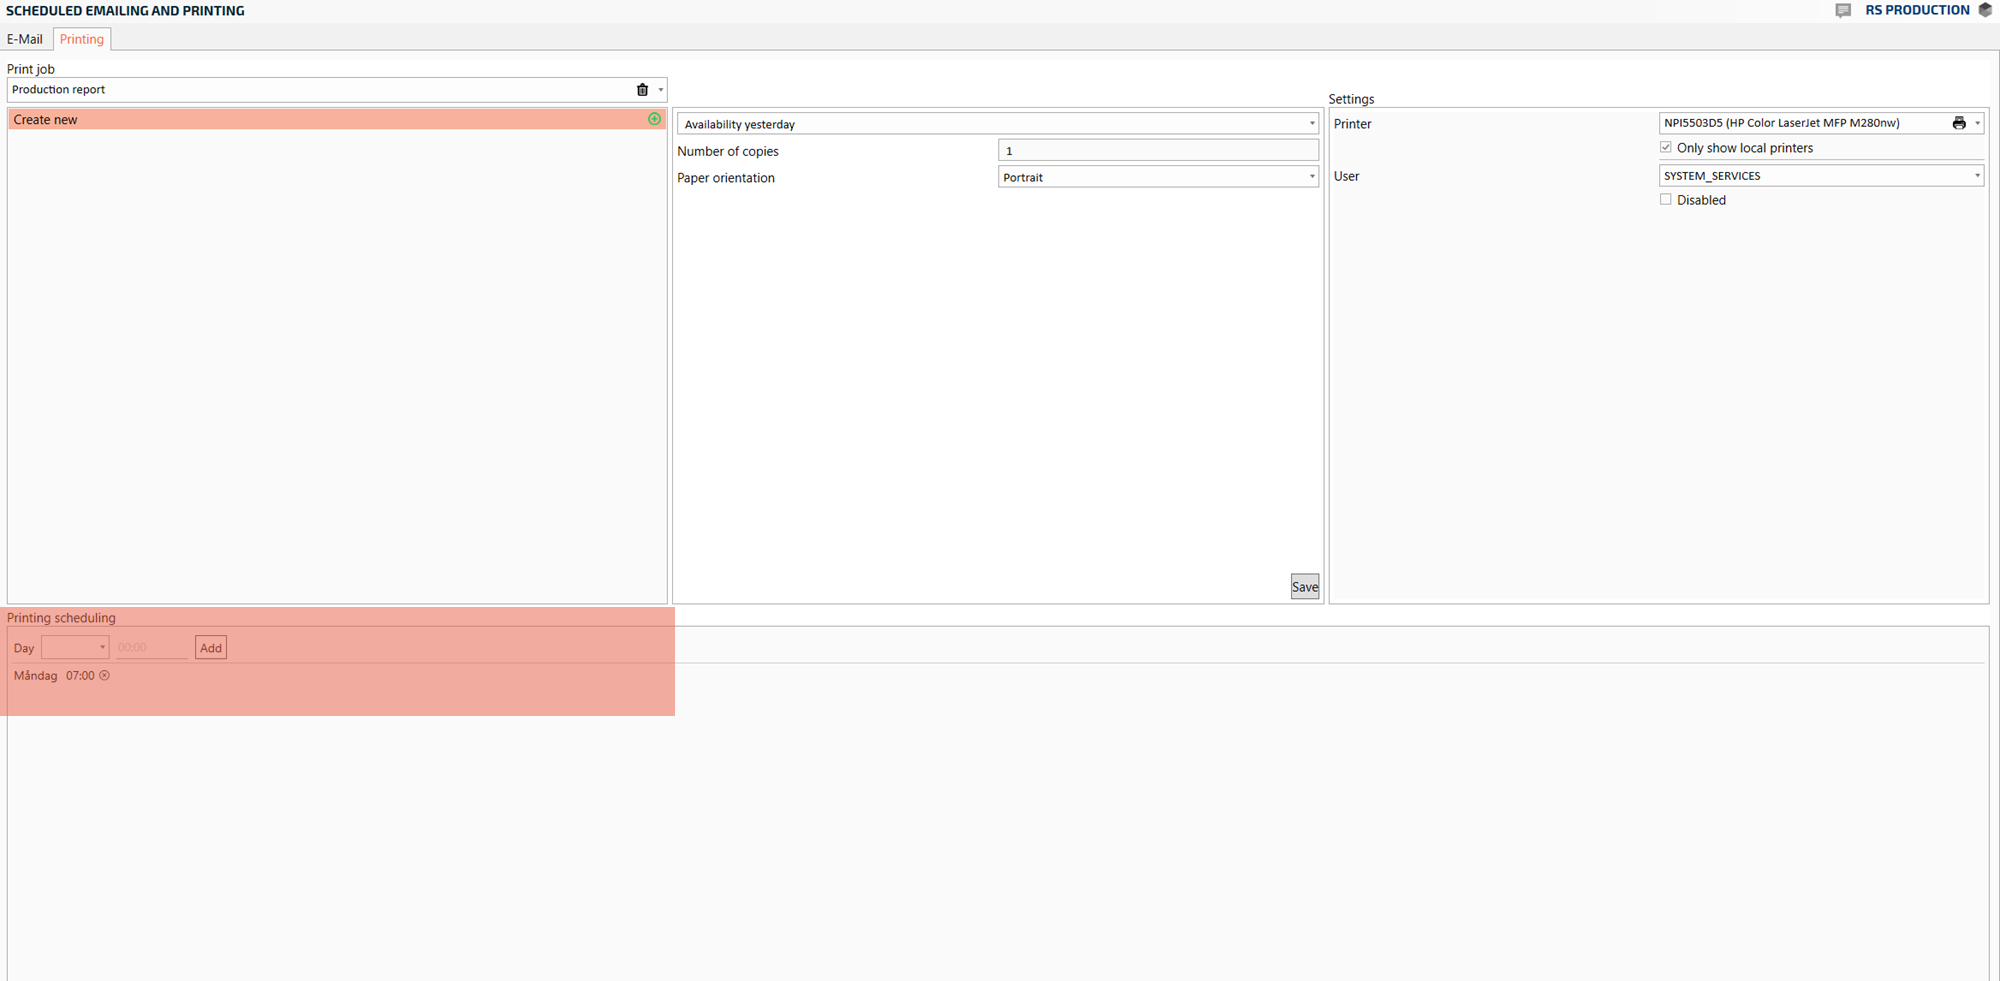
-
To delete print jobs or scheduled weekdays, click on the trash can located to the right of the field
-
To print a print job directly, click "Print" at the bottom right
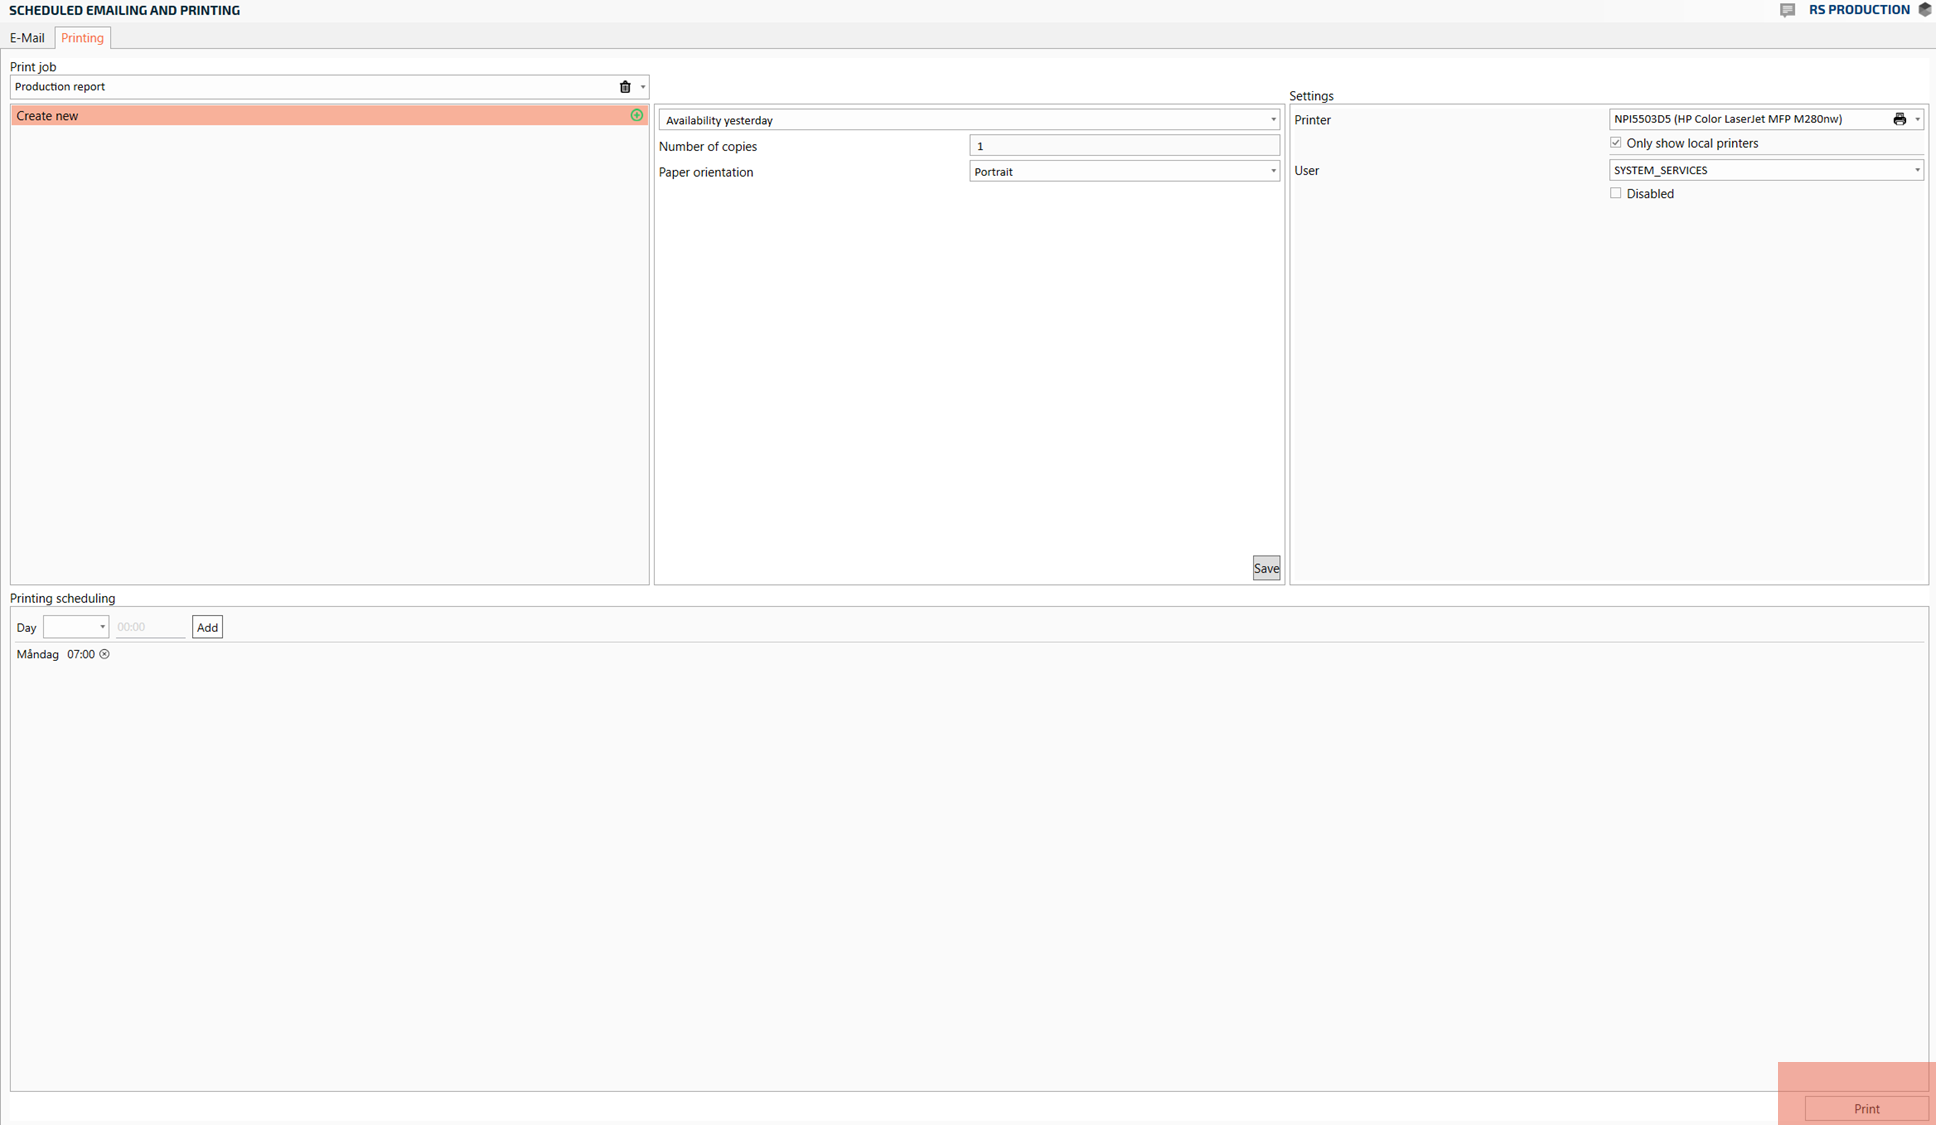
-
The print job template is saved automatically. You have now created a scheduled print job