
This guide explains how to configure scheduled report E-mails
Instructions
-
Go to Production -> Reports -> Scheduled emails and printouts
-
Select "Email"
-
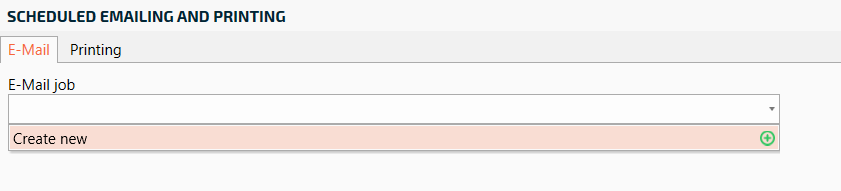
Click "Create New" in the list
-
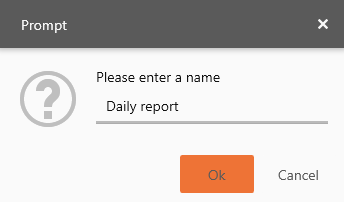
Enter a name for the E-mail and press OK
-
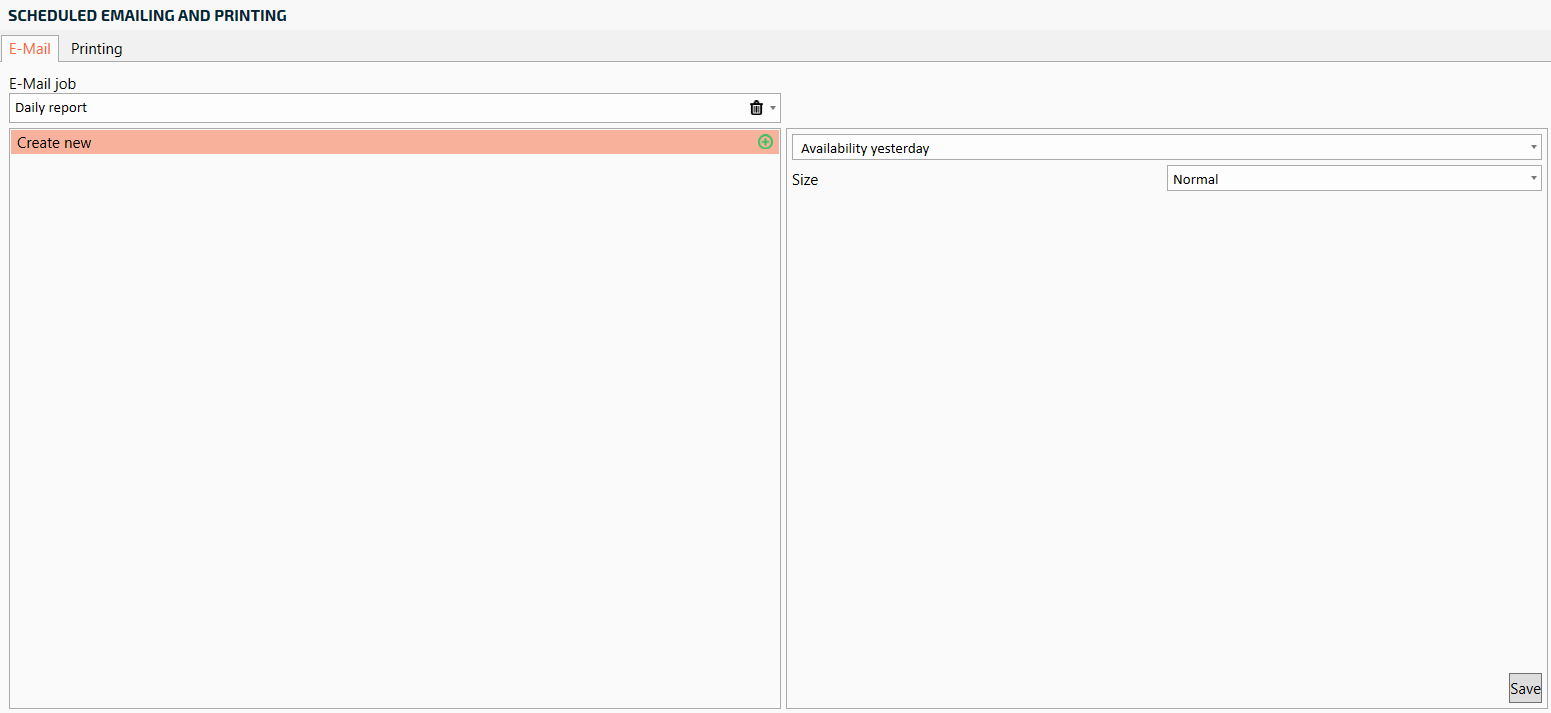
Click on "Create new" and then select which report in the box on the right is to be sent out via E-mail. Select the size of the report. Then press save. You can create multiple reports by repeating this step again
-
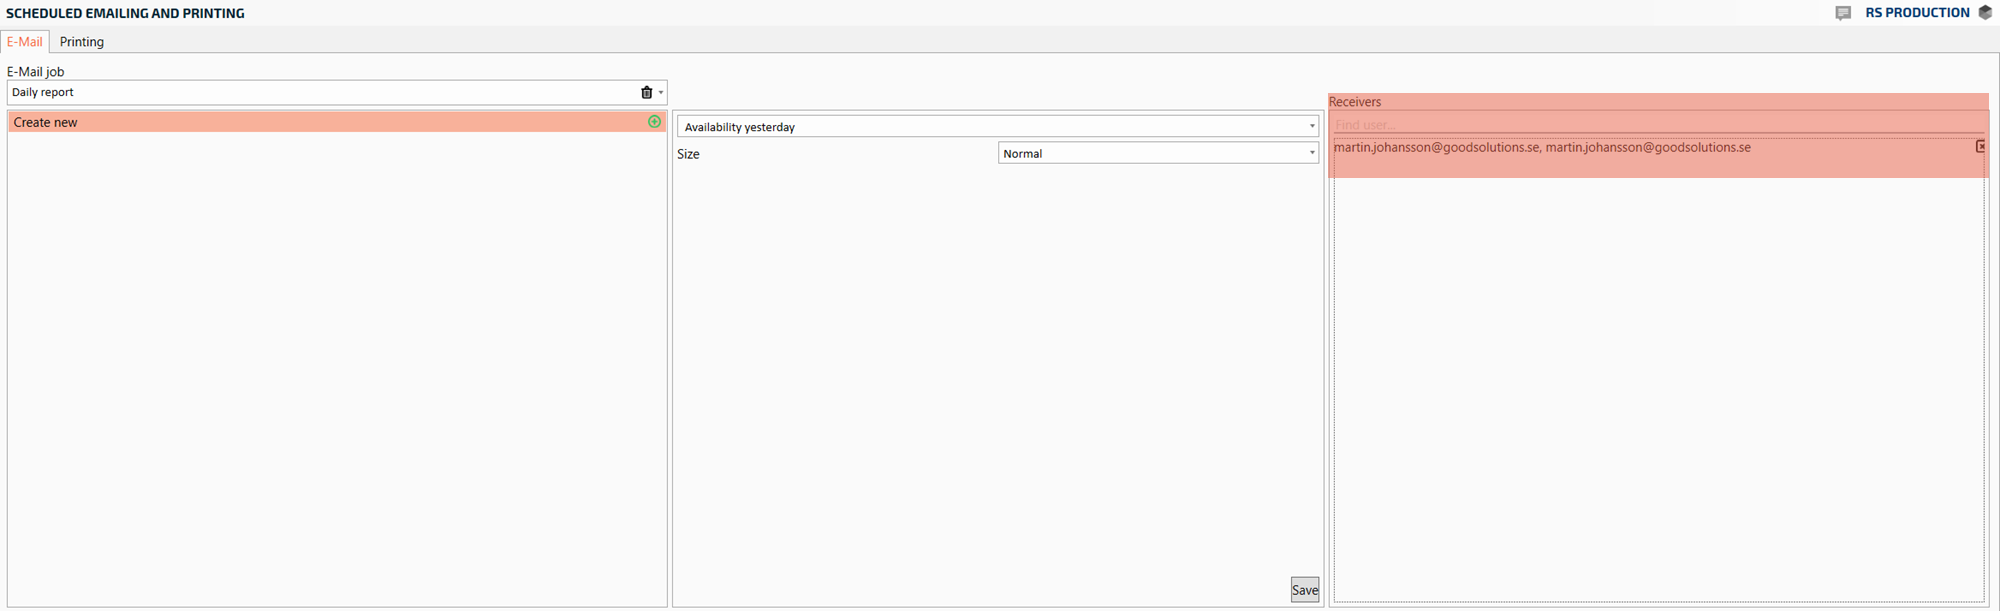
Select a recipient for e-mail by clicking in the search field "Search for users". It is also possible to add an E-mail address directly to the list by clicking on "Create new". You will find users in: System Administration - Users
-
Then select the day of the week and time that the report will automatically be sent to selected E-mail recipients. Then click "Add". You can add more days of the week by repeating this step
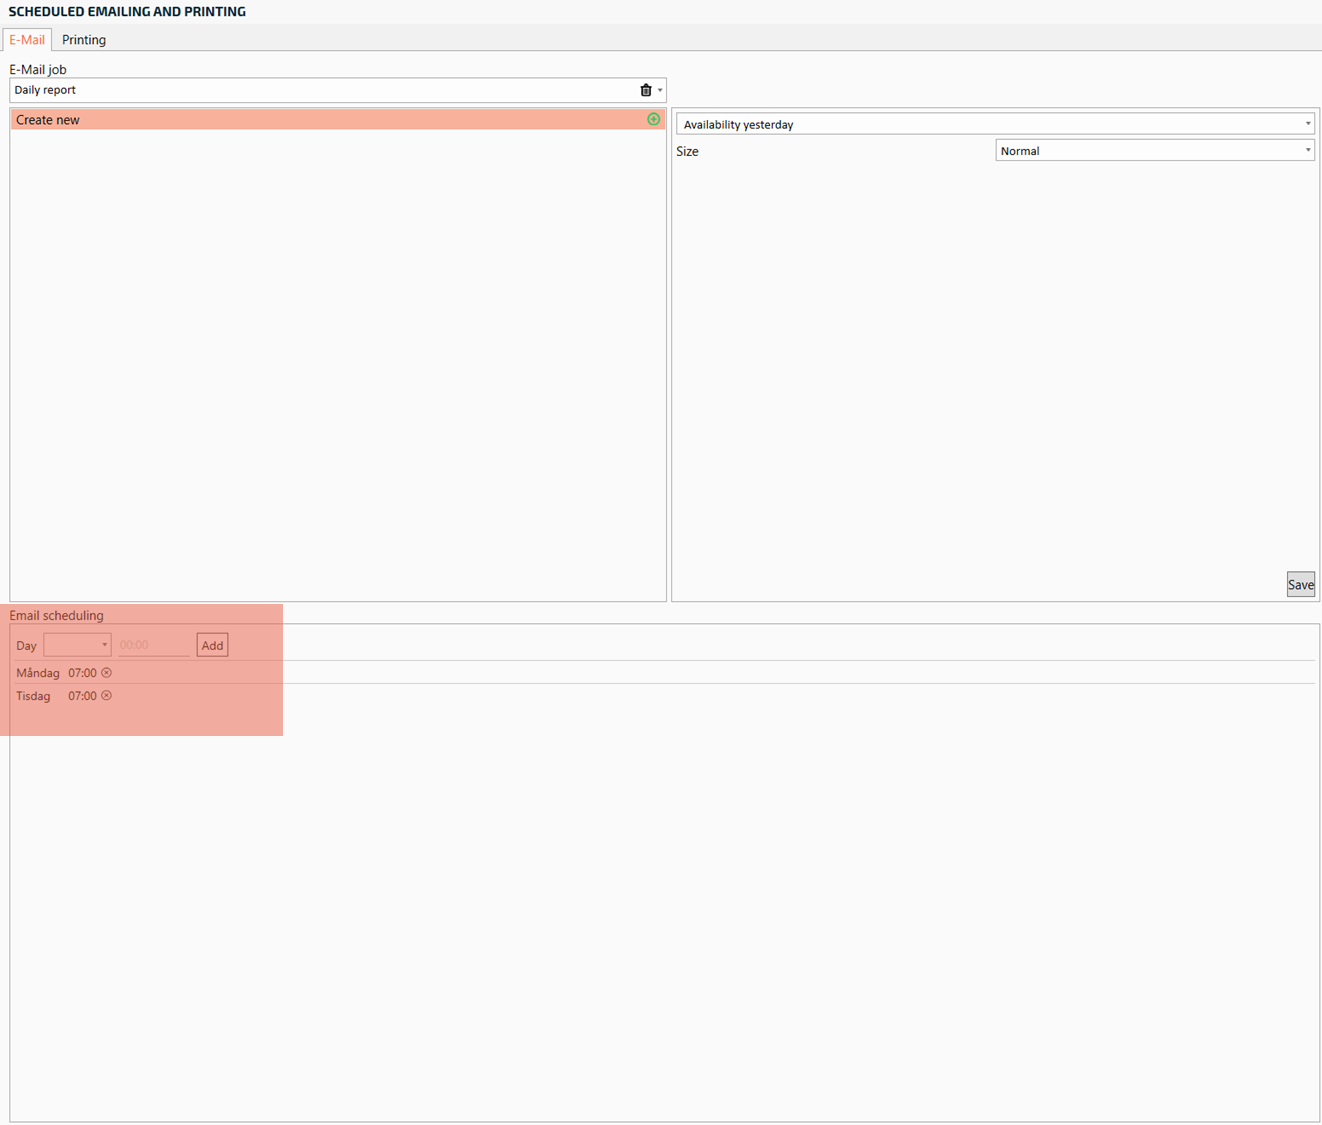
-
To delete email jobs or scheduled weekdays, click on the trash can located to the right of the field
-
Configure the E-mail template and click "Send test email"
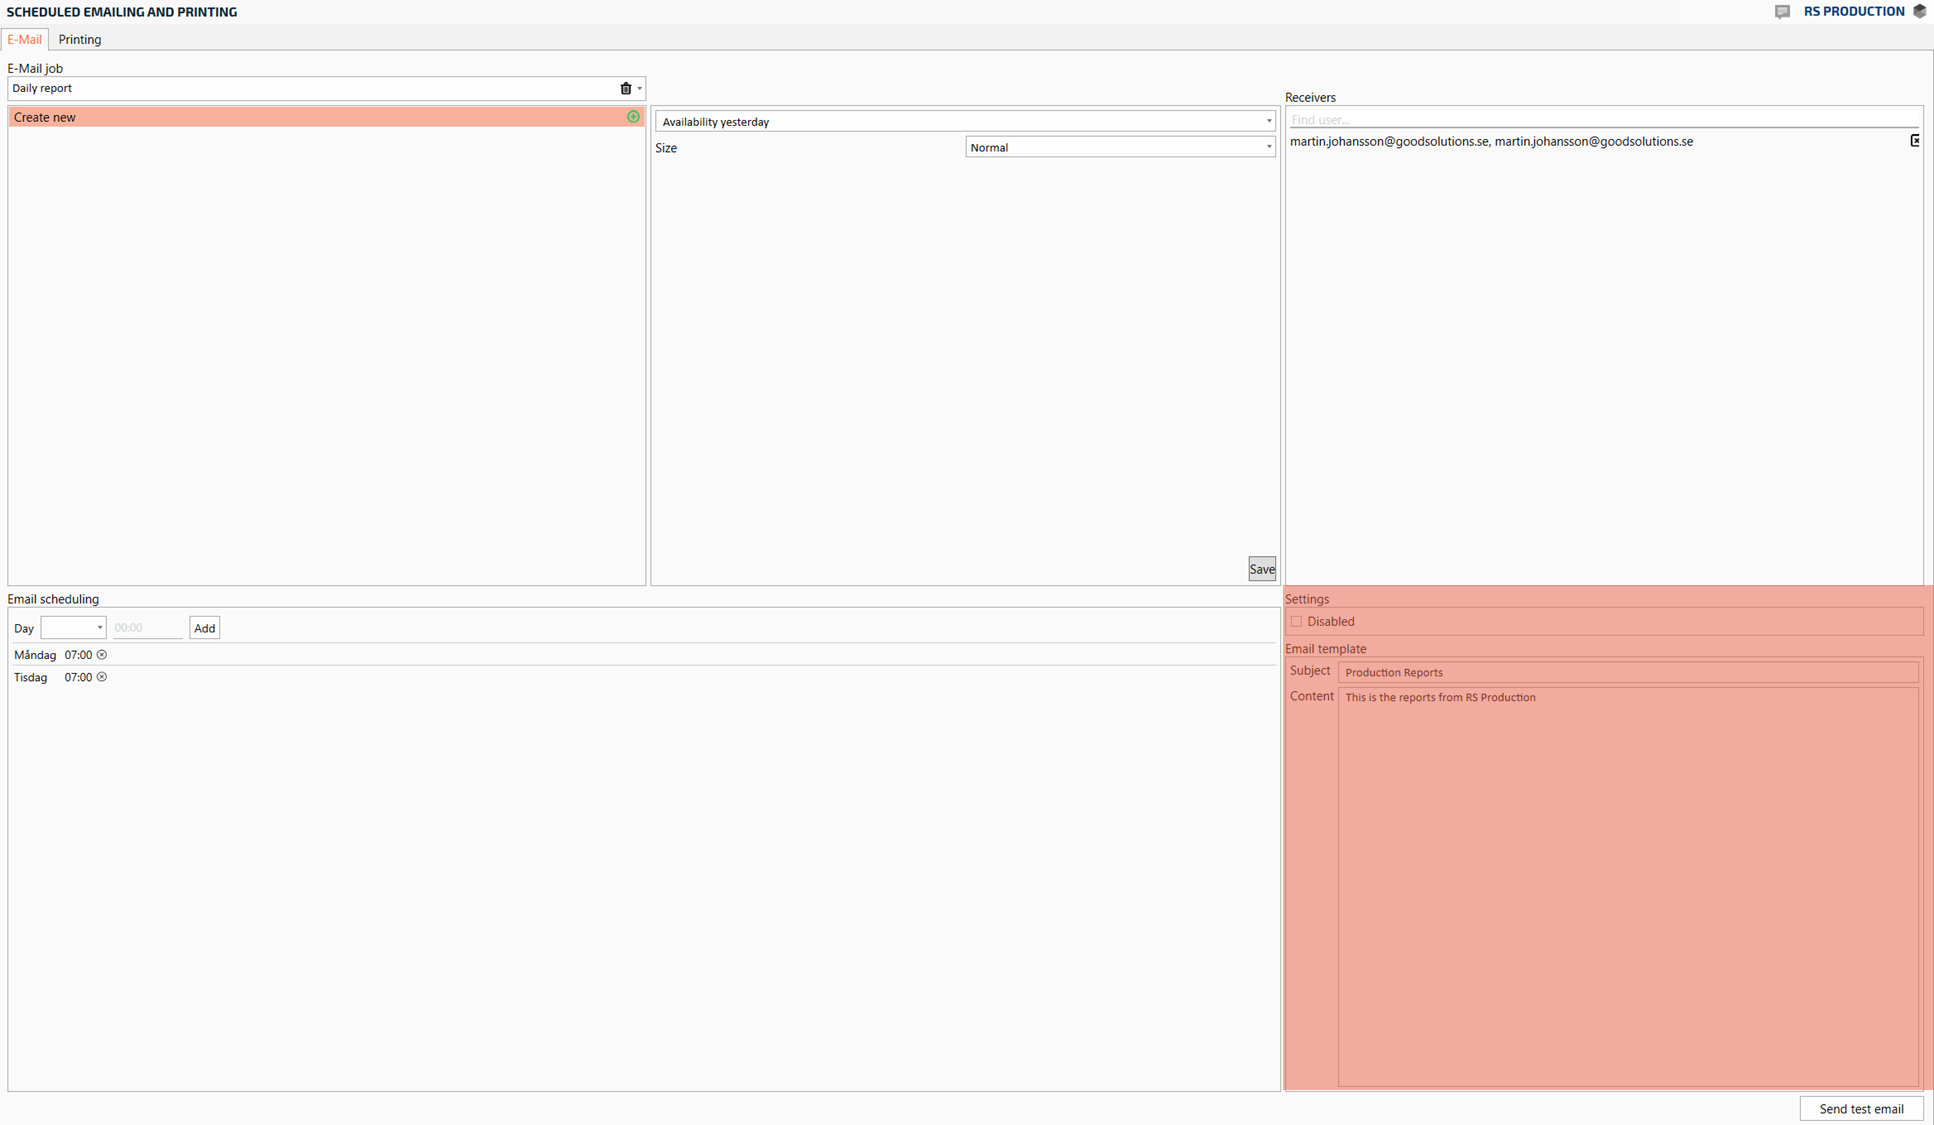
-
The mail job template is saved automatically. You have now created a scheduled email job