Connect OPC server and OPC tags in RS Production
This instruction is to connect OPC signals. If you have counter or status signals, they also need to be created.
Connect OPC Server
Go to Section menu “Hardware”
Go to OPC server
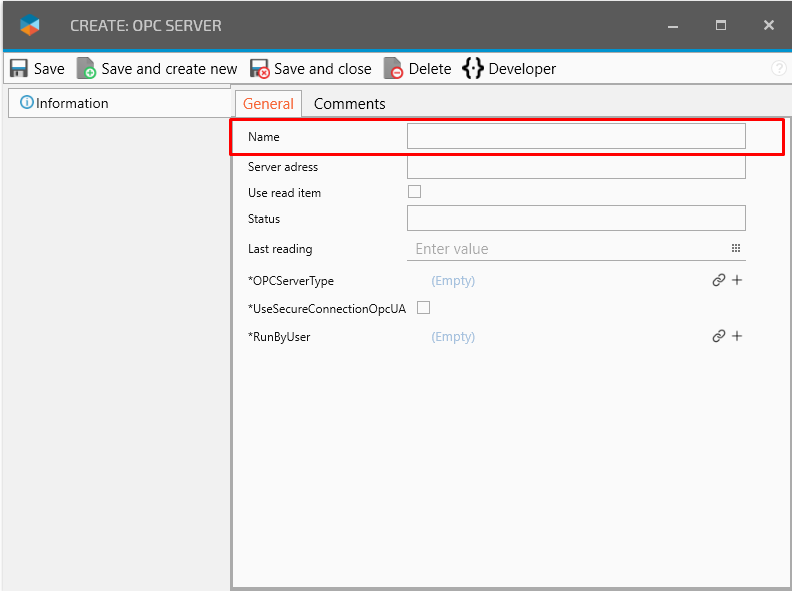
Click on Create

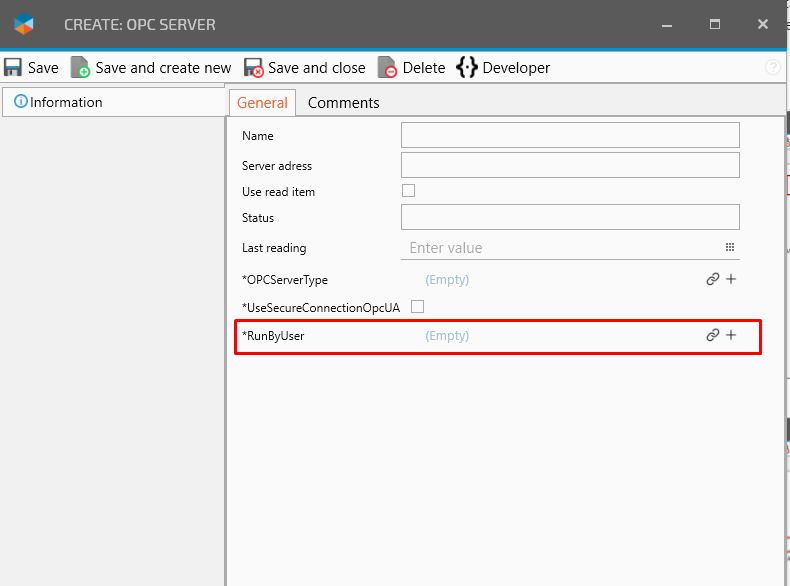
Enter the server name.

This field must be the exact name of the OPC-Server instance and this is used by the client to connect to the correct OPC-Server (When using OPC-UA the name is not important and is not used to find the OPC-Server)
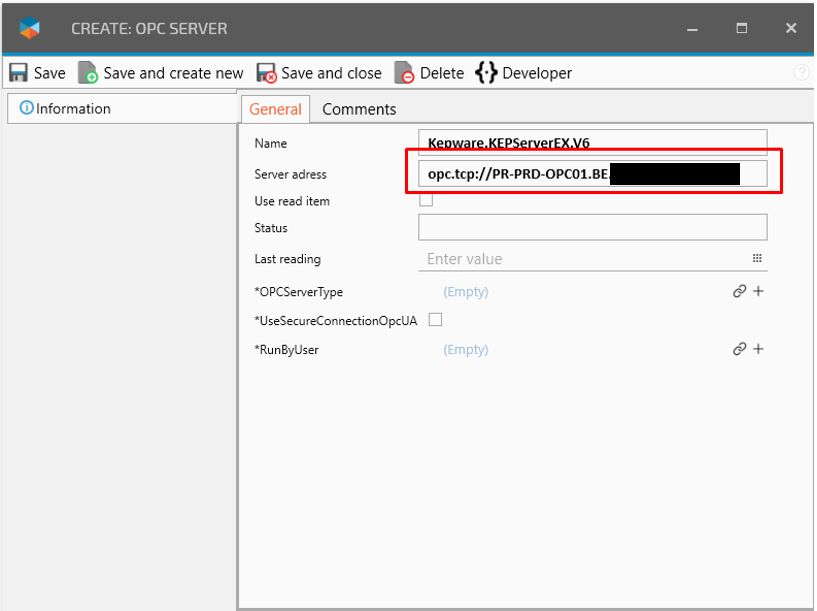
Enter server adress. Example: “opc.tcp://127.0.0.1:48100” or a local host if RS Production server is running on the same server as the OPC server.
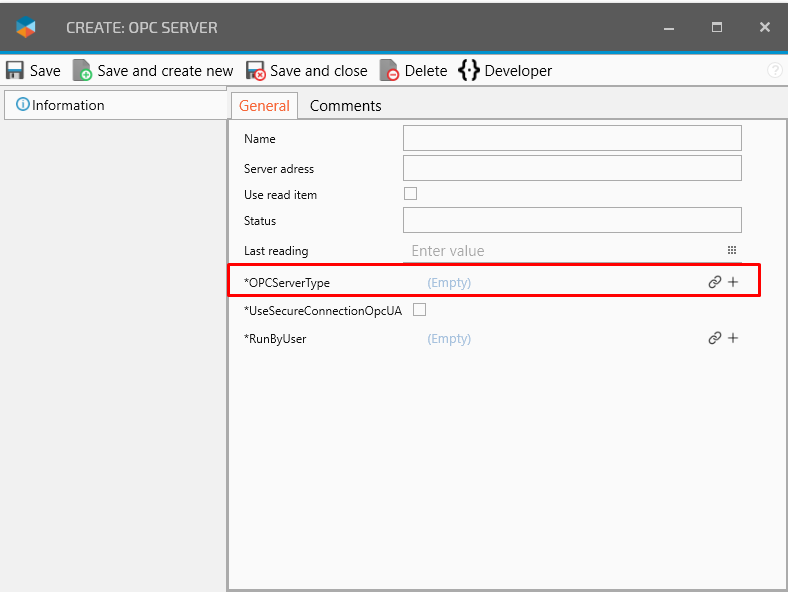
Click on Connect icon for OPCservertype
Choose OPC UA
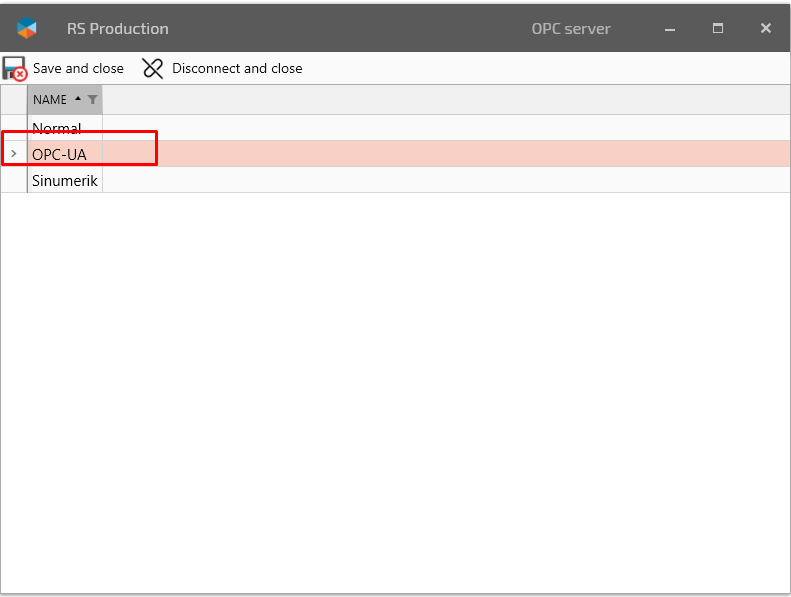
Click Save and close
Click on connect icon for RunByUser - the support team should have created a user: Example OPC user
Select the “OPC user”
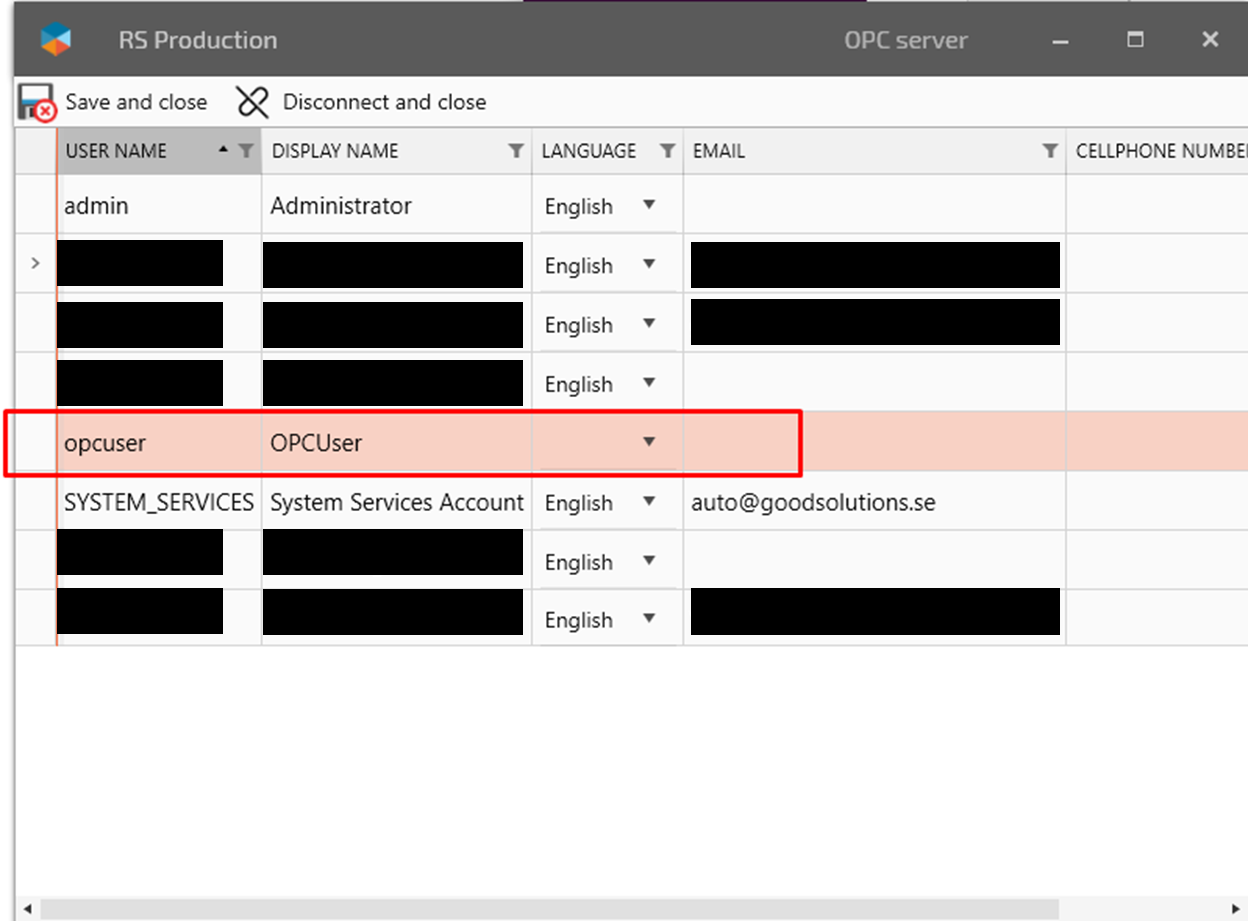
Click “Save and close”
After this it should look like this:
(Last reading should be the current time and date. If not, Contact Support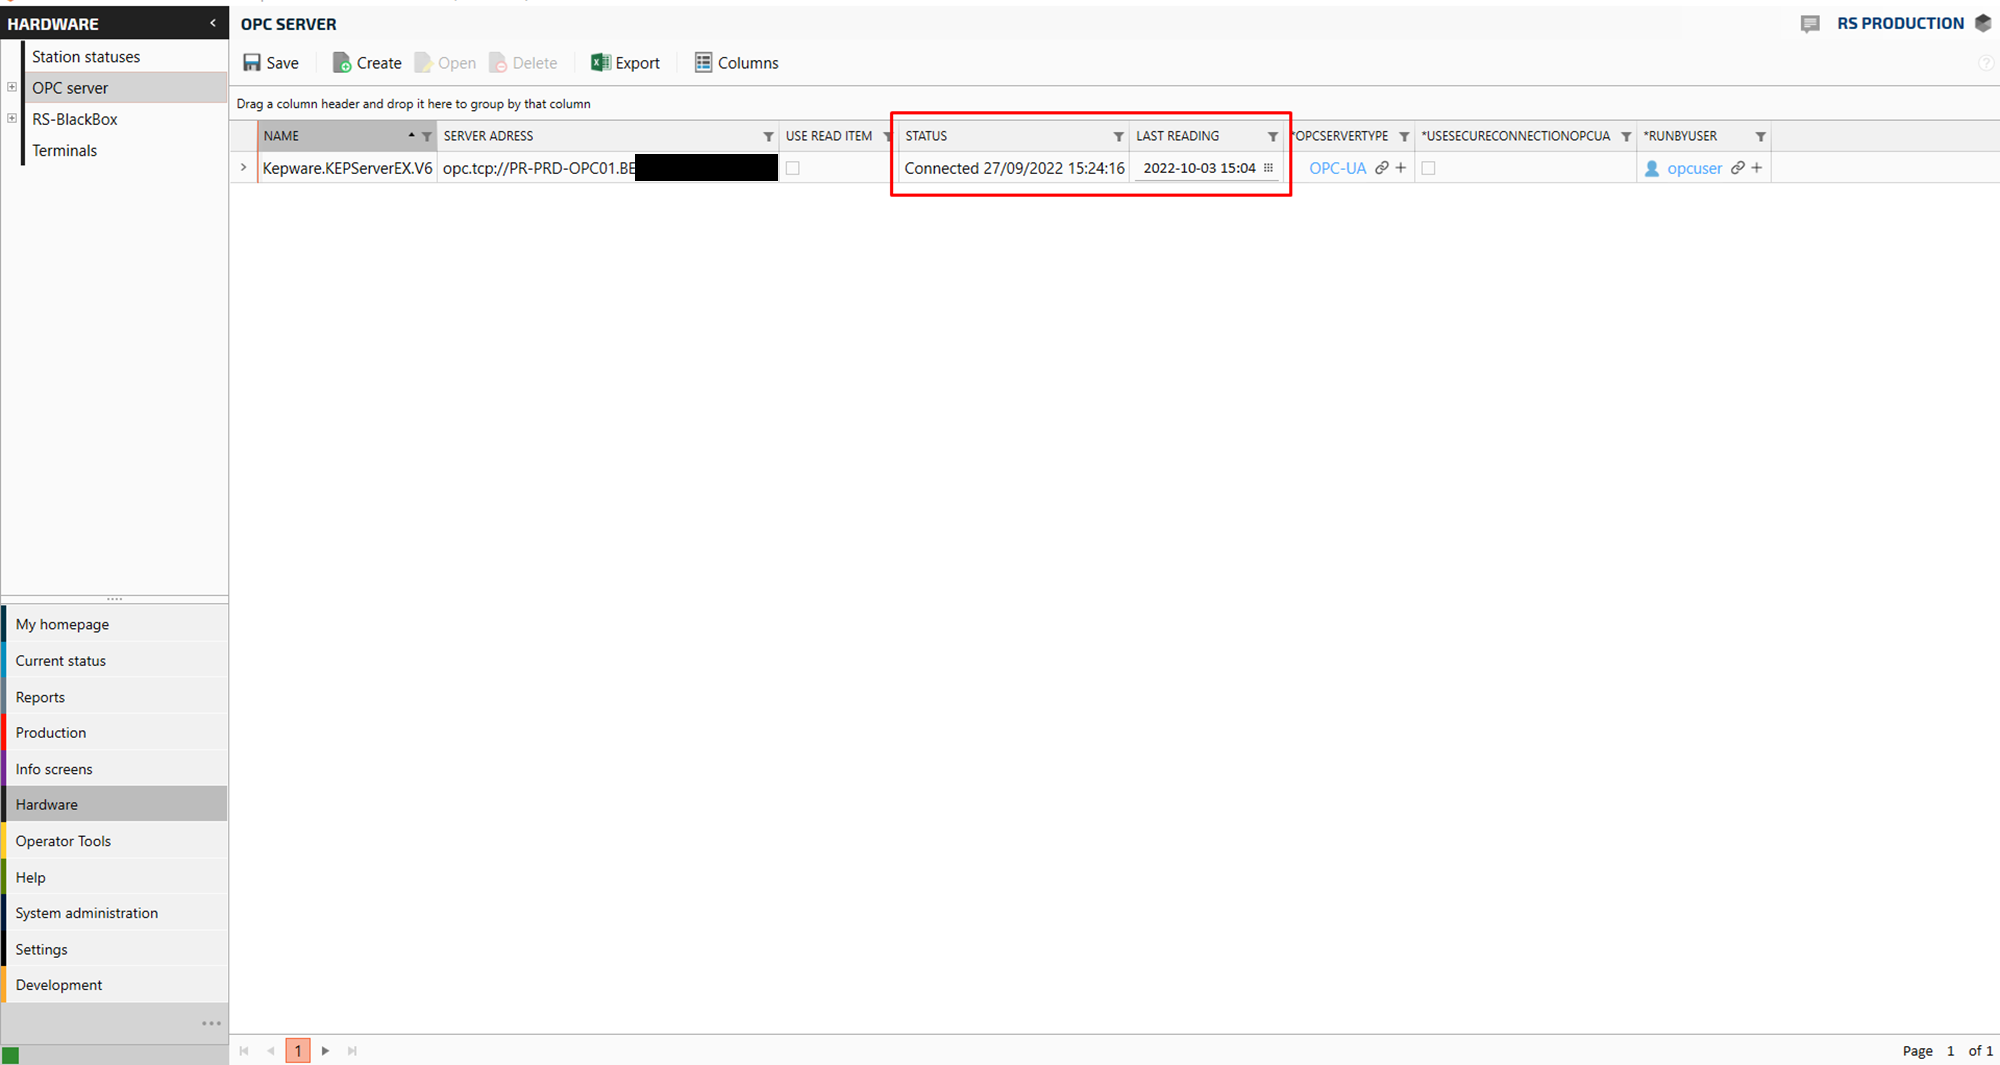
Now you have connected the OPC server.
Create and Connect OPC tags
All types of OPC tags are configurated in the same way. In this example we will set up an OPC counter.
Go to Section menu “Hardware”
Go to OPC server
Go to OPC Counter input
Click on Create
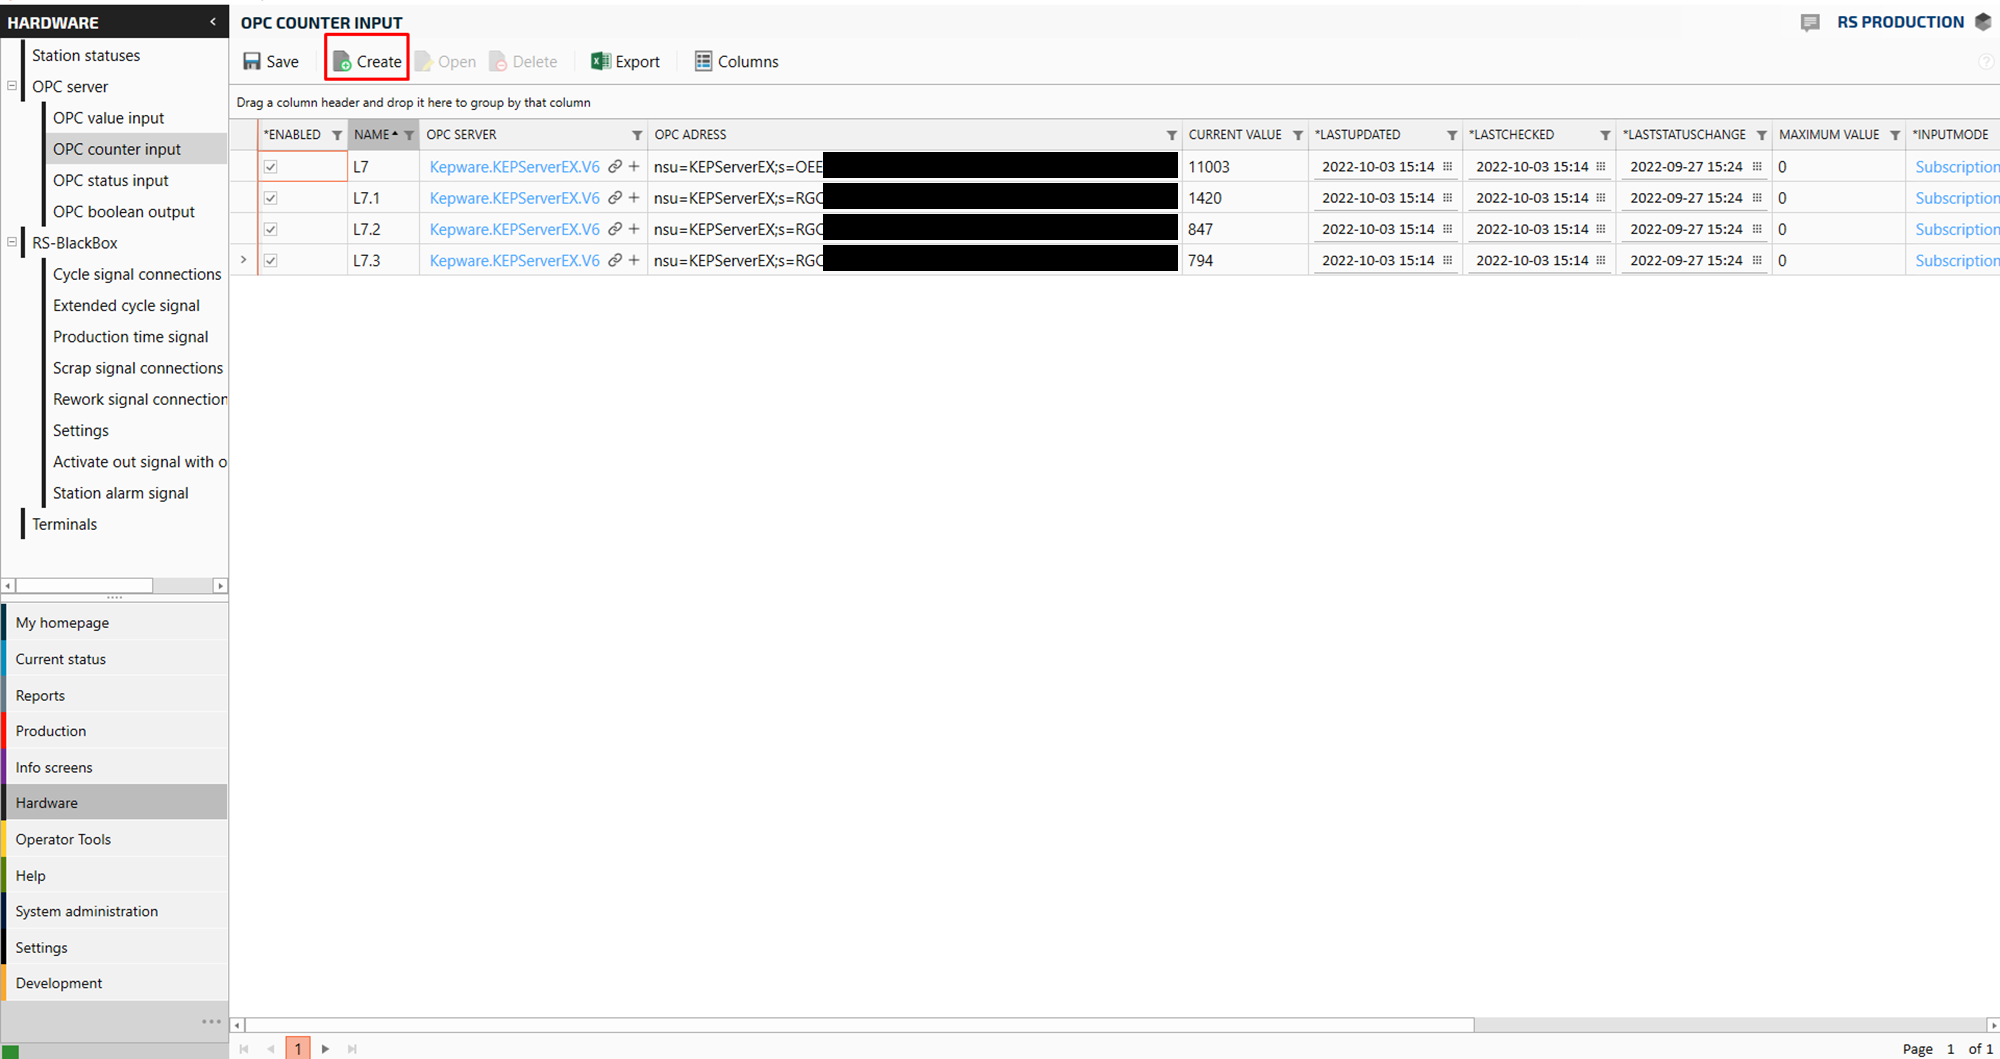
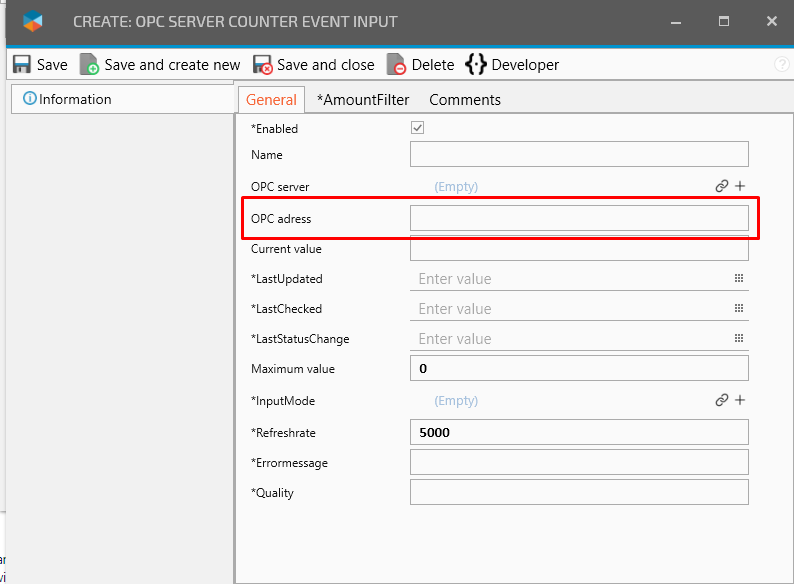
A pop up window will appear.
Enter a name for the OPC tag. Standard is to name it after the measure point and function of the tag.
Example: Measurepoint1_partcounter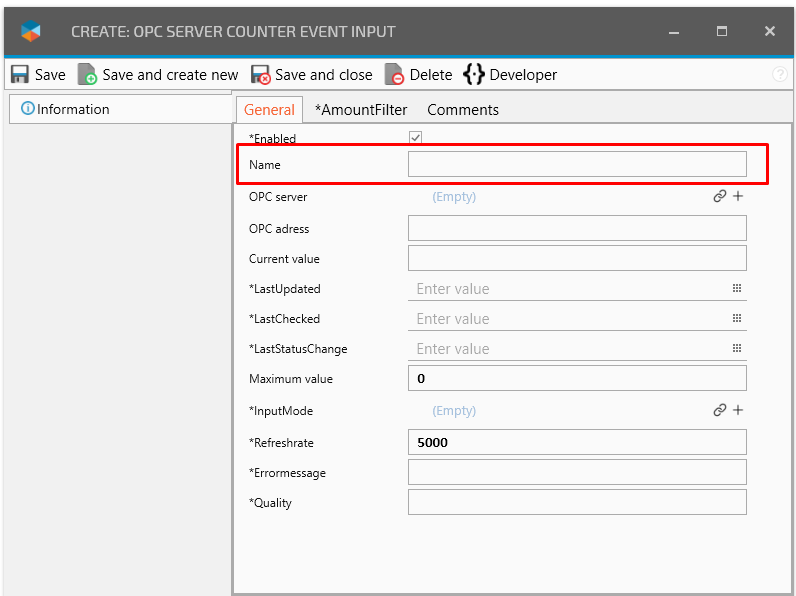
Click on Connect icon OPC Server
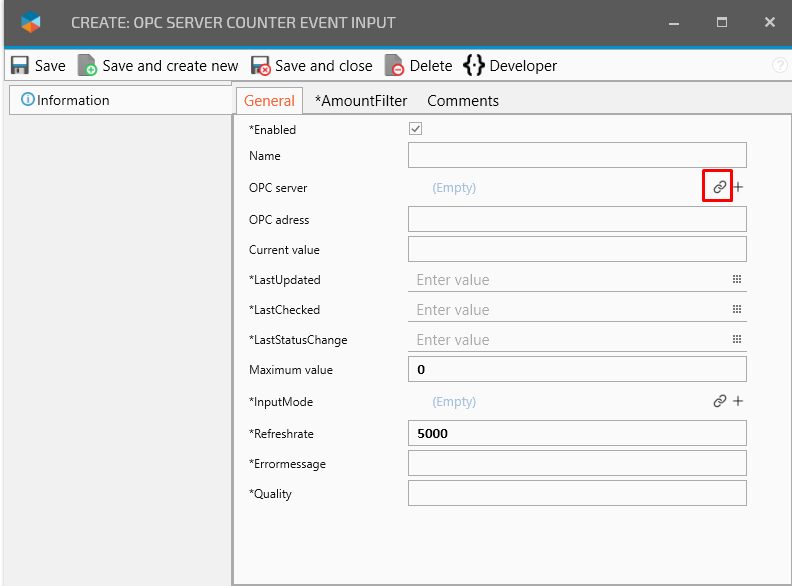
Select server where the tag is read from
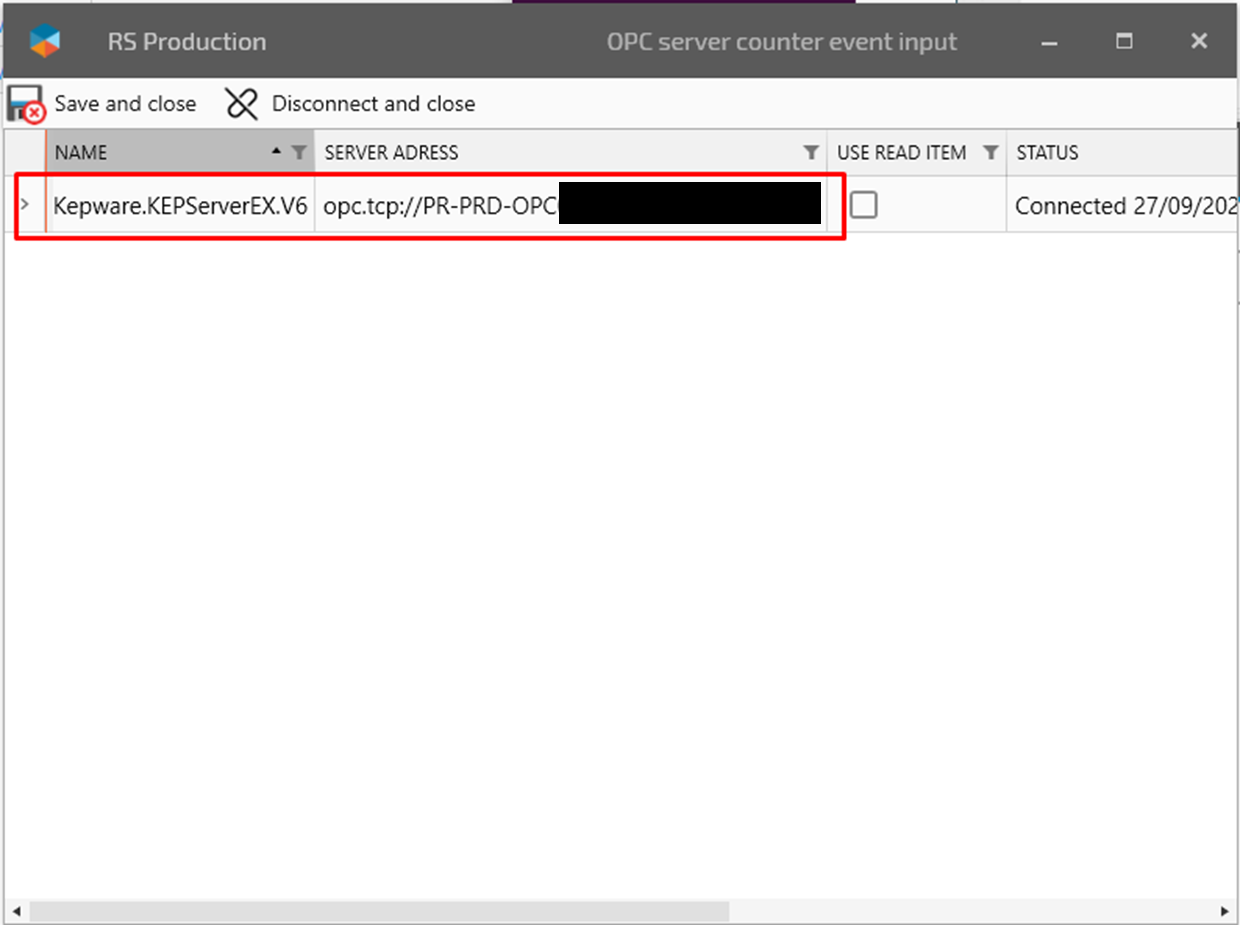
Click Save and close.
Enter OPC Address.
Template of OPC address: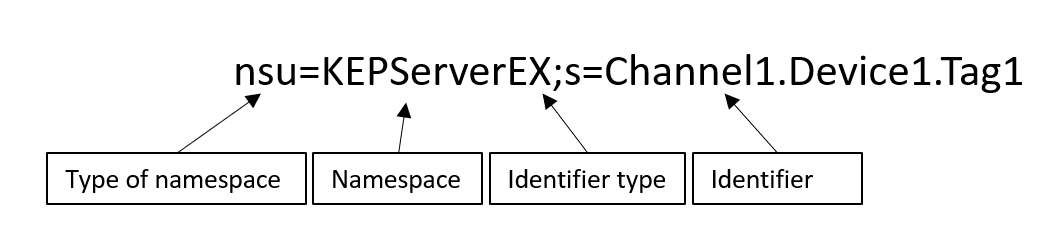
Example OPC adress provided by customer nsu=KEPServerEX;s=RGFL_CASEPACKER_HAL2.RGFL_NORREG_L13.OEE_BOX_DONE
Click to connect InputMode.
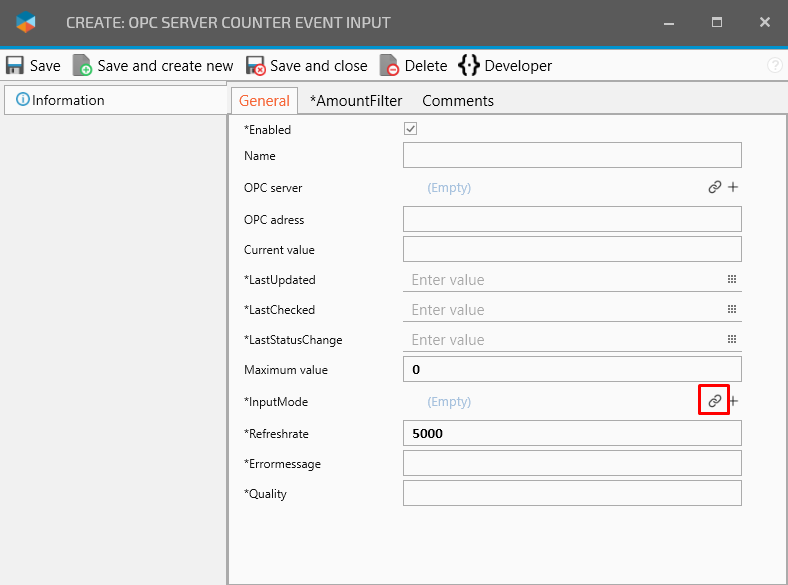
A pop up window will appear
Mark “Subscription”.
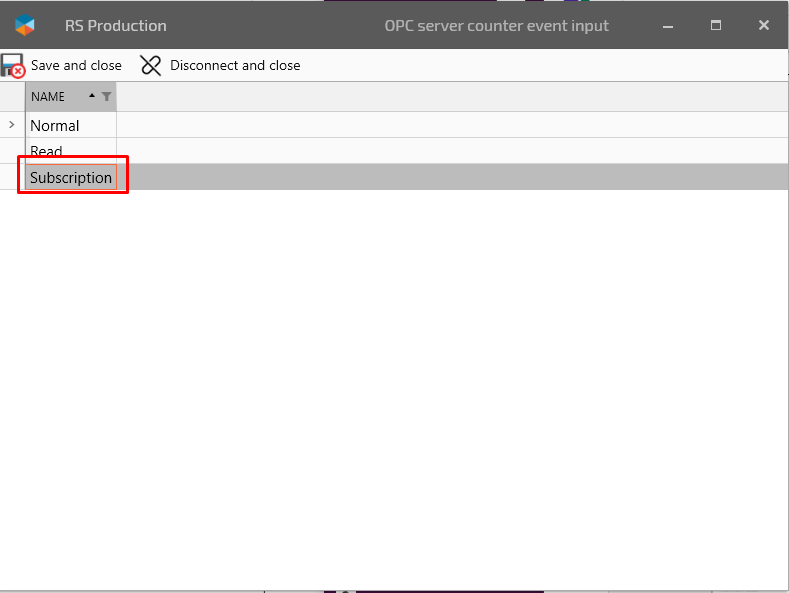
Click Save and close
Click Save and close again
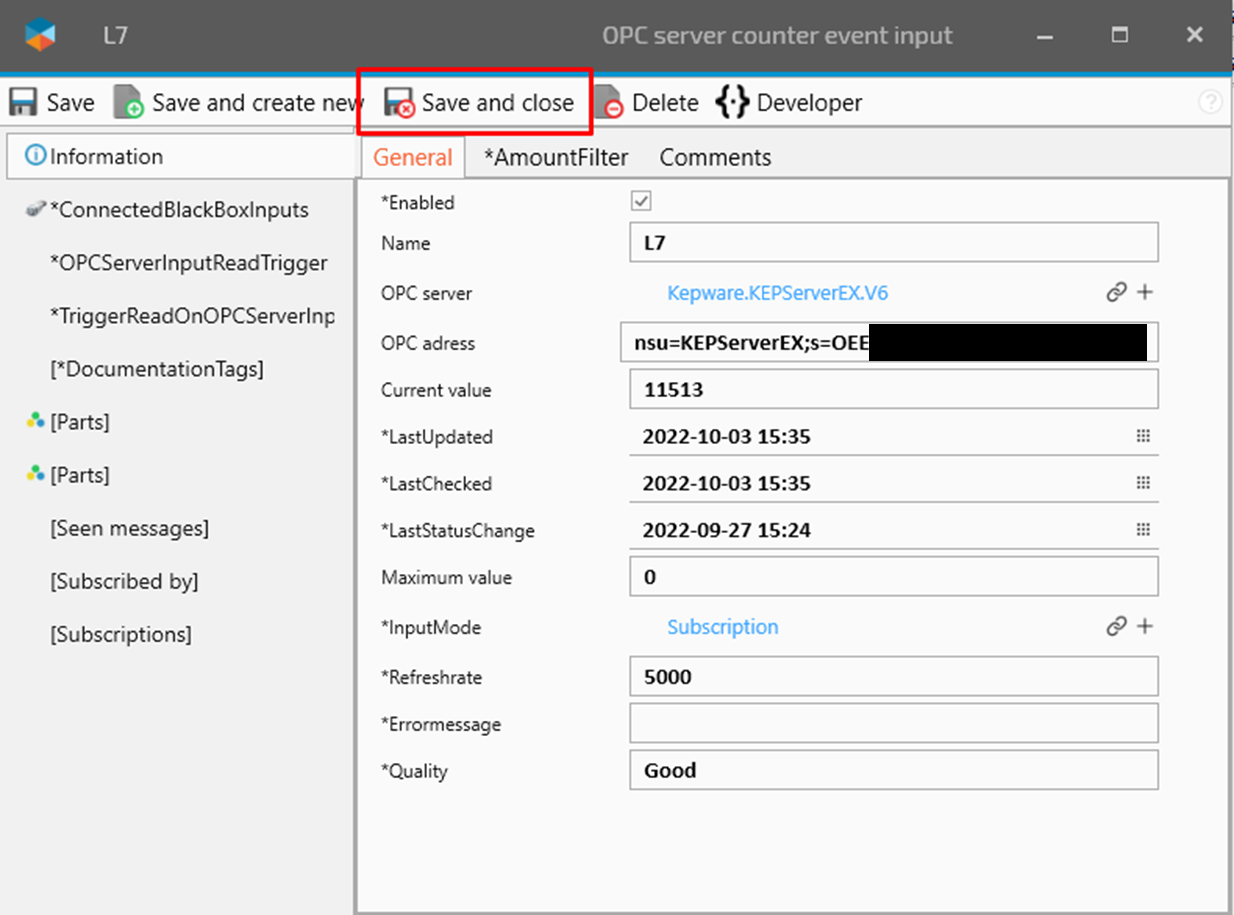
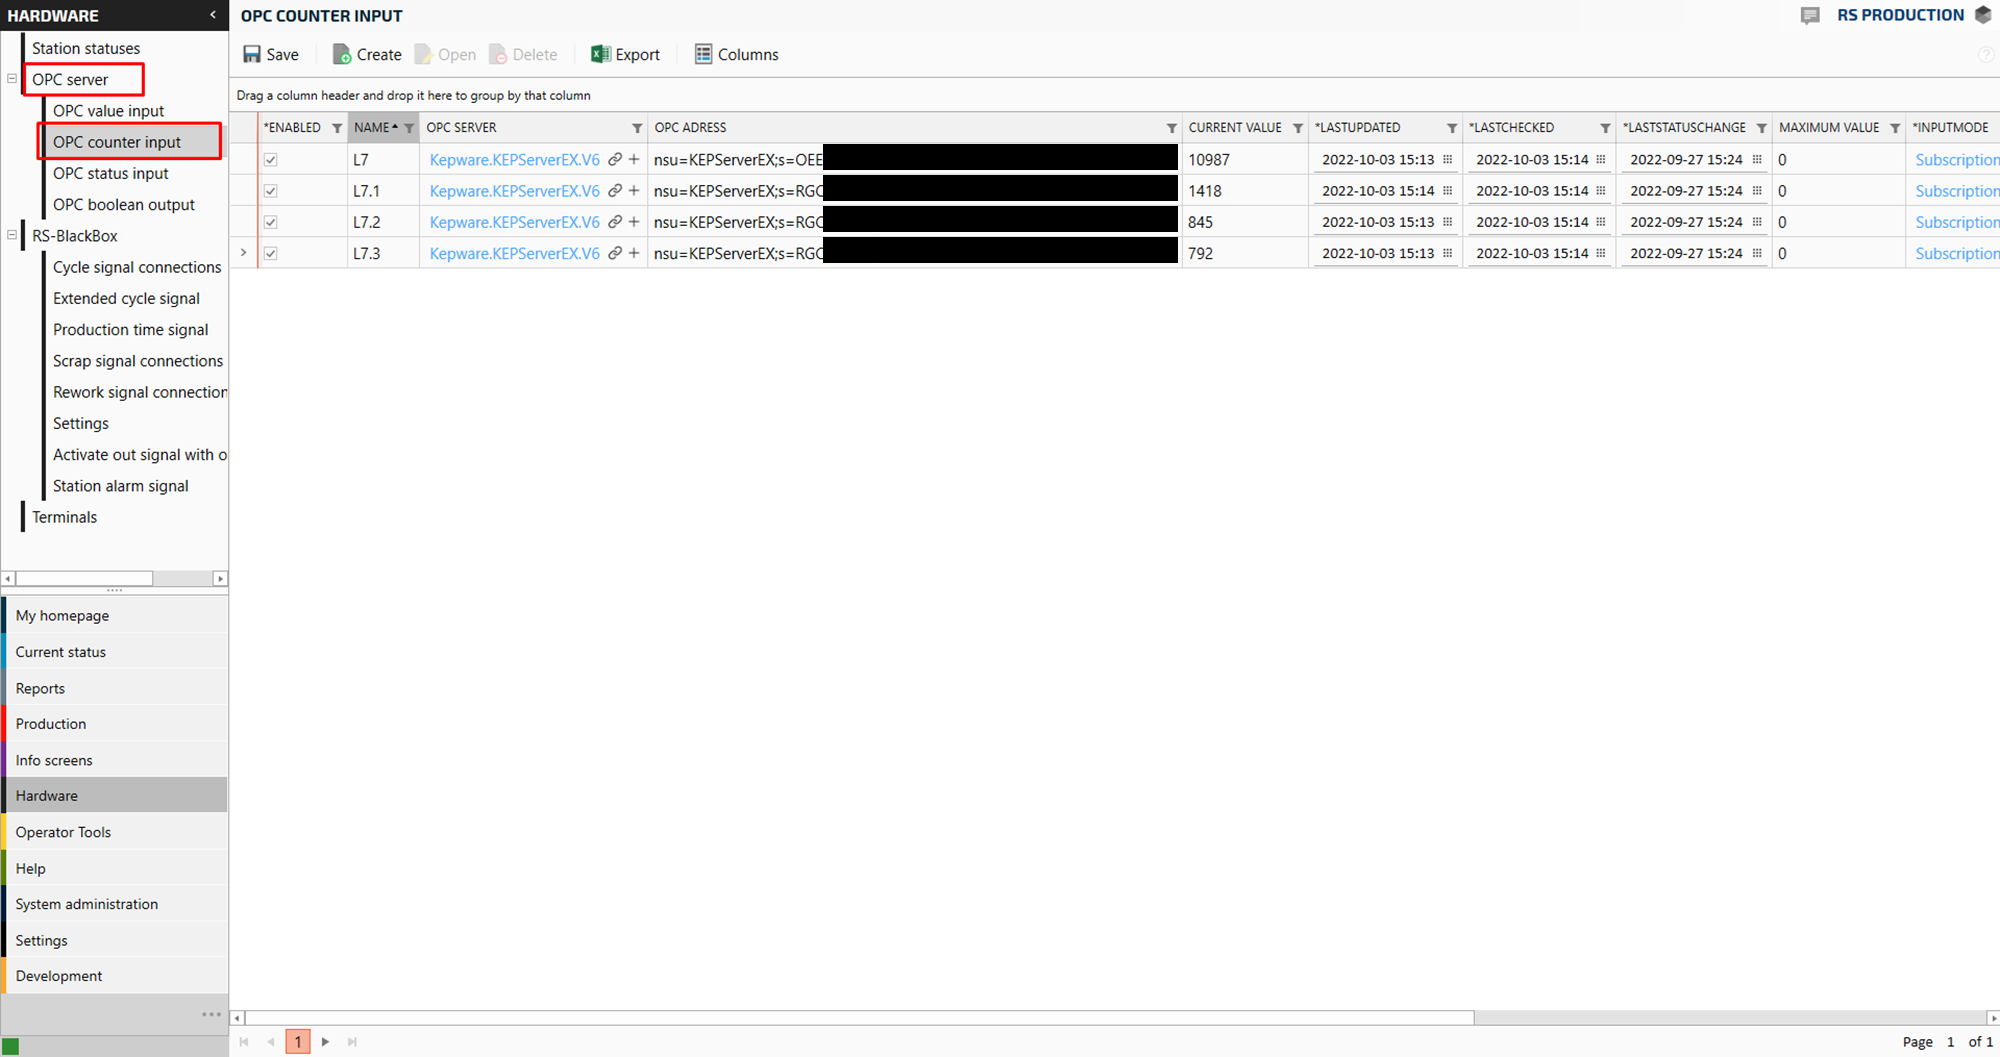
Now it should look like this:
(“Lastupdated”, “lastchecked” and “laststatuschanged” should be the current time and date when setting up the configurtion. If not, Contact Support . Quality should be marked as “Good”)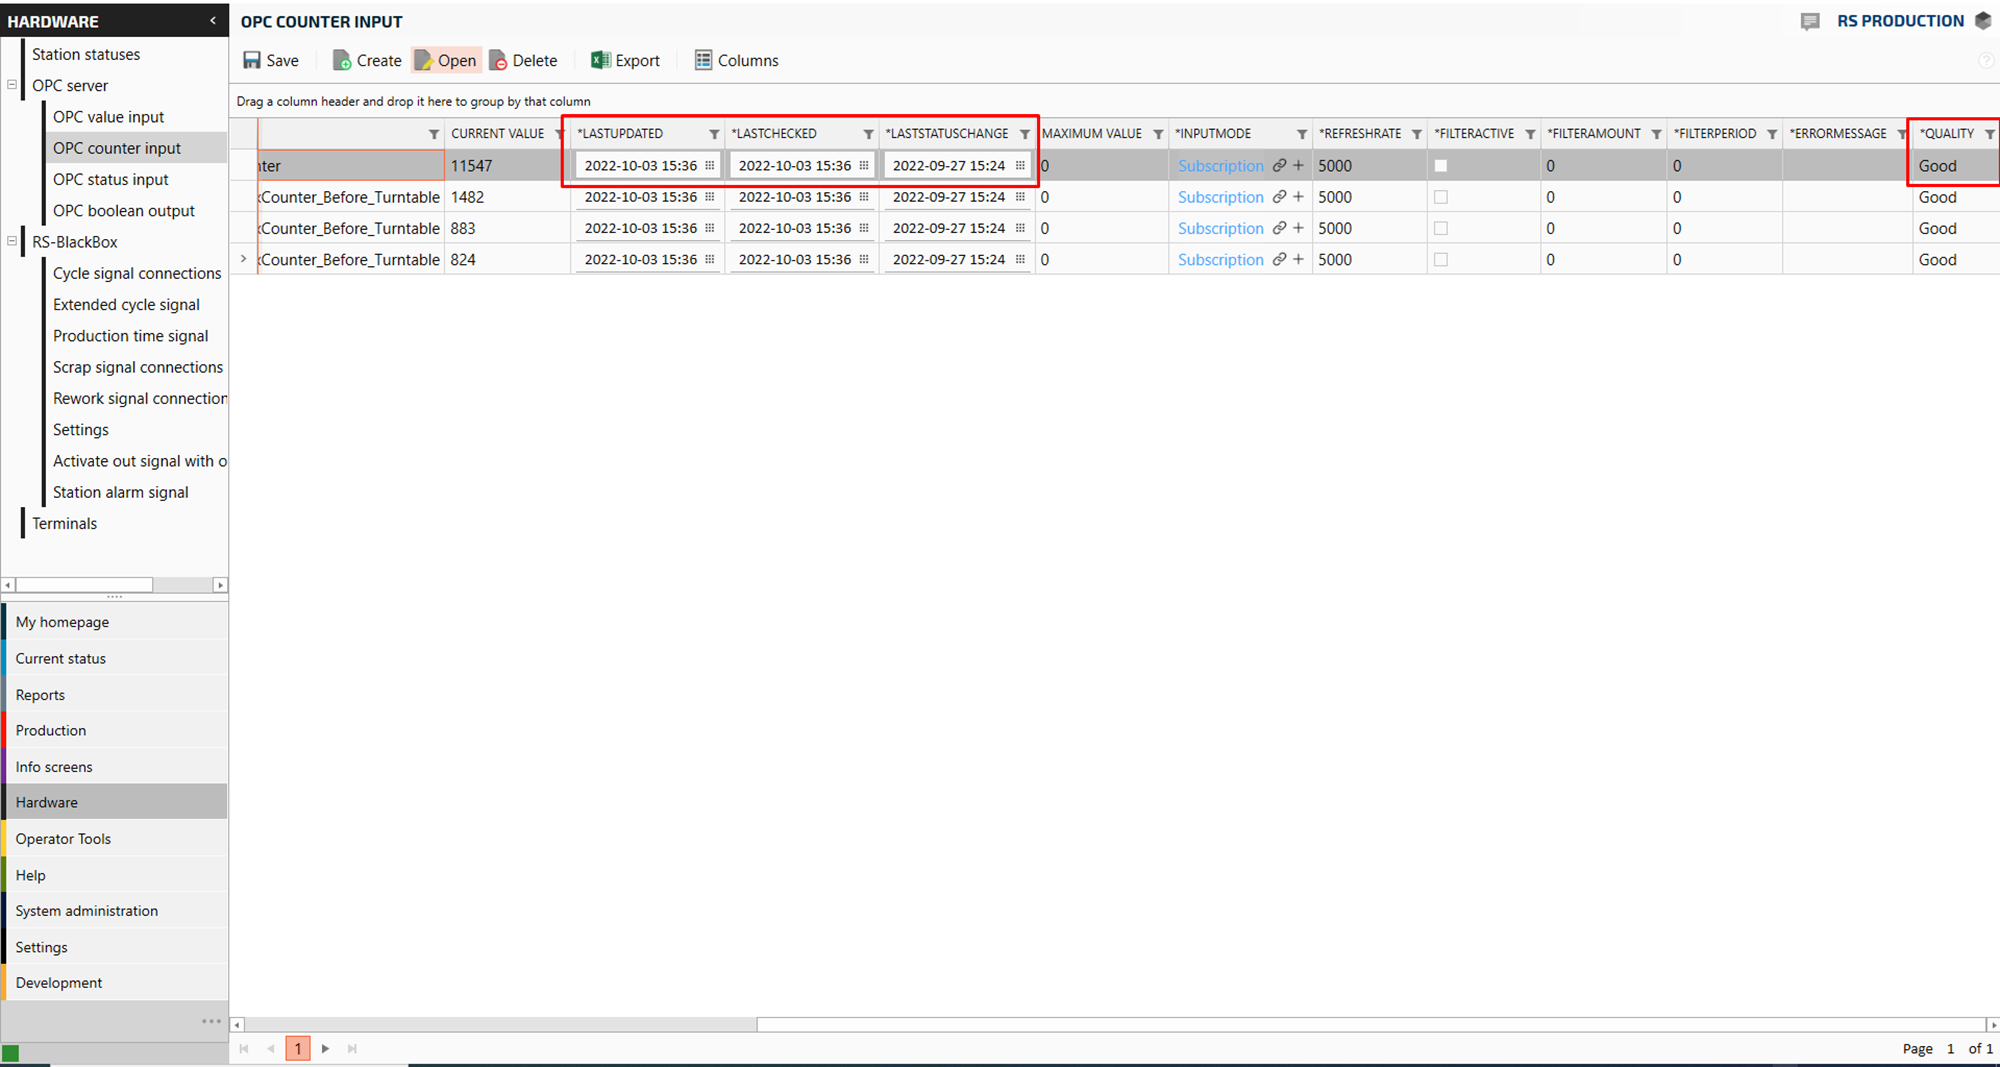
Now you are done with connecting the OPC tags.
To use the tag, you now need to create the desired signals