Rotating pages
One physical screen (and one Info Screens client) can show several pages by showing them in a rotating pattern.
Each page are shown in a number of seconds and is then replaced by the next page in the queue.
Add new rotating page to an Info Screen
In Office tools, open the Rotating pages page in the Info Screens menu. Click Create.
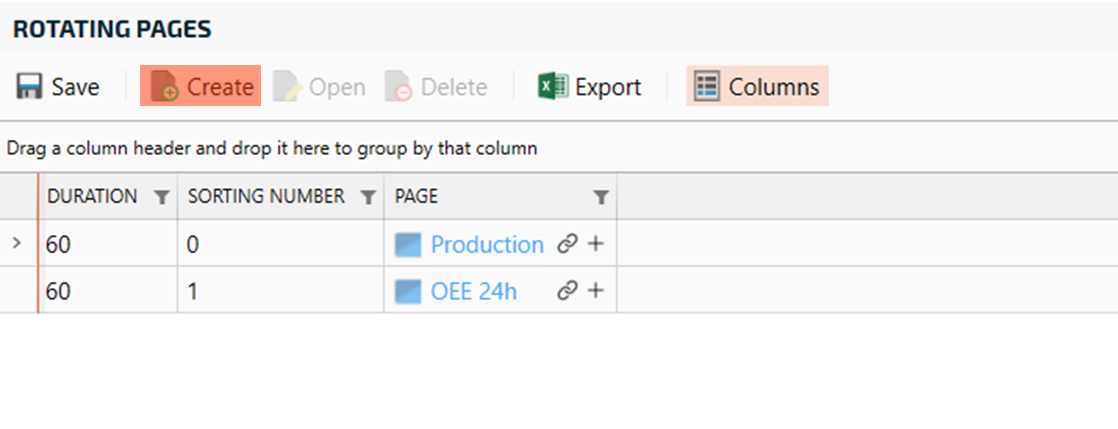
Set the Duration in seconds - how long the page will show until it goes on the next page.
Set the Sorting number - in what order the page will be shown
Connect a Page to show. This is often a Screen, but can be any page in RS Production.
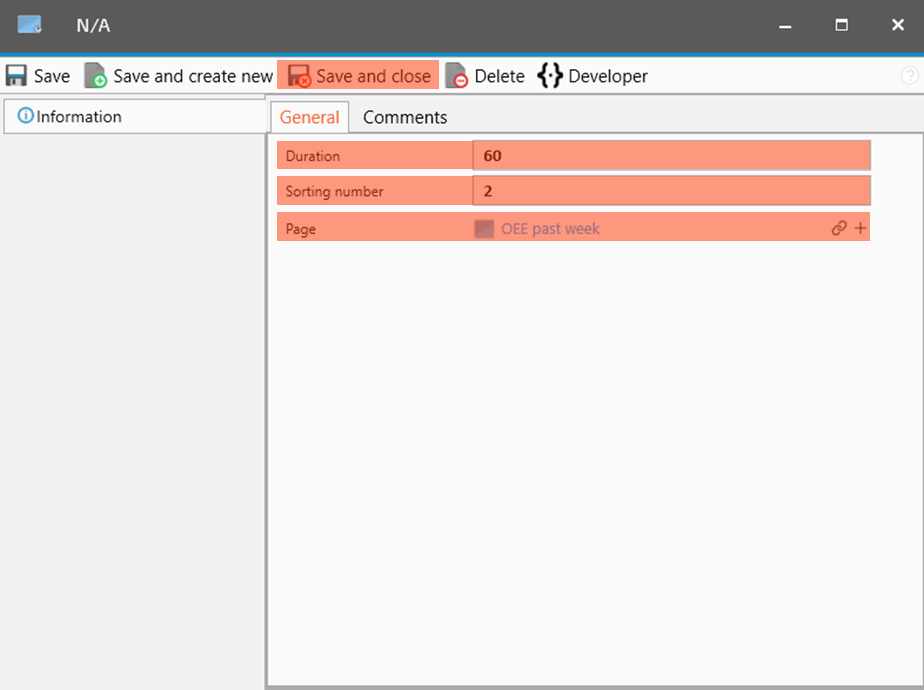
Click Save and close when done.
Connect the rotating page to an Info Screen
In Office tools, open the Info Screens page in the Info Screens menu. Mark the Info Screen you want to add a new page to and click Open.
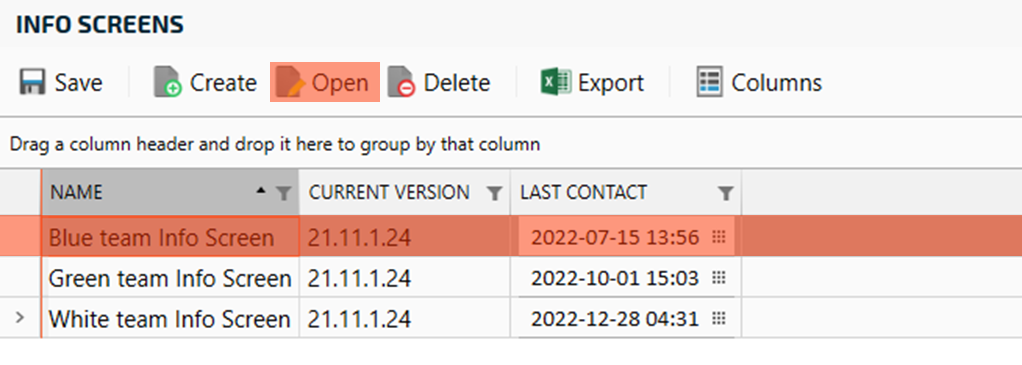
Click Timed Pages in the left menu of the pop up and then click Connect to select a page to assign.
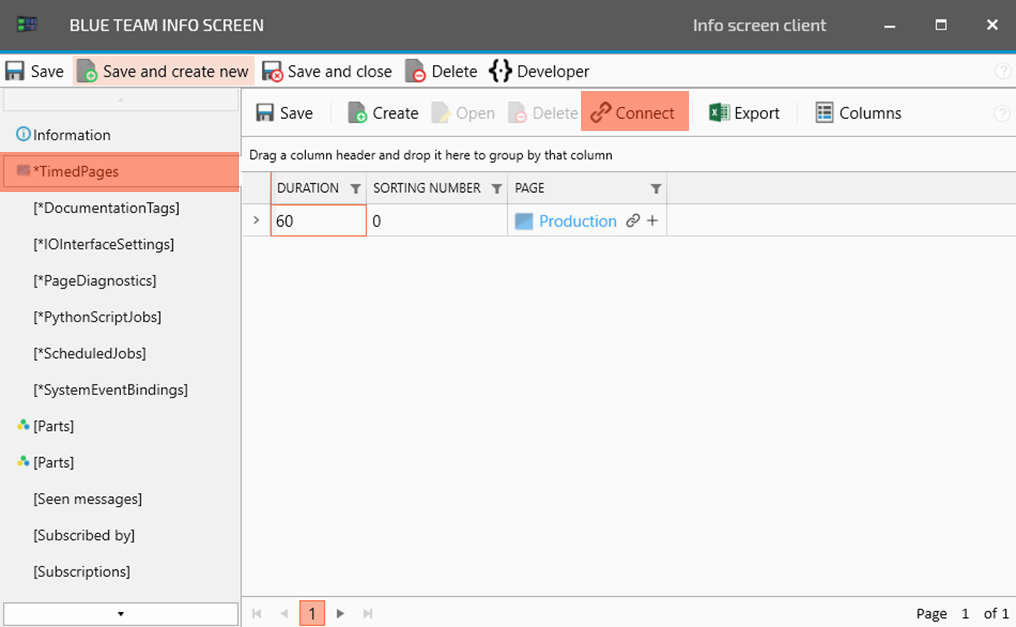
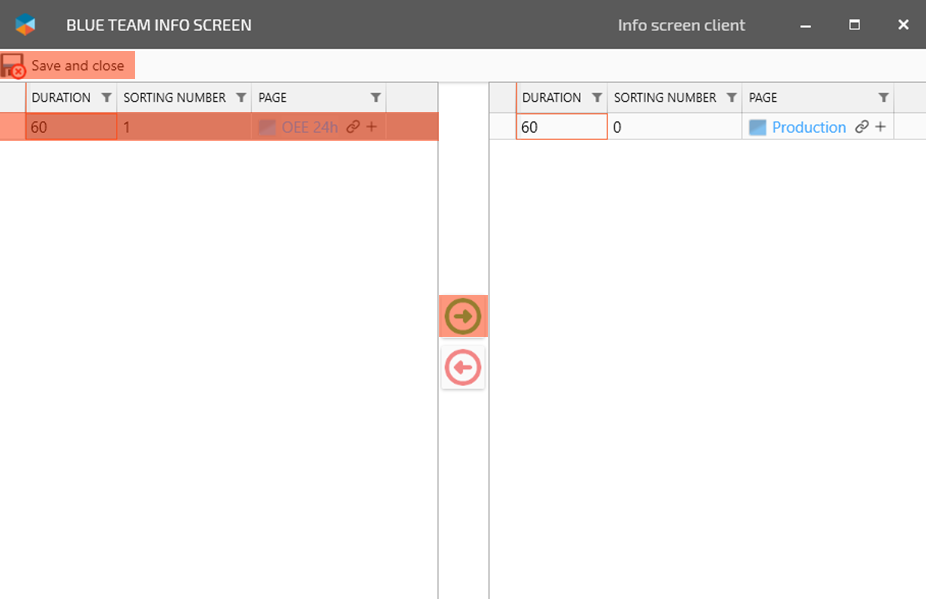
On the left side, select each Timed page you want to connect to the Info Screen and move them (one by one) to the right side by clicking the “arrow right button” in the middle. When you are ready, click Save and close in the header menu.
