Create a form
This feature is included in RS Production ACT
In this guide you will learn how to create a form using the Forms addon.
Creating a new form
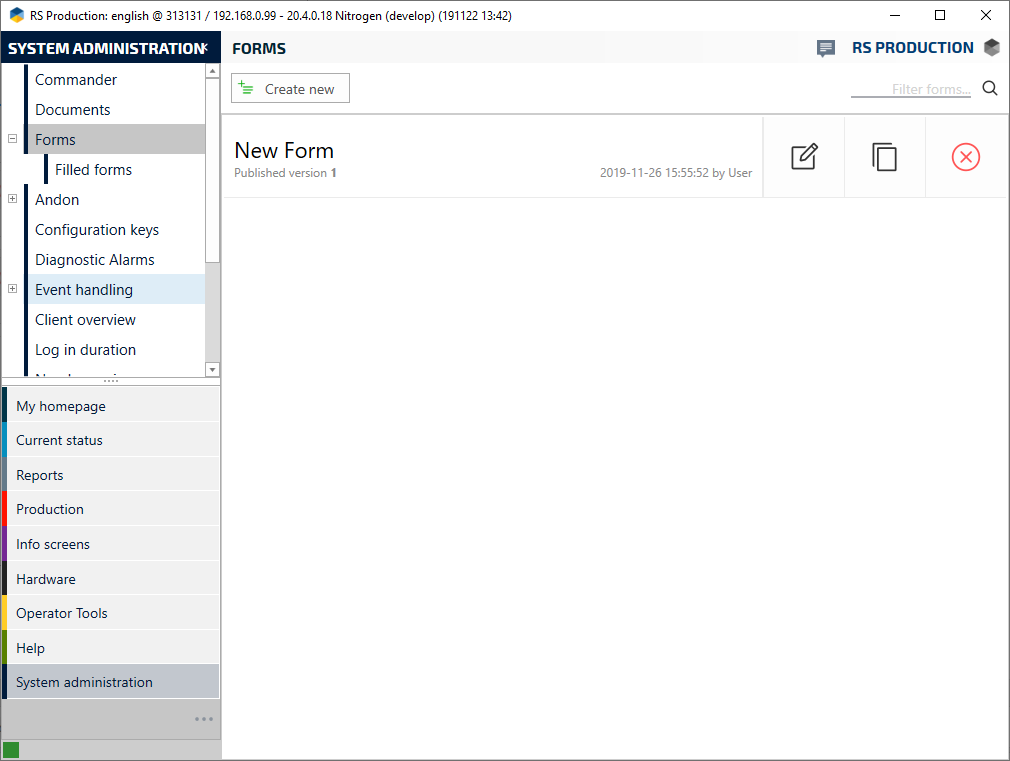
- Select the main menu choice System administration and then click Forms.
- If you have not created a form before, press the button saying "Create your first form".
If this is not the first time you are creating a form click "Create new form".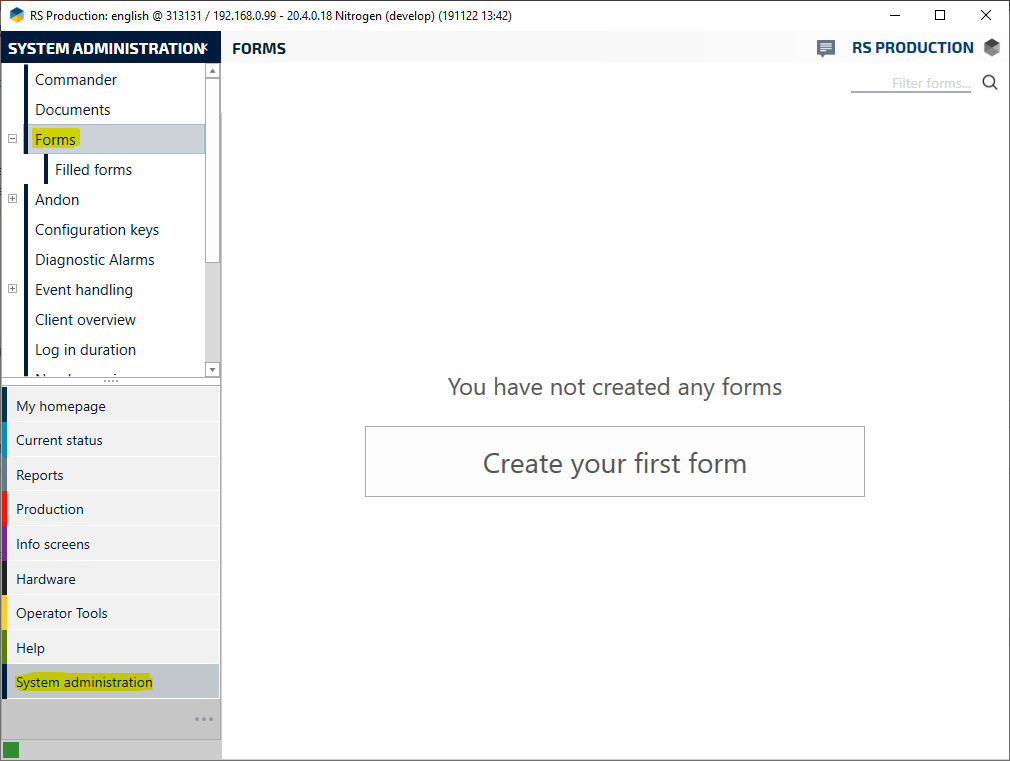
- Give your form a name and add a description if necessary.
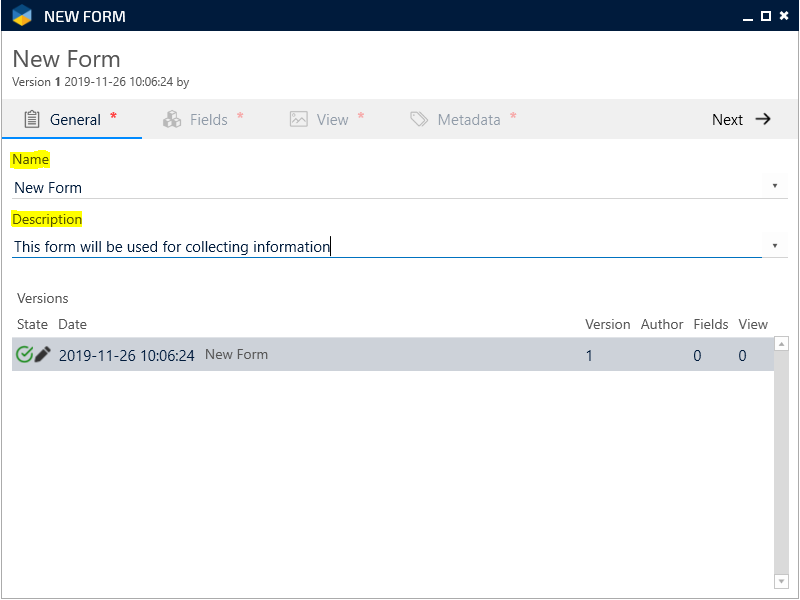
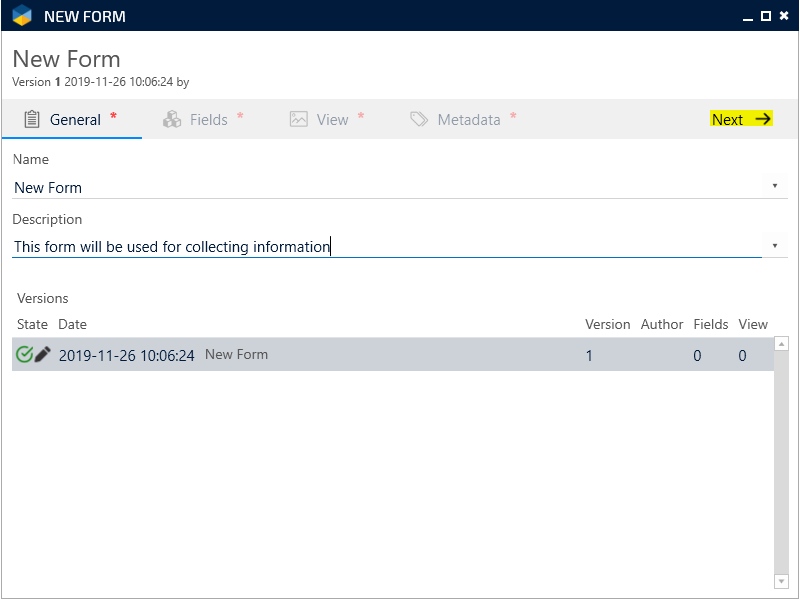
- When you are done, press "Next" in the upper right corner.
Fields
- On this page you add input fields for data collection to the form.
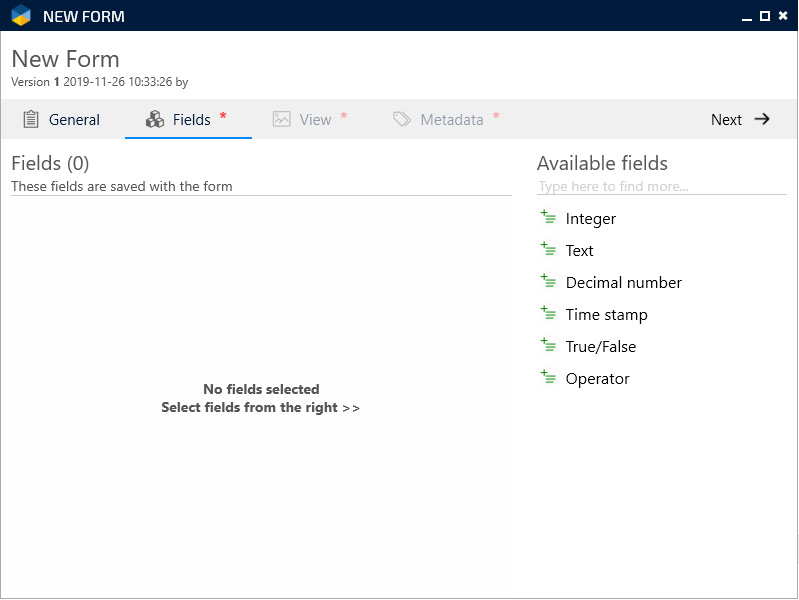
You are given a standard selection of input fields.
Input fields
Integer - Numbers without a decimal.
Text - Free text box.
Decimal - Numbers with decimals.
Time stamp - Time and date.
True/False - A selection of either true, false or no answer.
Operator - Drop-down box where operators configured in RS Production can be chosen.- Input fields are added by pressing the green plus-button left of the input field's name.
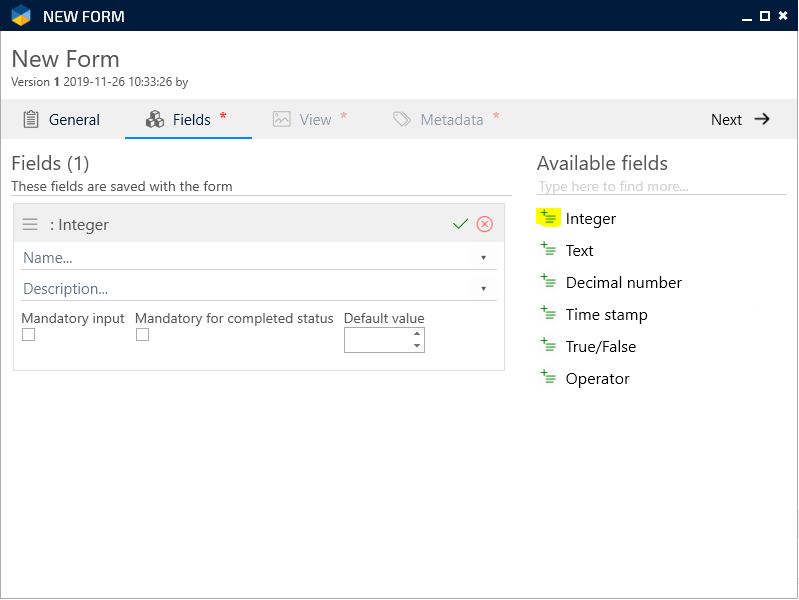
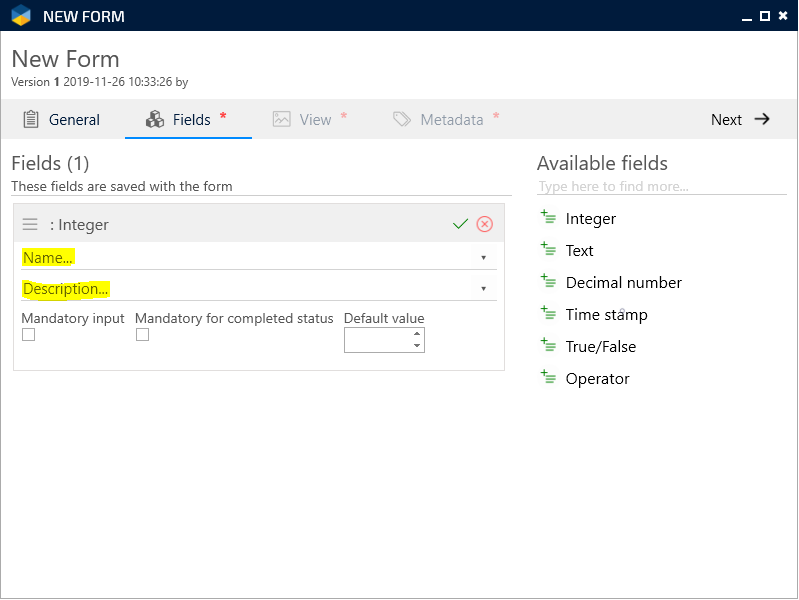
- When you have added a new input field you must give it a name and optionally a description.
- You will also be given three choices of added functionality for each individual input field.
Mandatory input - This box should be ticked if the particular input field must contain a value before the form can be saved when used in production.
Mandatory for completed status - This box should be ticked if you want the form to not be given a completed status unless the input field contains a value.
Default Value - This gives you the option to add a default value to the input field.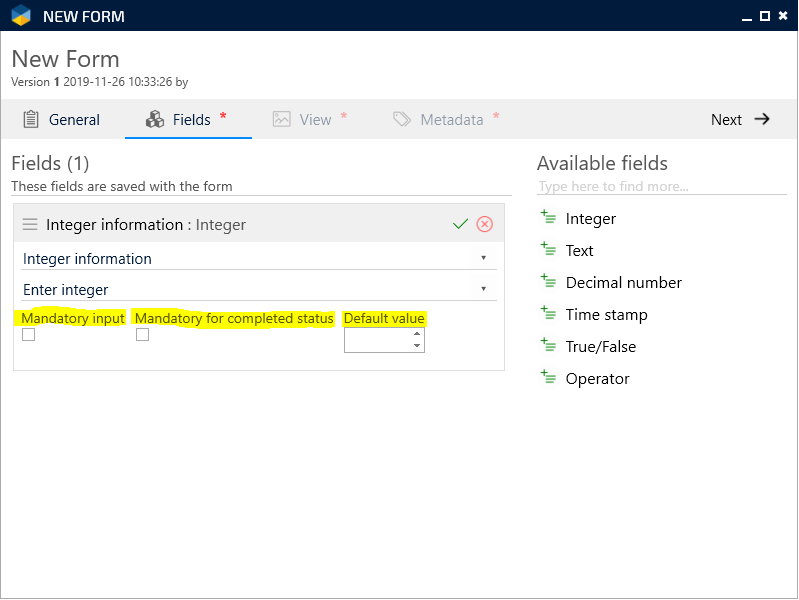
- Add all input fields you need for your form and then press Next in the upper right corner.
You can add several input fields of the same type.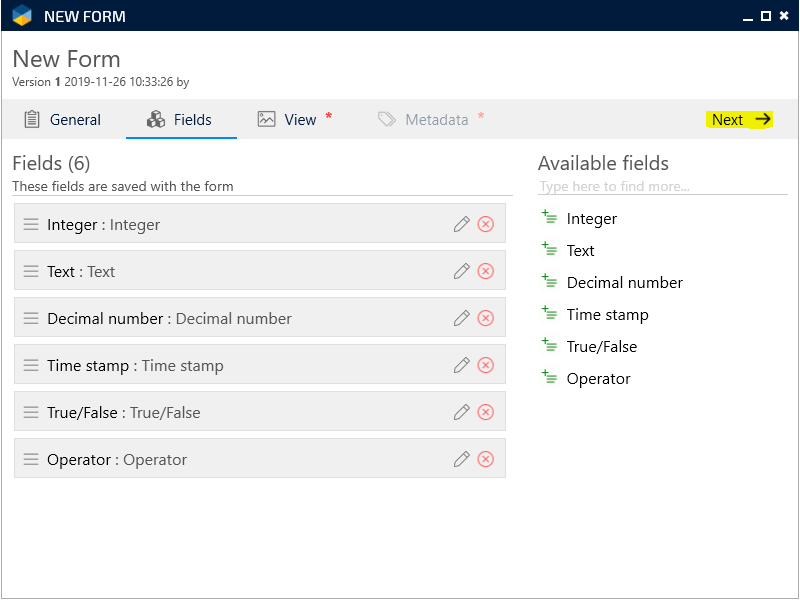
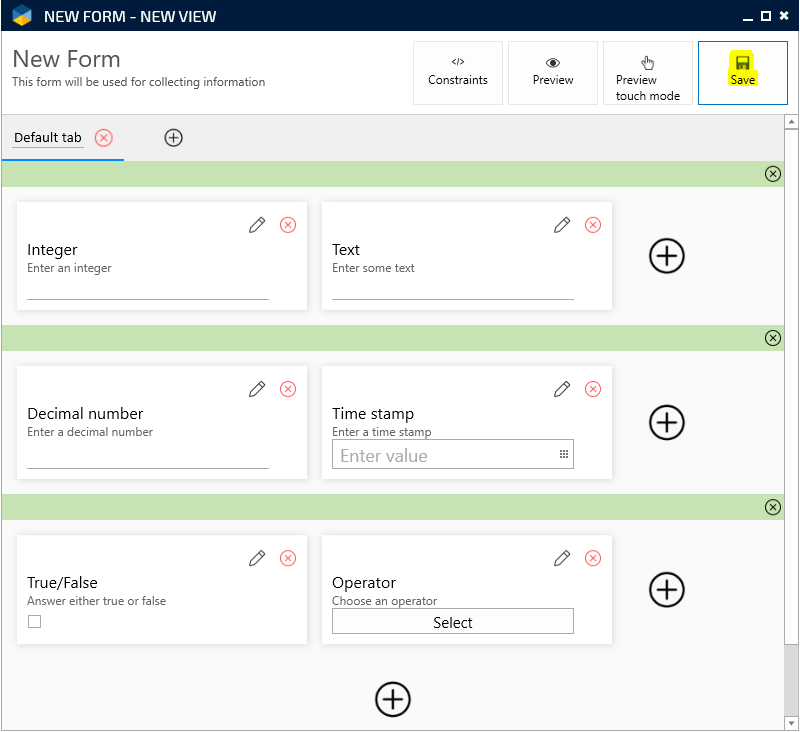
View
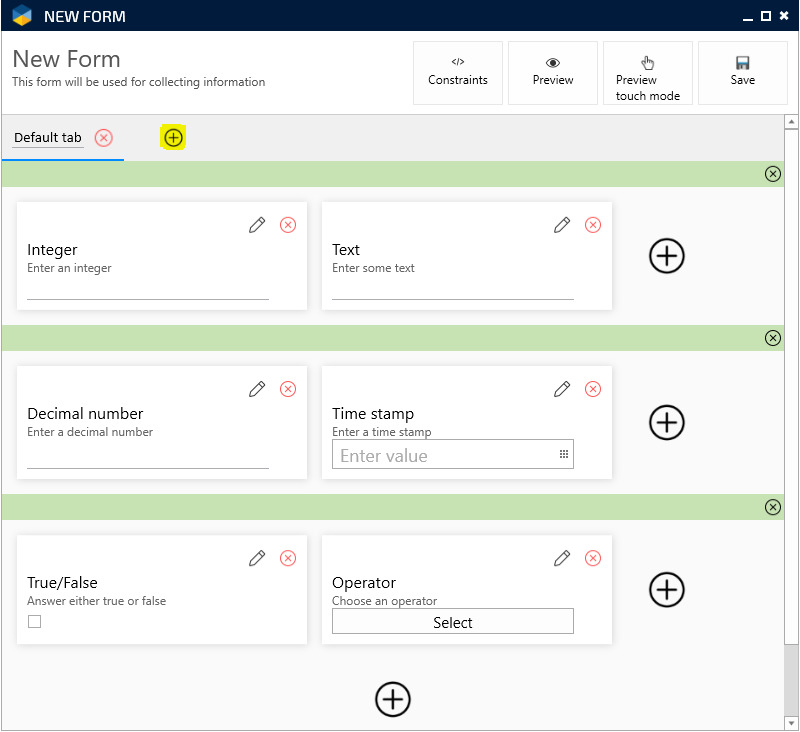
- On this page you have to create a view, i.e. decide how you want organize the input fields in the form.
You get two options:
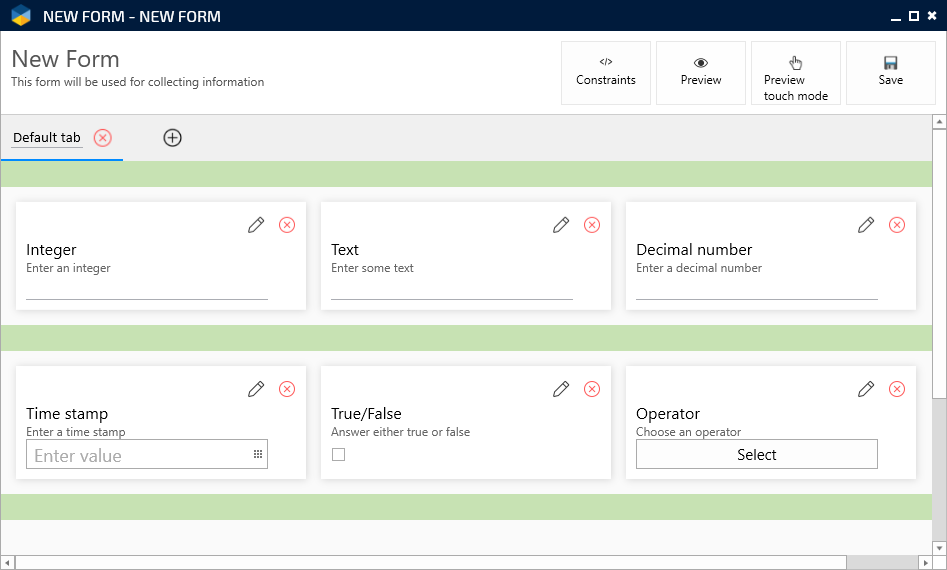
Create view with fields - RS Production will automatically place the input fields in the form in order of creation.
Create empty view - An empty view is created, where you can manually place the input fields.
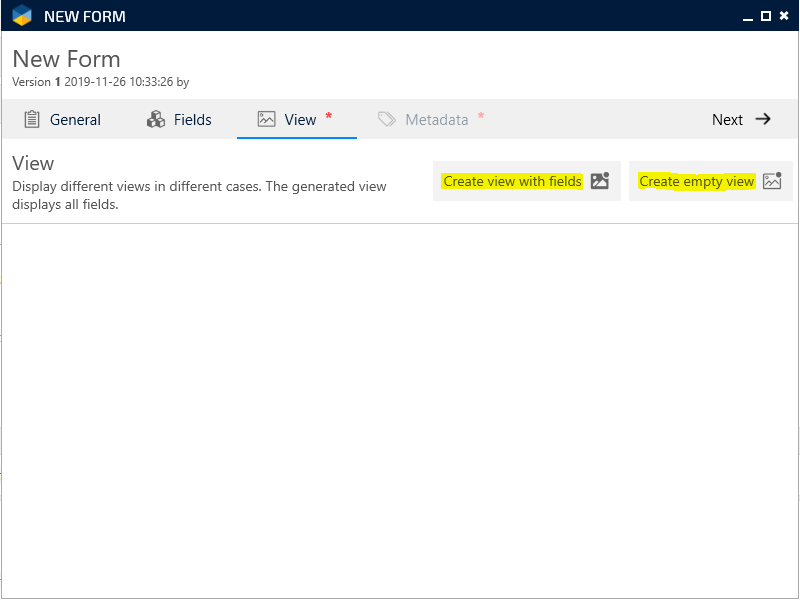
If you choose "Create view with fields" you can see example of it by expanding the area below here, and then go directly to the "Constraints" section below.
If you wish to "Create empty view" please follow the guide below.
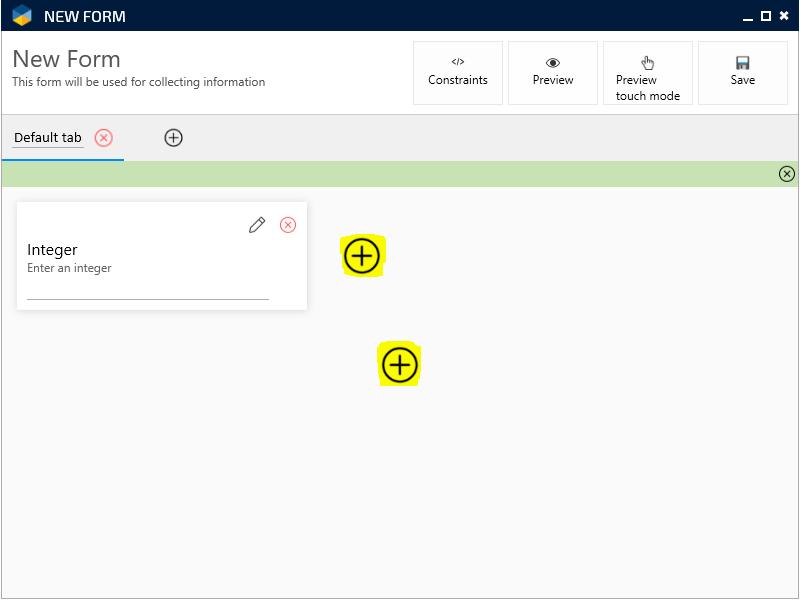
- To add an input field, press the plus-button.
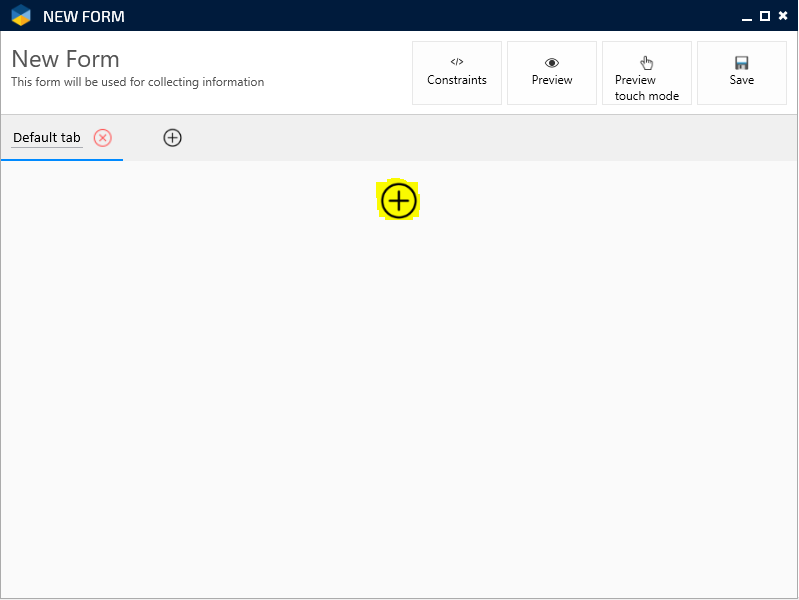
- After you have pressed the plus-button a new window will appear. Here you can choose which input field you want to place in the view.
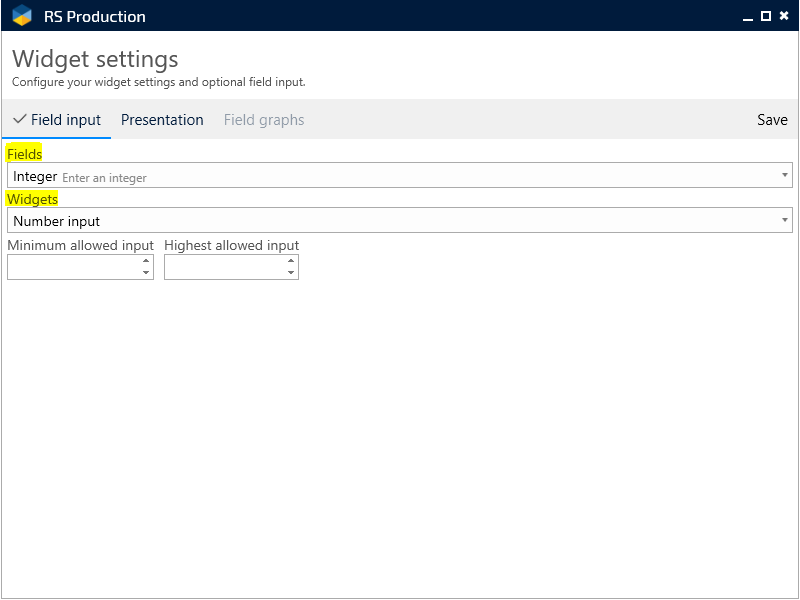
You can choose between the input fields you have created in the dropp-down menu under "Fields".
Some fields have a selection of widgets to choose from, these widgets adds more functionality to the input fields.
Widgets are not mandatory, a widget is always pre-selected but if no setting is made it will not be used.
You can read more about widgets HERE.
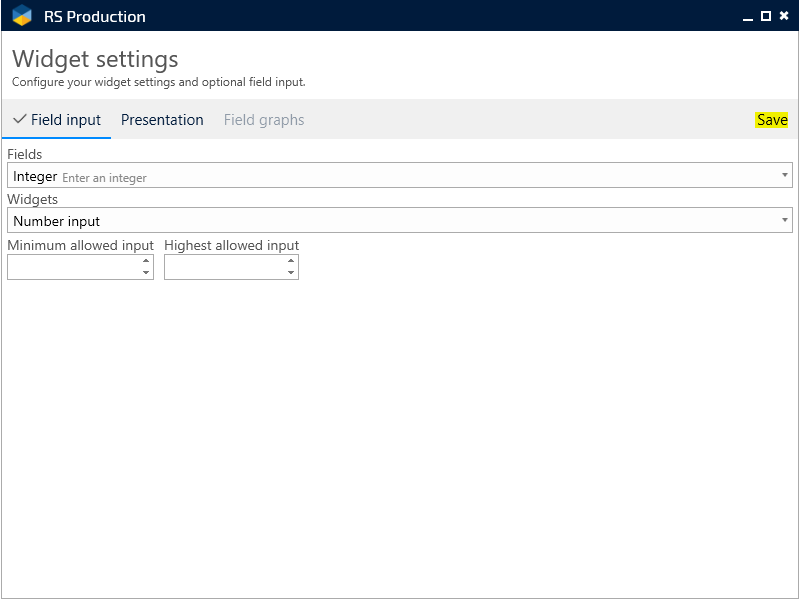
- When you are done, press Save to to place the input field in the view.
- You can now add the rest of the input fields. You can either place it to the right of the one you just placed or you can place it below instead.
- If you have created a document you also have the option of placing it in the form by selecting "Presentation" instead of "Field input".
When there, chose "Document" as widget and then choose the document in the document drop-down menu.
You can go HERE to read more about creating documents.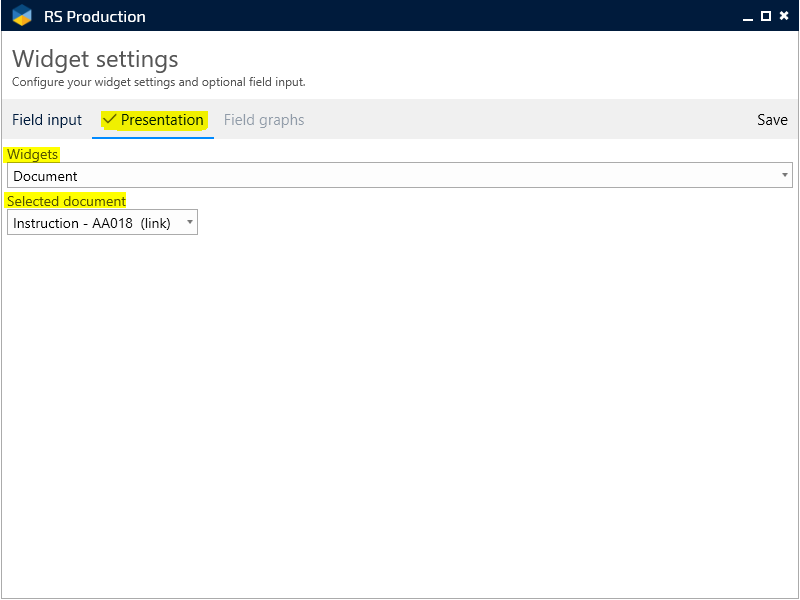
- If you wish to split the form into several pages you can add a tab by pressing the plus-button next to the default tab.
- To add an input field, press the plus-button.
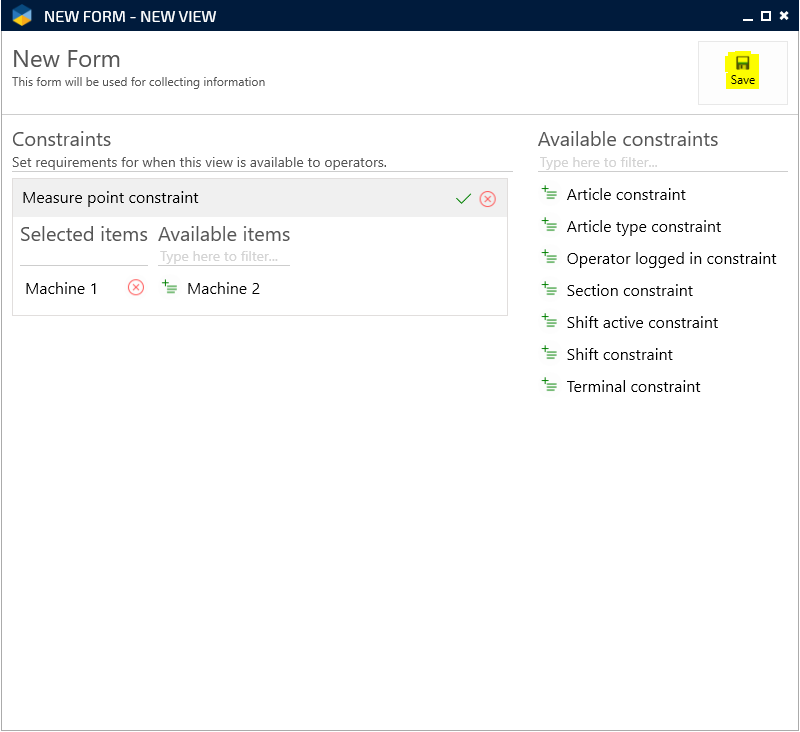
Constraints
- The next step is to add "Constraints".
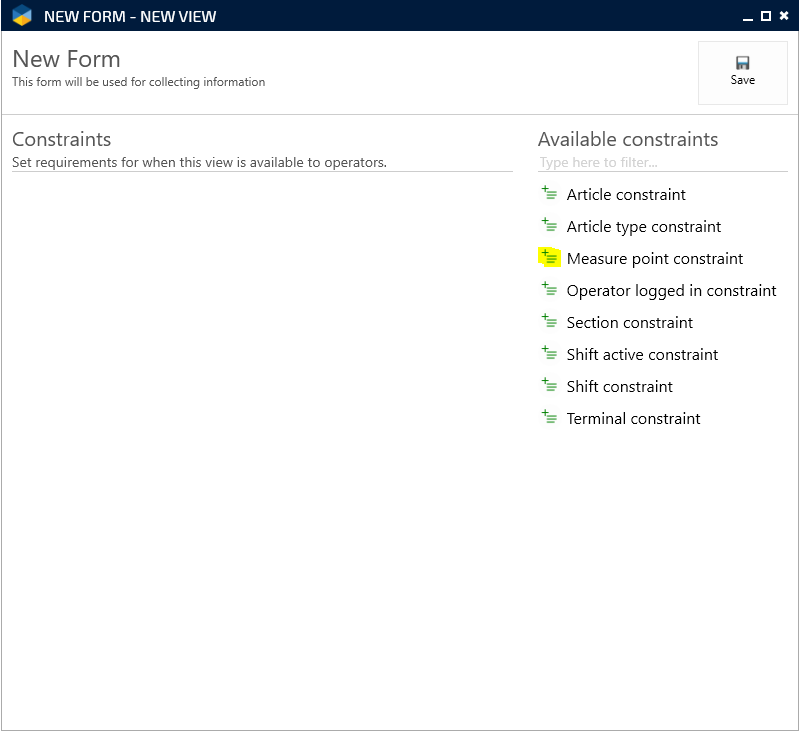
Constraints are used to limit the access to the form based on certain parameters such as measure point, article or shift.
This is used because you might not want the form to always be accessible, as an example some measure points might need it while others don't.
You MUST at least choose a measure point constraint, otherwise the form wont be made available for any measure points.
Press the "Constraints" button to go to the constraints page.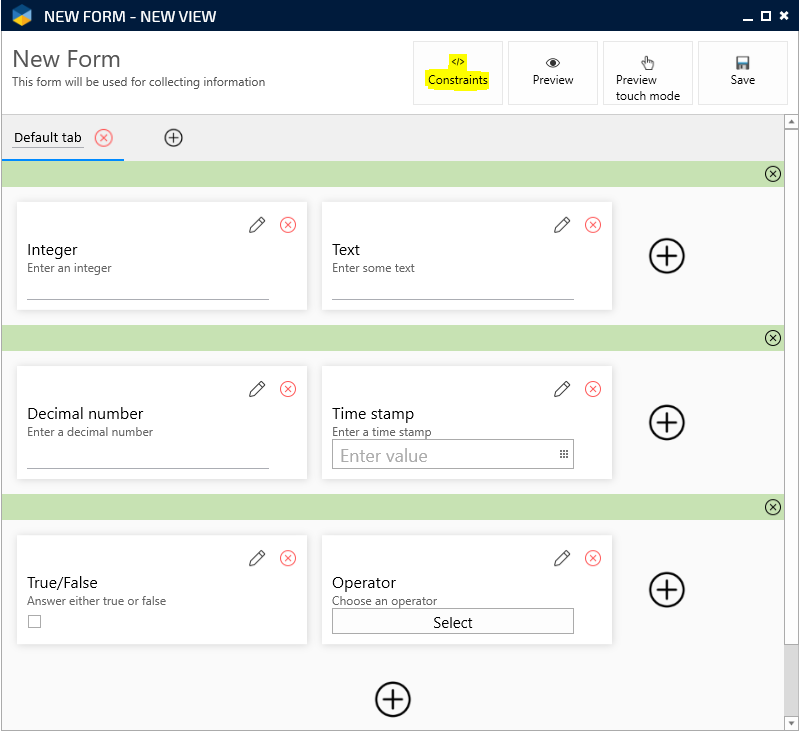
- Press the green plus-button to choose a constraint.
- When you have selected a constraint, in this example a measure point constraint, you can choose which objects the form should be limited to.
Press the gren plus-button by the objects name in order to choose it.
It is possible to have several constraints.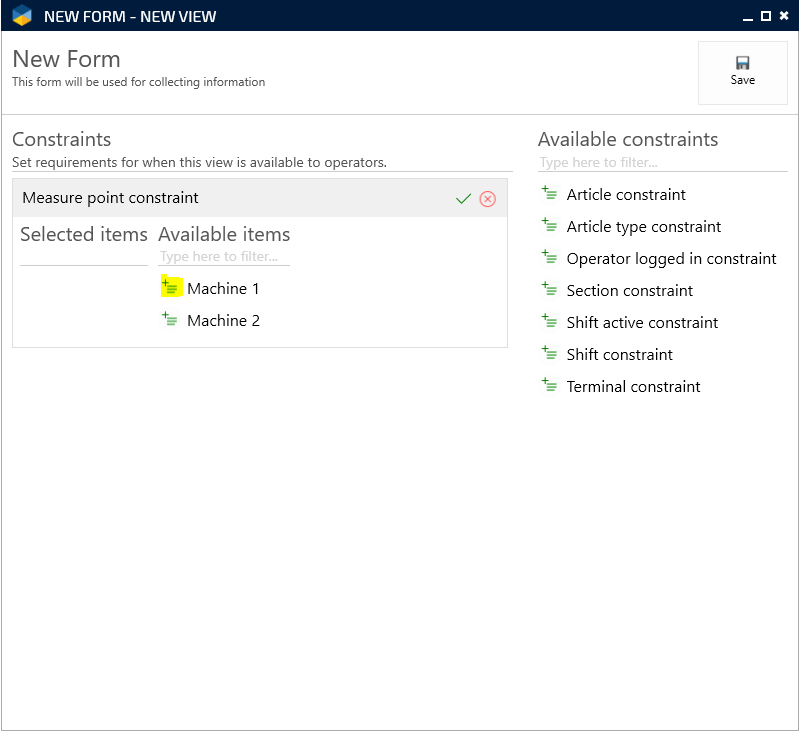
- Press "Save" when you are done.
- If you are satisfied with placement of the input fields and the choice of constraint you can press "Save" to continue.
- We are back at the "View" page. If you wish to edit your view just press the pen symbol.
You can also change the name of the view by pressing "New view" under the pen symbol, you can also add a description.
It is possible to create several views for the same form.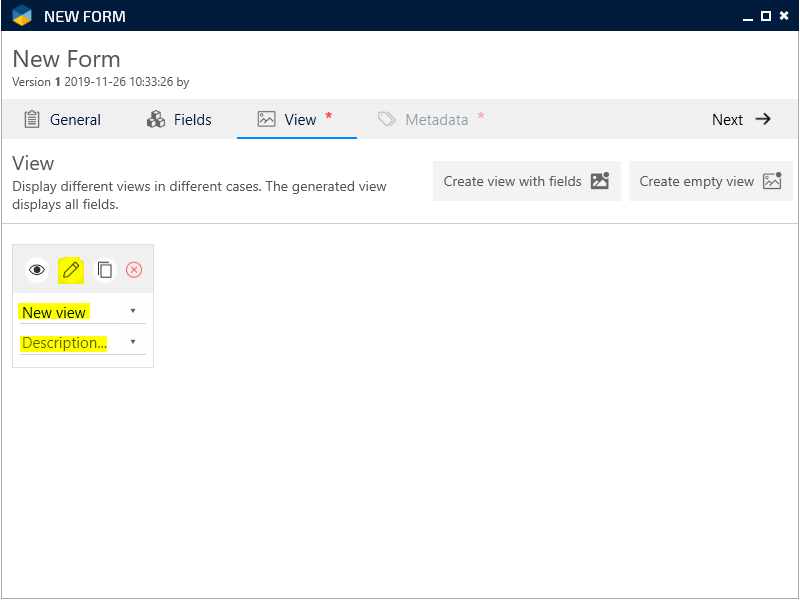
- If you are done with your view, press "Next".
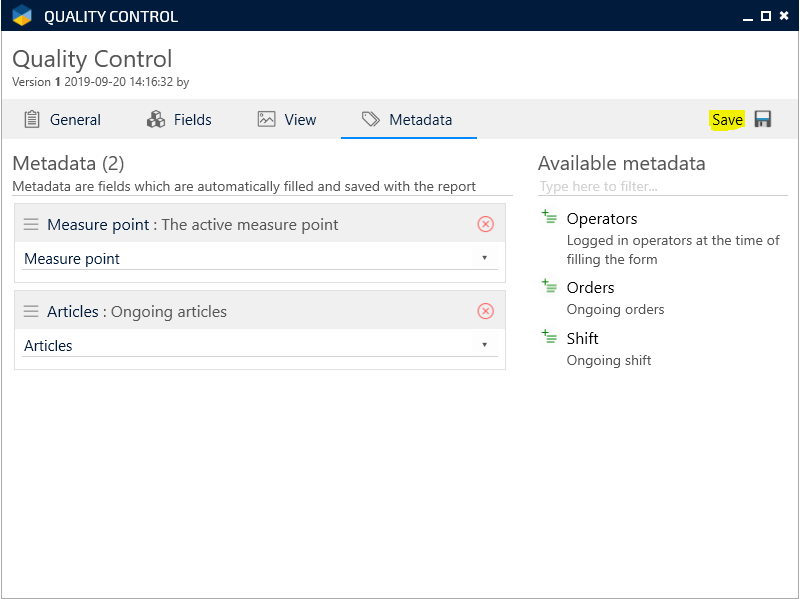
Metadata
- This is the "Metadata" page where you can select if you wish to collect some sort of metadata when a form has been used and saved.
Select which metadata you wish to collect by pressing the green plus-button next to the choices.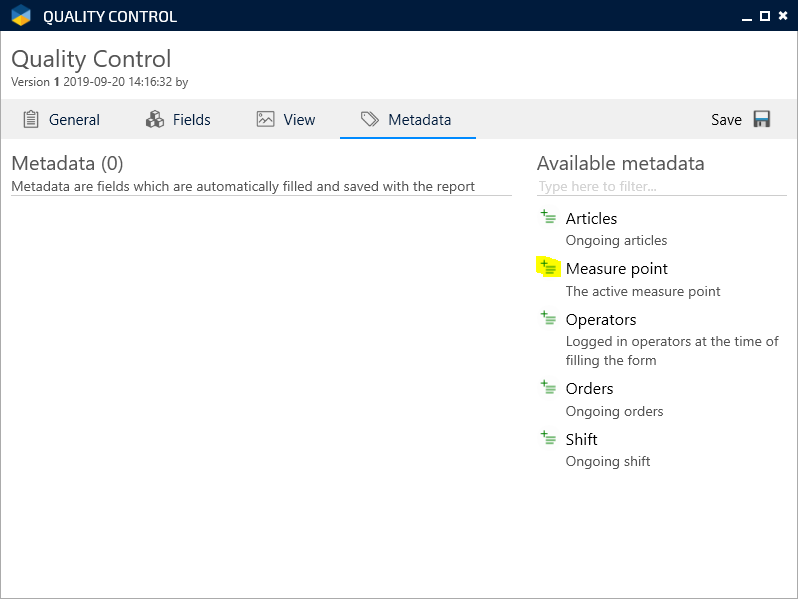
- When you are done, press "Save" to finish creating your form.
Completed
- The form is now ready to be used.