Connect machine signals - RS Blackbox
Go to "Hardware" and "RS BlackBox"
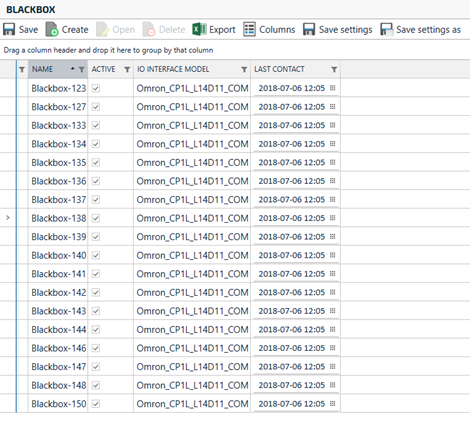
There the new BlackBox can be found in the list.
- If you dont see the blackbox, go to "Good Solutions" and choose "Disable 0 id IO Check.
- If you dont see the blackbox, they can have Ethernet. Go to RS_blackbox and inställningar, välj IP-adress and enter IP for correct IO signal
- If you get the right IP adress from customer the new blackbox should appear.
- If you dont see the blackbox, maybe you have missed to tick in "Use blackbox" at start
- If you dont see the blackbox, maybe you dont have correct drivers for Win10 and Omrons blackbox.First, rename the BlackBox by double clicking in the field for the "name". When the IO interface is connected it will be given a standard name ending with three or four unique numbers. Do not delete them, instead put a “/” in front of the numbers.
Give the BlackBox the same name as the machine it is connected to (Example; if "Machine 2" has a BlackBox connected to its Terminal, then name this BlackBox "Machine 2 / XXXX").
Then open the RS BlackBox that was just renamed by selecting it and pressing “Open”.
Click on the Inputs page on the left side
Name the input after the type of signal it is and the machine name, but do not remove the name of the input. (Example; "Cycle signal Machine 134 Input 00.00”)
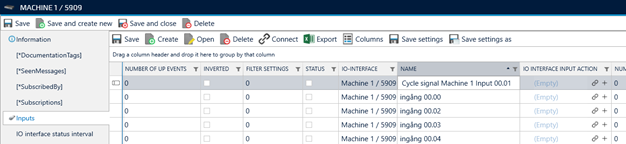
Press "Save and Close"
Go to the signal type page and create a new signal connection, in this case we will create a cycle signal. Sometimes you however must use a combination of cycle and production time signals.
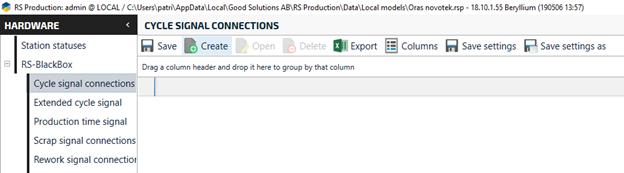
Click on the "Cycle Signal connection" page. (If the Measure point requires two signals for counting units, follow the guide but instead create two signals under Extended cycle signal.)
Then Click on the "Create" page
Click on the connection button for the "IO-Interface input" to have the list of all available signals to be showed
Choose the right signal and then "Save and close". The name will be added automatically when you select a machine signal.
Then click on the Measure Point connection Button and Choose which Measure Point that will be using this signal
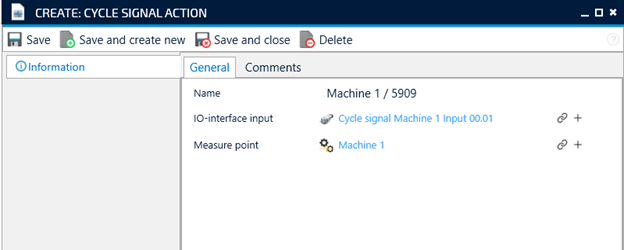
Click on "Save and Close"
If the Measure point have to use a Production time signal for the stop handling, then continue with this guide. Otherwise go to the next chapter. Also, if a production time signal will be used remember to disable cycle signal stop handling (see chapter 1. Step 15.)
To create a Production time signal, go to the "Production time signal connection" page
Click on the "Create" button to create a new signal.
Then click on the connection button for the "IO-Interface Input" and choose which input number that will be used for this signal
Click on the "Save and close" button
Then click on the Measure Point connection button and decide which Measure Point that will be using this signal
Click on the "Save and Close"
Then Click on the "Save and close" button again