Setting up and configuring the energy clamps
Once you have performed the initial setup of the RS IoT device, you are ready to install and configure the energy clamps that will provide information to RS Production on energy usage for your installations, using the IoT box.
NOTE! We recommend that an electrician handles the steps of installing the IoT energy clamps, as this is likely being done in the electrical cabinet. Ensure that an electrician is on hand.
If you are already logged in to the IoT device settings wizard, continue with Step 3 below. If not, follow the steps below.
Open the configuration guide again, using the same method as in the previous article.
NOTE! You might need to click the Settings button on the box (the button next to the gear symbol) to turn off the local wifi and then click again to restart it. Check that the red light is flashing.
Connect to the local RS IoT device wifi. Once it connects, click again to open the settings menu.
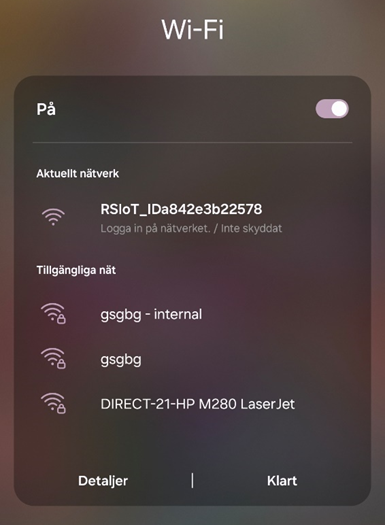
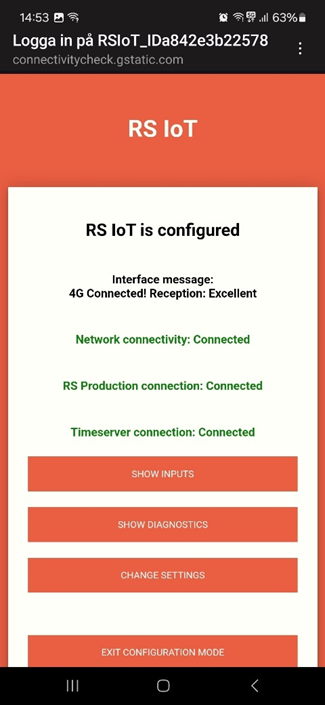
Once the settings menu is opened, click on Show Inputs to access the inputs that the RS IoT box handles.
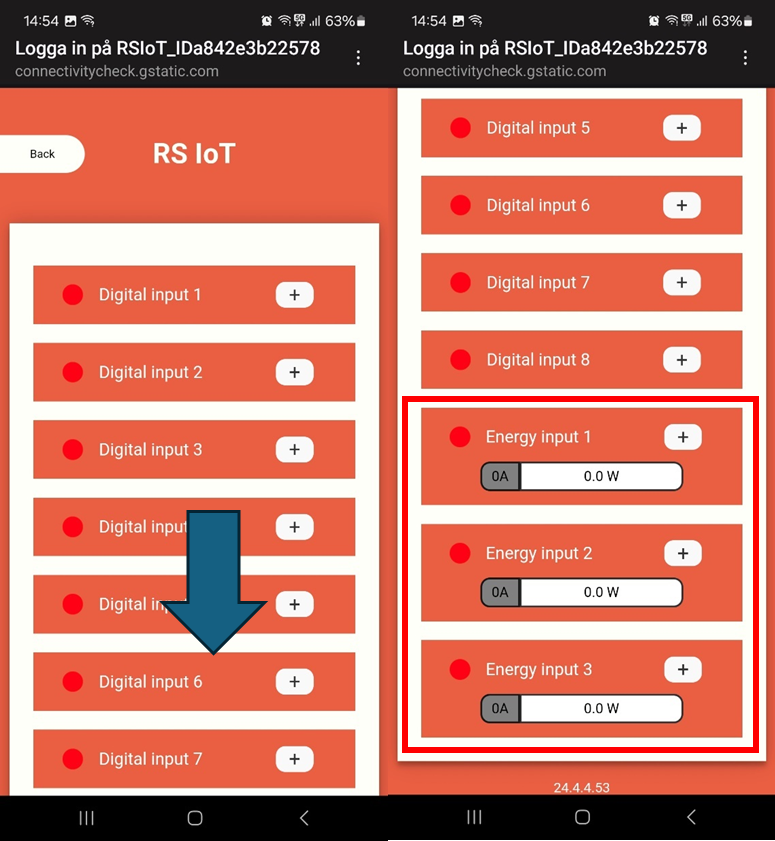
When you have entered the inputs menu, scroll to the bottom to find the Energy Inputs. Each RS IoT device can handle three inputs/clamps.
To install the first energy clamp, unpack the clamp from the box and assemble it around the appropriate power cable connected to the machine that you will be measuring. The arrow on the clam should point in the direction of the current. You will want an electrician to do this in order to ensure that you are connecting it to the right cable and that the electrical cabinet setup is appropriate to your local setup.
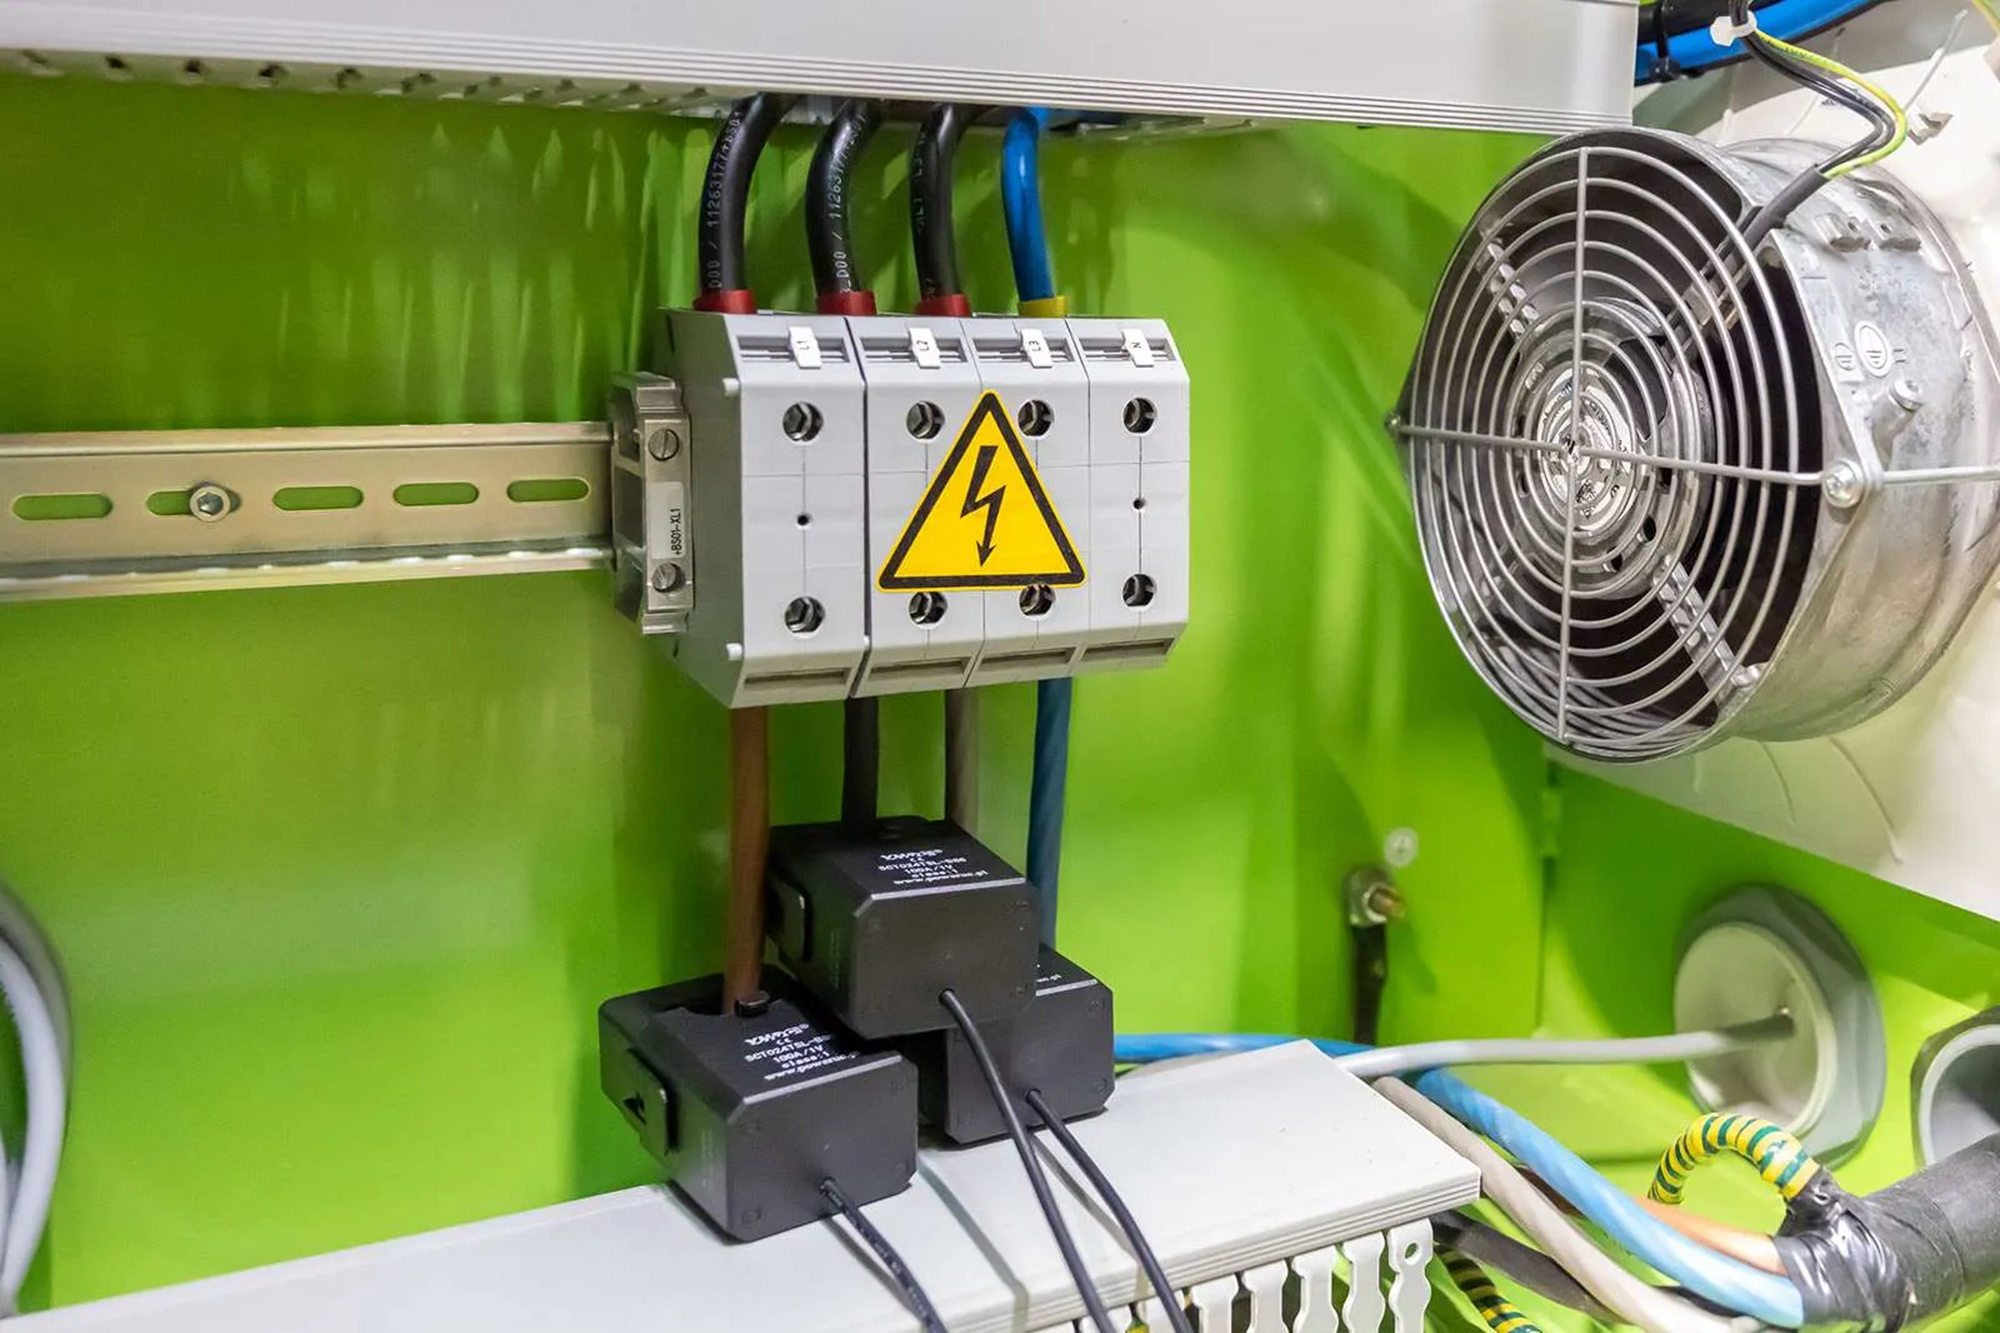
In the picture above is an example of how clamps have been installed for all three phases.
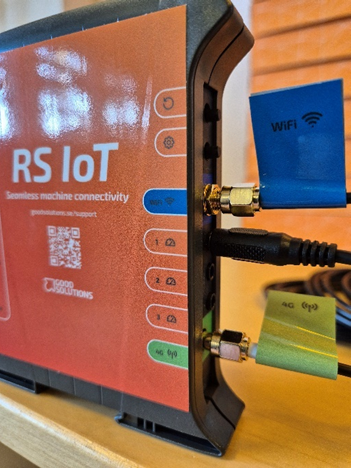
Once this is done, connect the clamp cable to one of the three energy input ports on the IoT device. These can be found on the right side on the RS IoT device and are labelled 1, 2 and 3. See picture below.
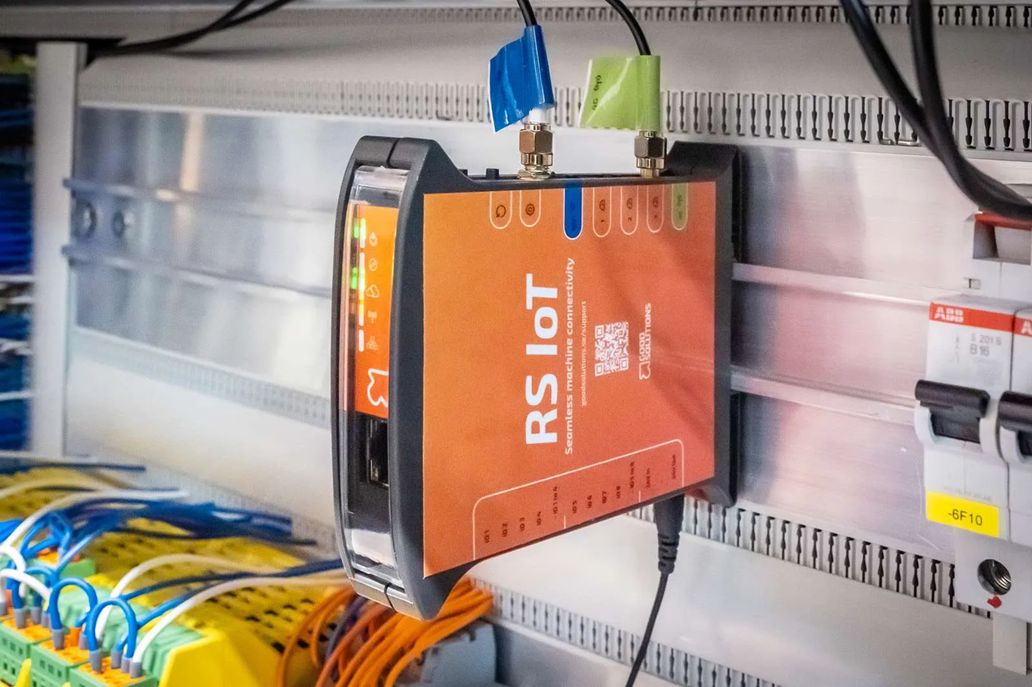
The IoT box can then also be installed in the electrical cabinet. See picture below.
In the configuration app, click on the plus sign next to the port you have connected the cable to. Then select which kind of clamp that you are using (100amp, 300amp, 600amp or 800amp). If the clamp is connected to the power cable, if the machine is running and you’ve chosen the correct ampere choice, you should immediately start to see that the energy input starts to register in the graph.
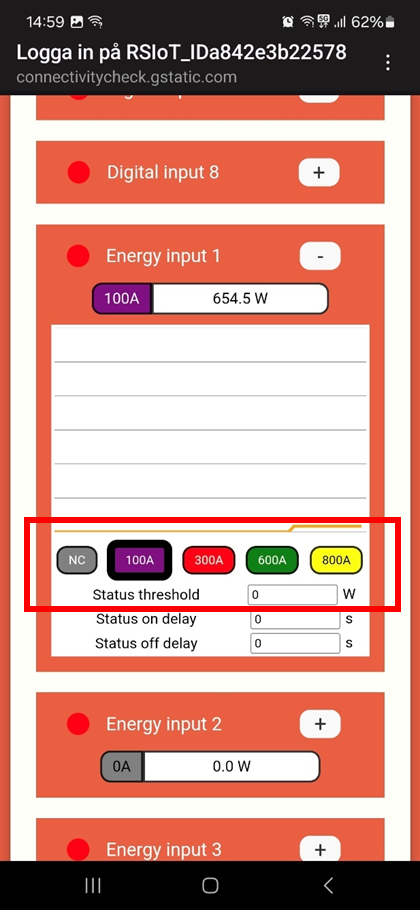
If you are ready to install more clamps to the RS IoT box, just repeat the procedure by connecting more clamps and configuring them as above by choosing the right ampere setting.
Your RS IoT device should now be up and running!
Once you are done, disconnect from the RS IoT local wifi and proceed to configuring the Energy settings in the RS Production software.
Continue to the next page: Configuring RS Energy in RS Production - Setup and configuration guides - Confluence (atlassian.net)