Configuring the RS IoT device
When you click on the local RS IoT device wifi, you will enter a setup wizard for the RS IoT device.
NOTE! You will need your 6-digit RS Production installation number to proceed. Your contact at Good Solutions will be able to provide you with this if you do not have it.
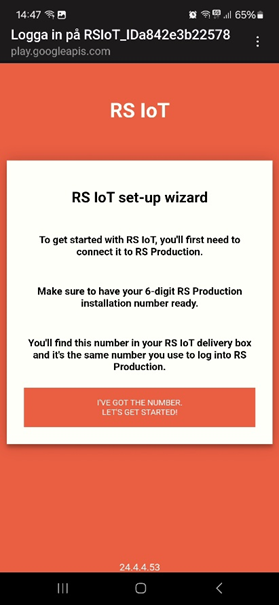
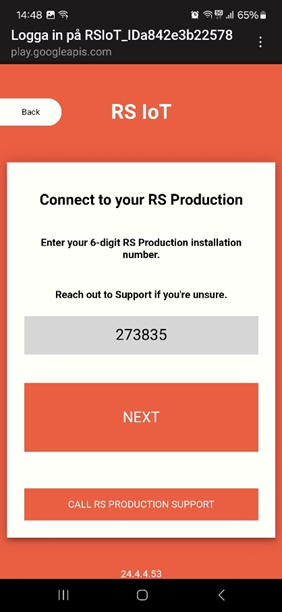
Enter your RS Production installation number. This allows the RS IoT device to associate with your RS Production installation.
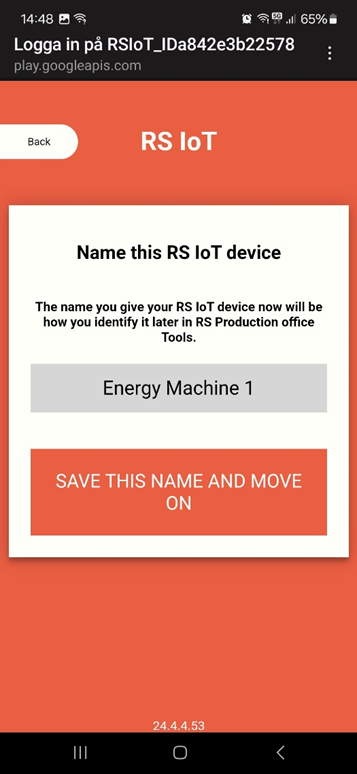
The next step is to name your IoT device. Make sure that the naming is clear and easily identifiable. In this example, we have named it Energy Machine 1.
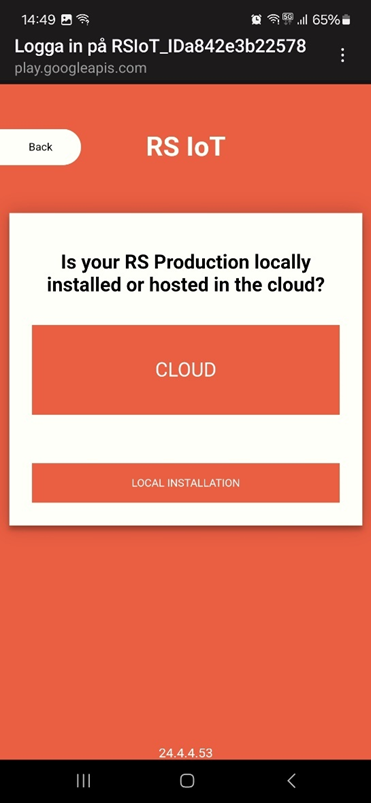
Choose whether the installation is a cloud installation or local. Most customers are using cloud to connect.
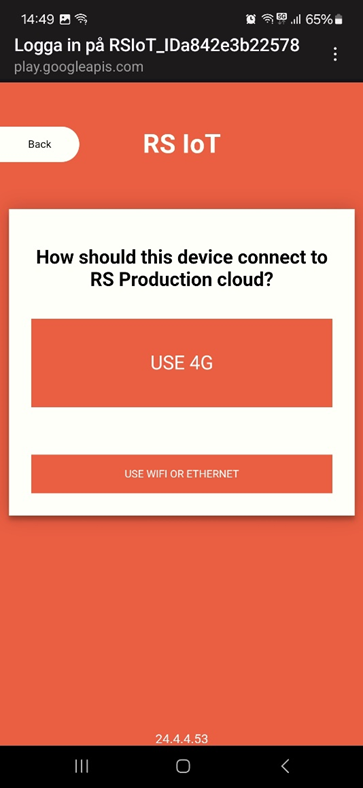
In the next step, you will need to decide whether the RS IoT device should be connected to your RS Production installation with the provided 4G device or using wifi/an ethernet cable.
The preferred option is 4G, as this does not require the device to interact with your network and potential firewalls, but if your production facility does not have good 4G access, a local wifi is the second best option. If that does not work, an ethernet cable port is also provided.
The non-4G options do require you to ensure that the IoT device is allowed to communicate with your RS Production database. This might mean that you need to liaise with your IT department.
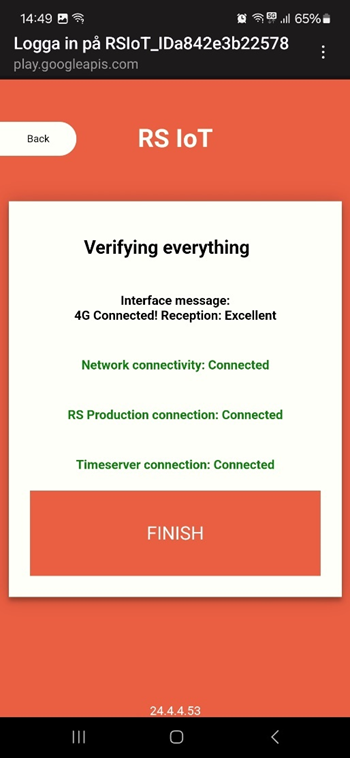
You have now provided the necessary information to complete the installation, and the system will need a short period of time to verify all settings. Wait until all settings indicate green in the setup wizard. Click Finish, once all indicators are green.
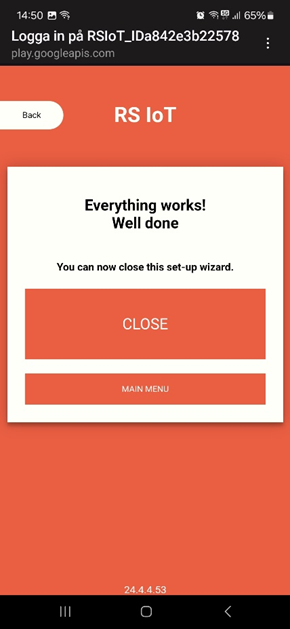
Finally, do not forget to click Close to complete the installation setup wizard; or, if you are ready, you can click on Main Menu to proceed with setting up and configuring the energy clamps.
Continue to the next page: Setting up and configuring the energy clamps - Setup and configuration guides - Confluence (atlassian.net)