Assign configuration to a measurepoint
This guide helps you to connect the measure point to schedule, reason codes and articles. This is fundamental to calculate the OEE and break down the disturbances.
Instructions
Connect Schedule to measure points
When connecting a schedule all the measure points will get the same standard schedule unless you add an exception to a specific measure point.
Step 6-10 shows how to add an exception
Go to Settings
Go to Scheduling
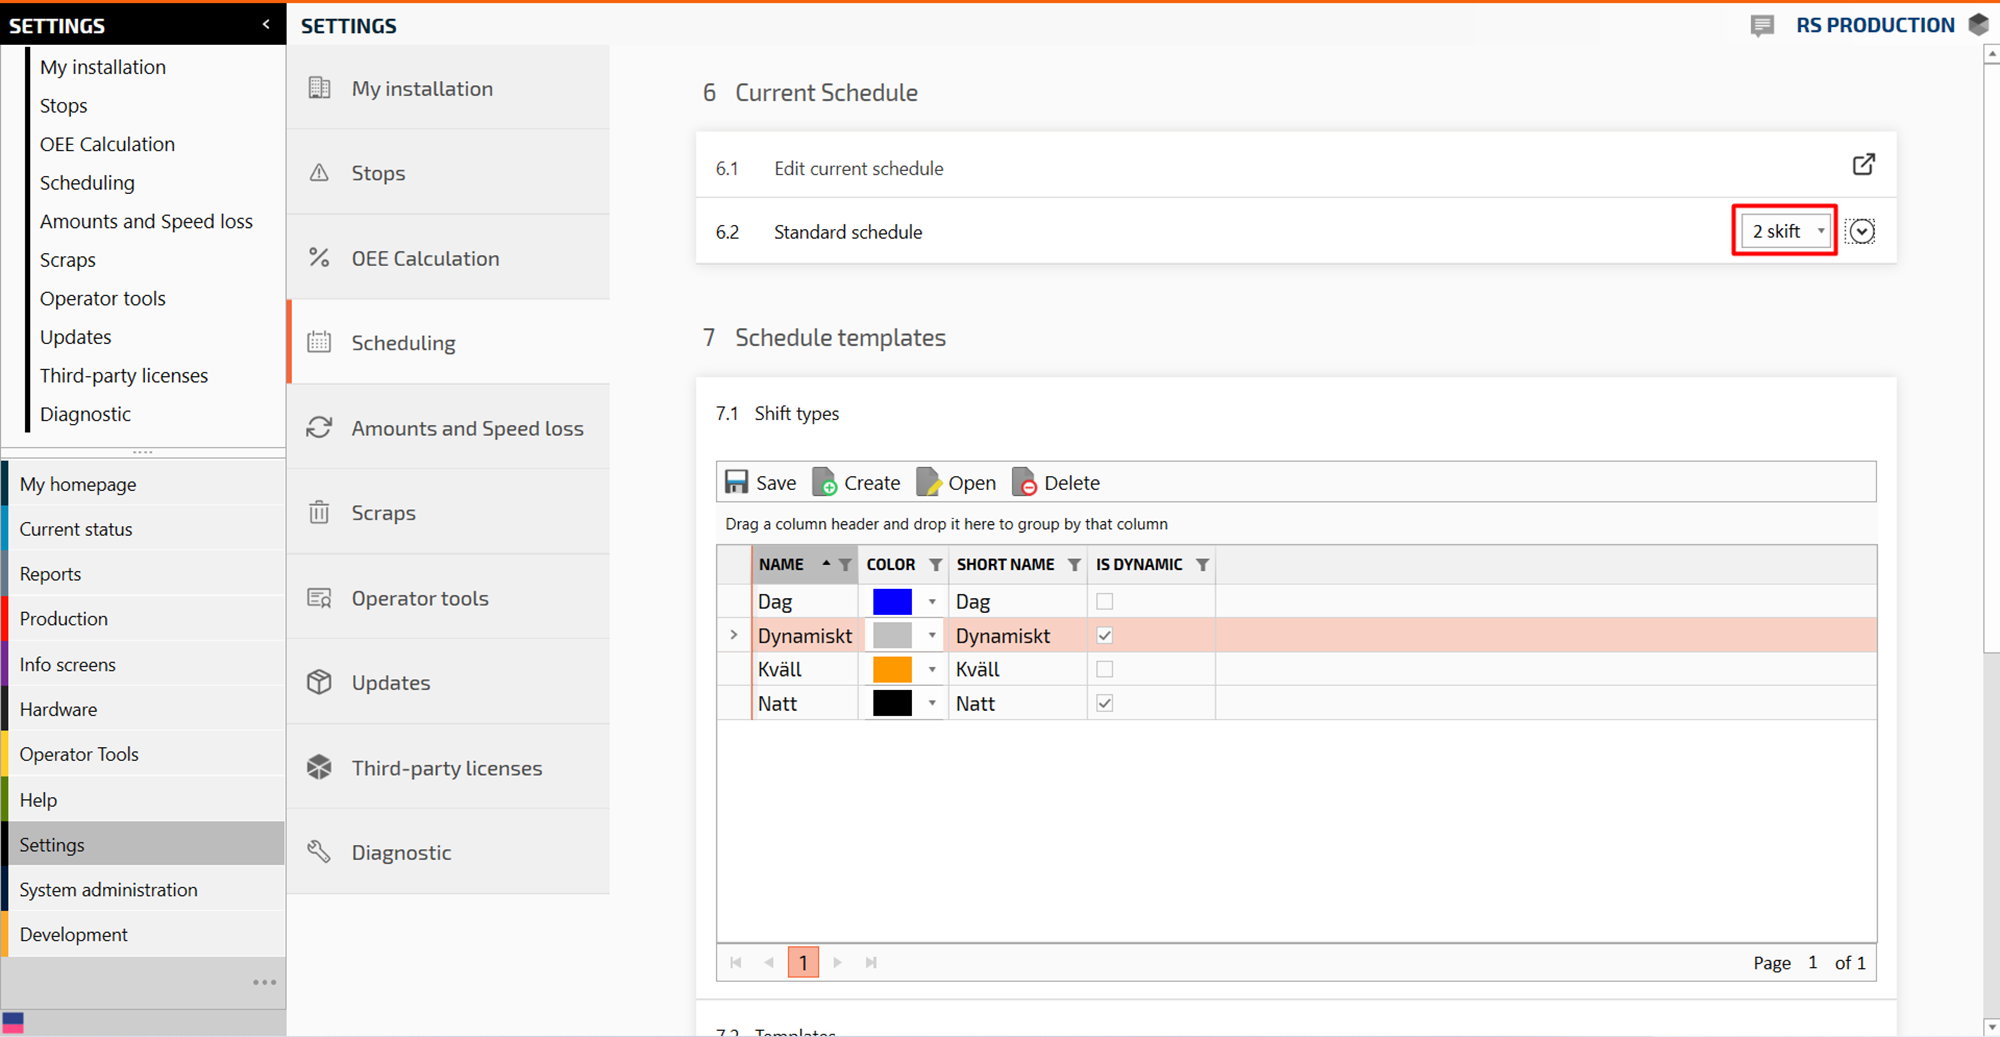
Go to Standard schedule
In the drop down menu you can select what type of standard schedule you want
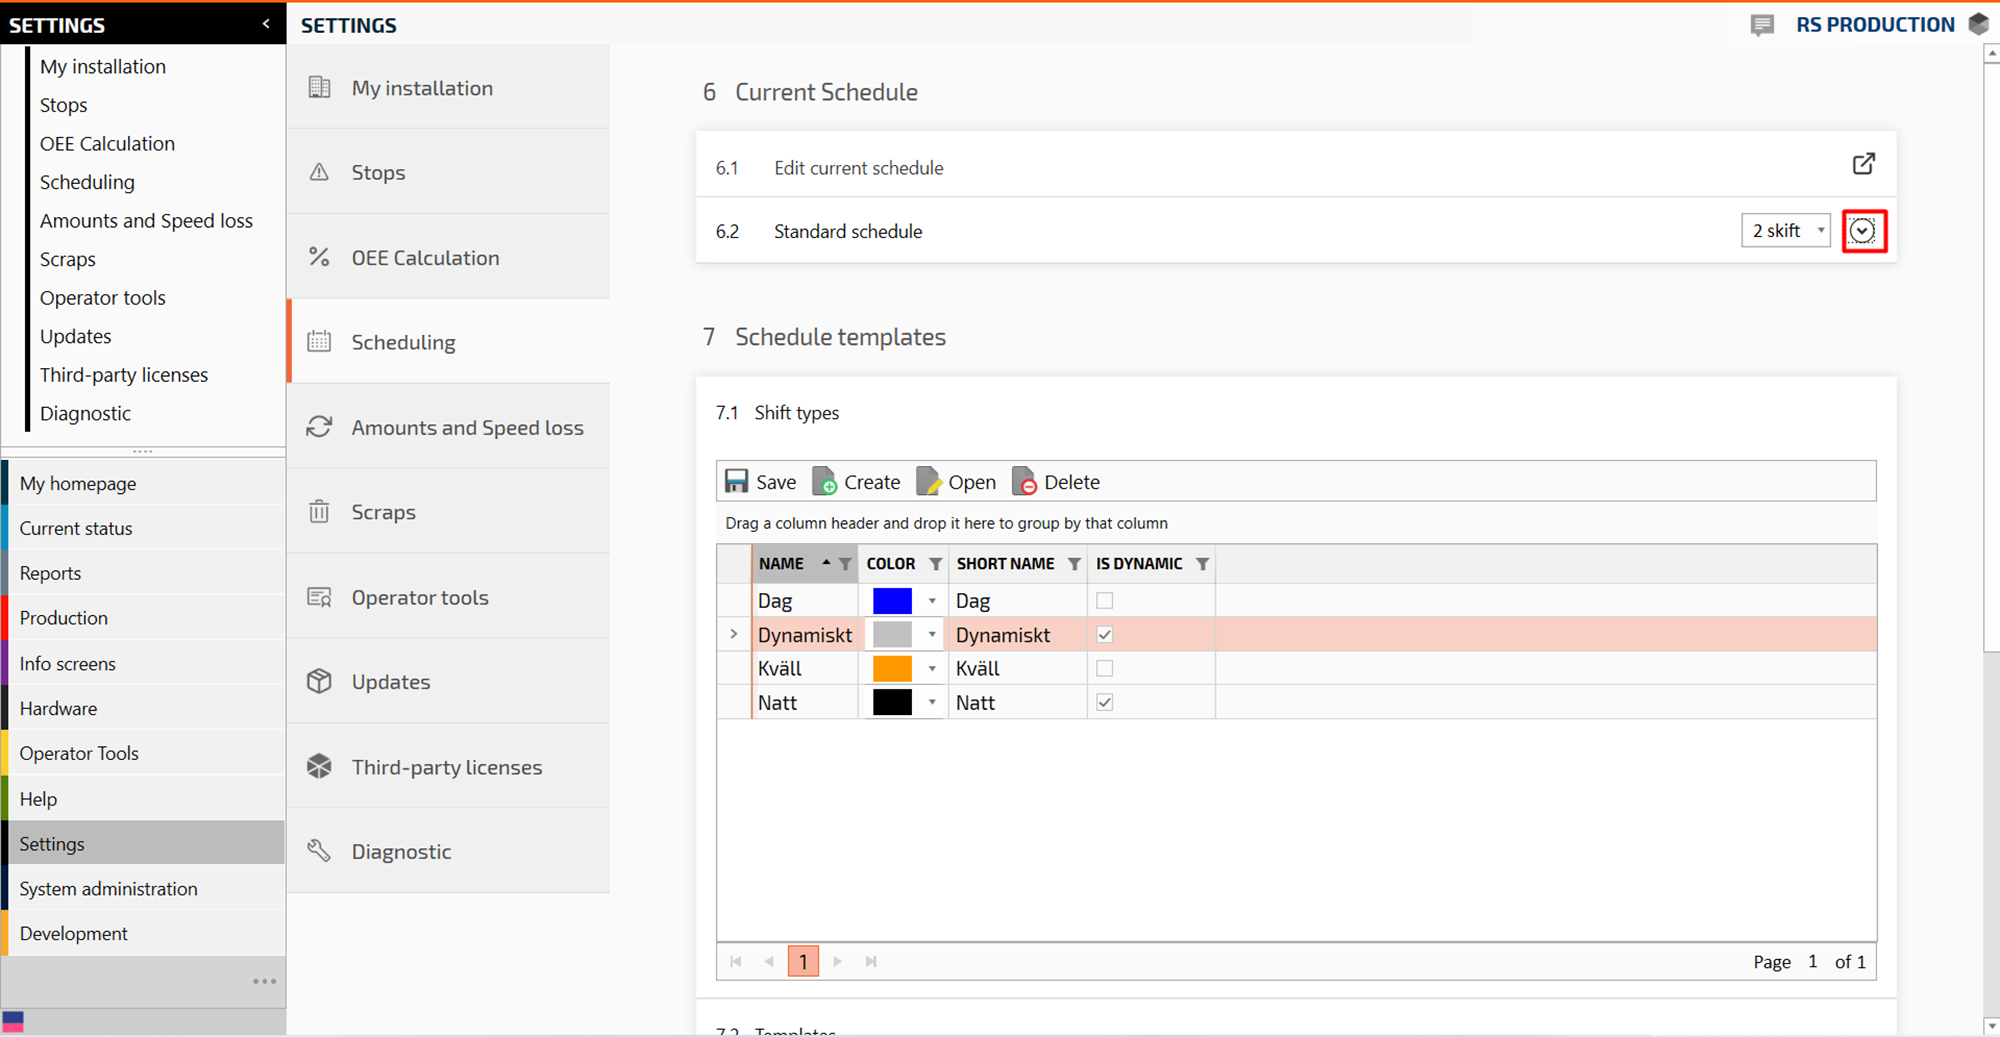
Now there should be a standard schedule for all measure points. Follow the next steps to add another schedule to a specific measure point.
Click on the “arrow down” button to be able to more schedules
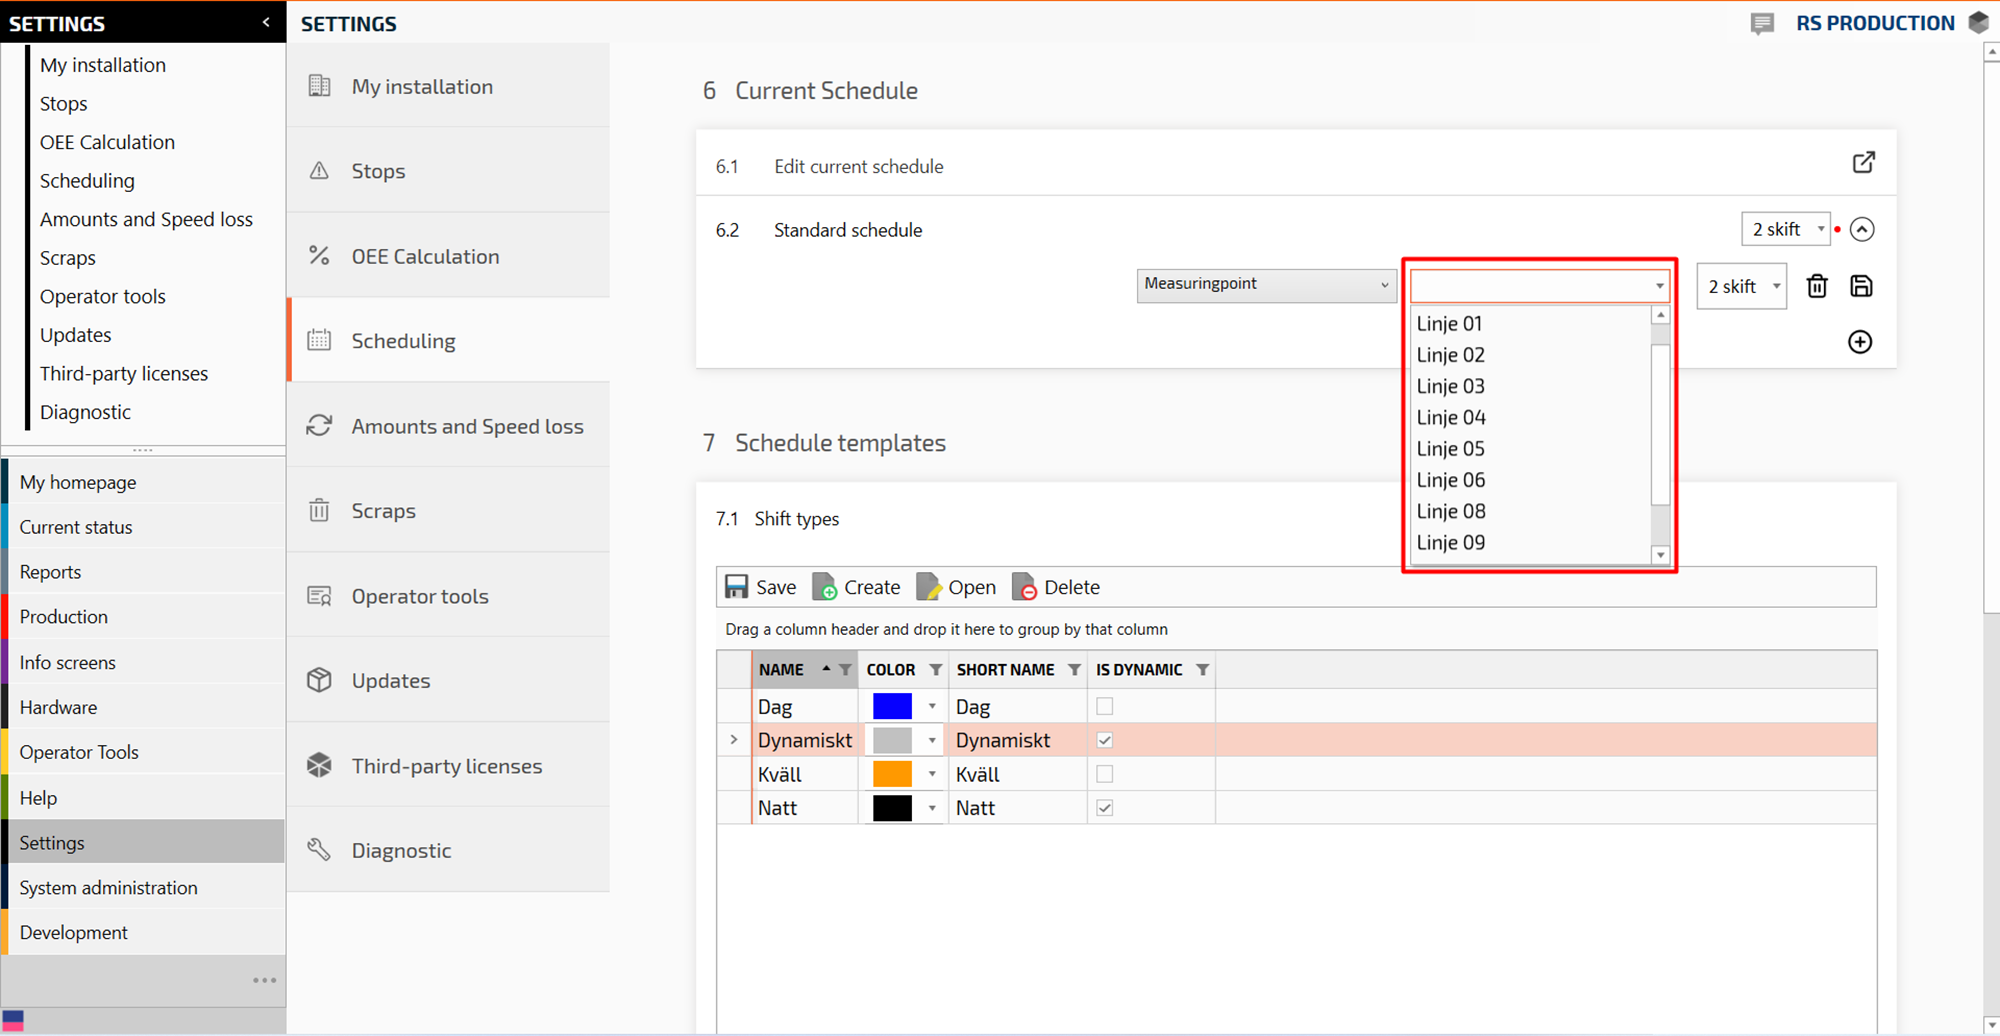
Select measure point in the drop down menu to the left
Select what measure point you want to add the schedule to in the drop down to the right.
Select the schedule you want in the drop down menu
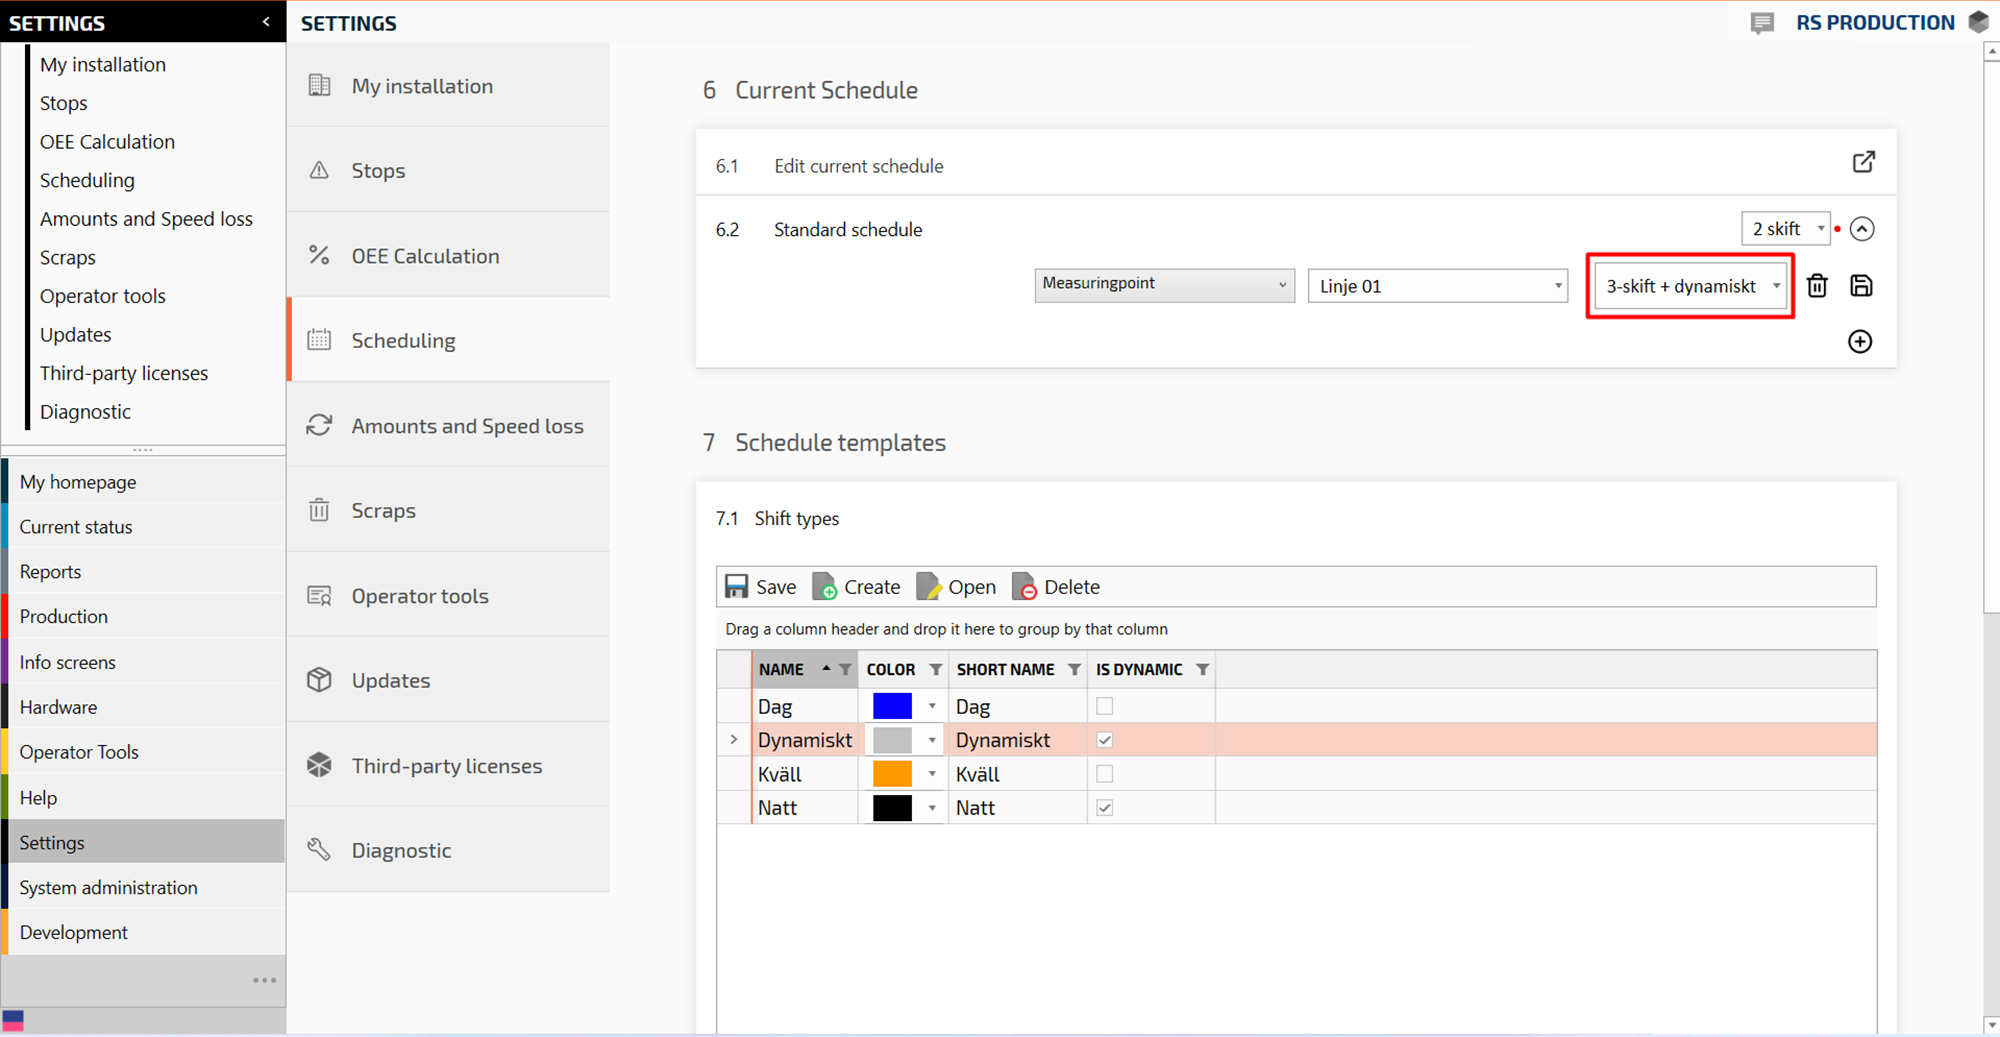
Press the “Save icon” to save the schedule.
It should look like this: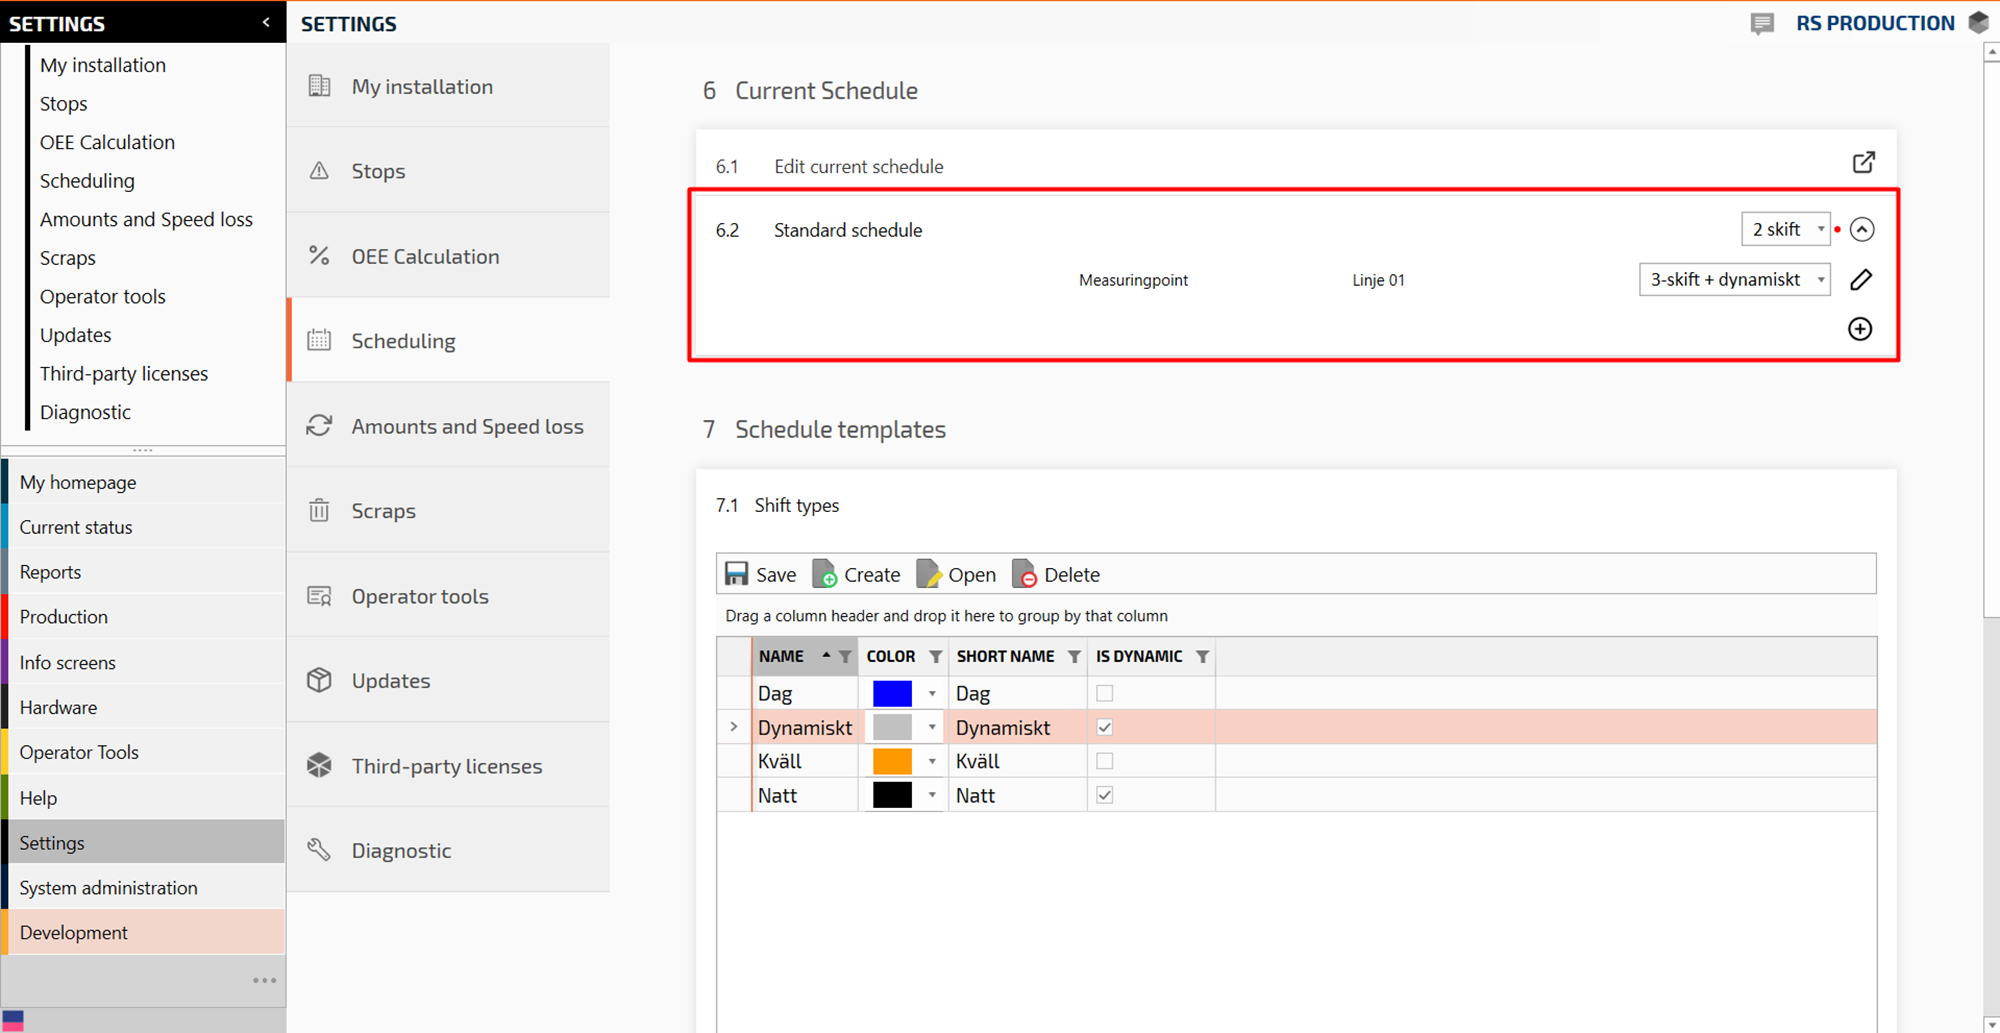
Congratulations! You have connected your schedules 🙂
Connect standard stop reason folder
When connecting a stop reason folder, all the measure points will get the same standard stop reason folder unless you add an exception to a specific measure point.
Step 7-10 shows how to add an exception
Go to Settings
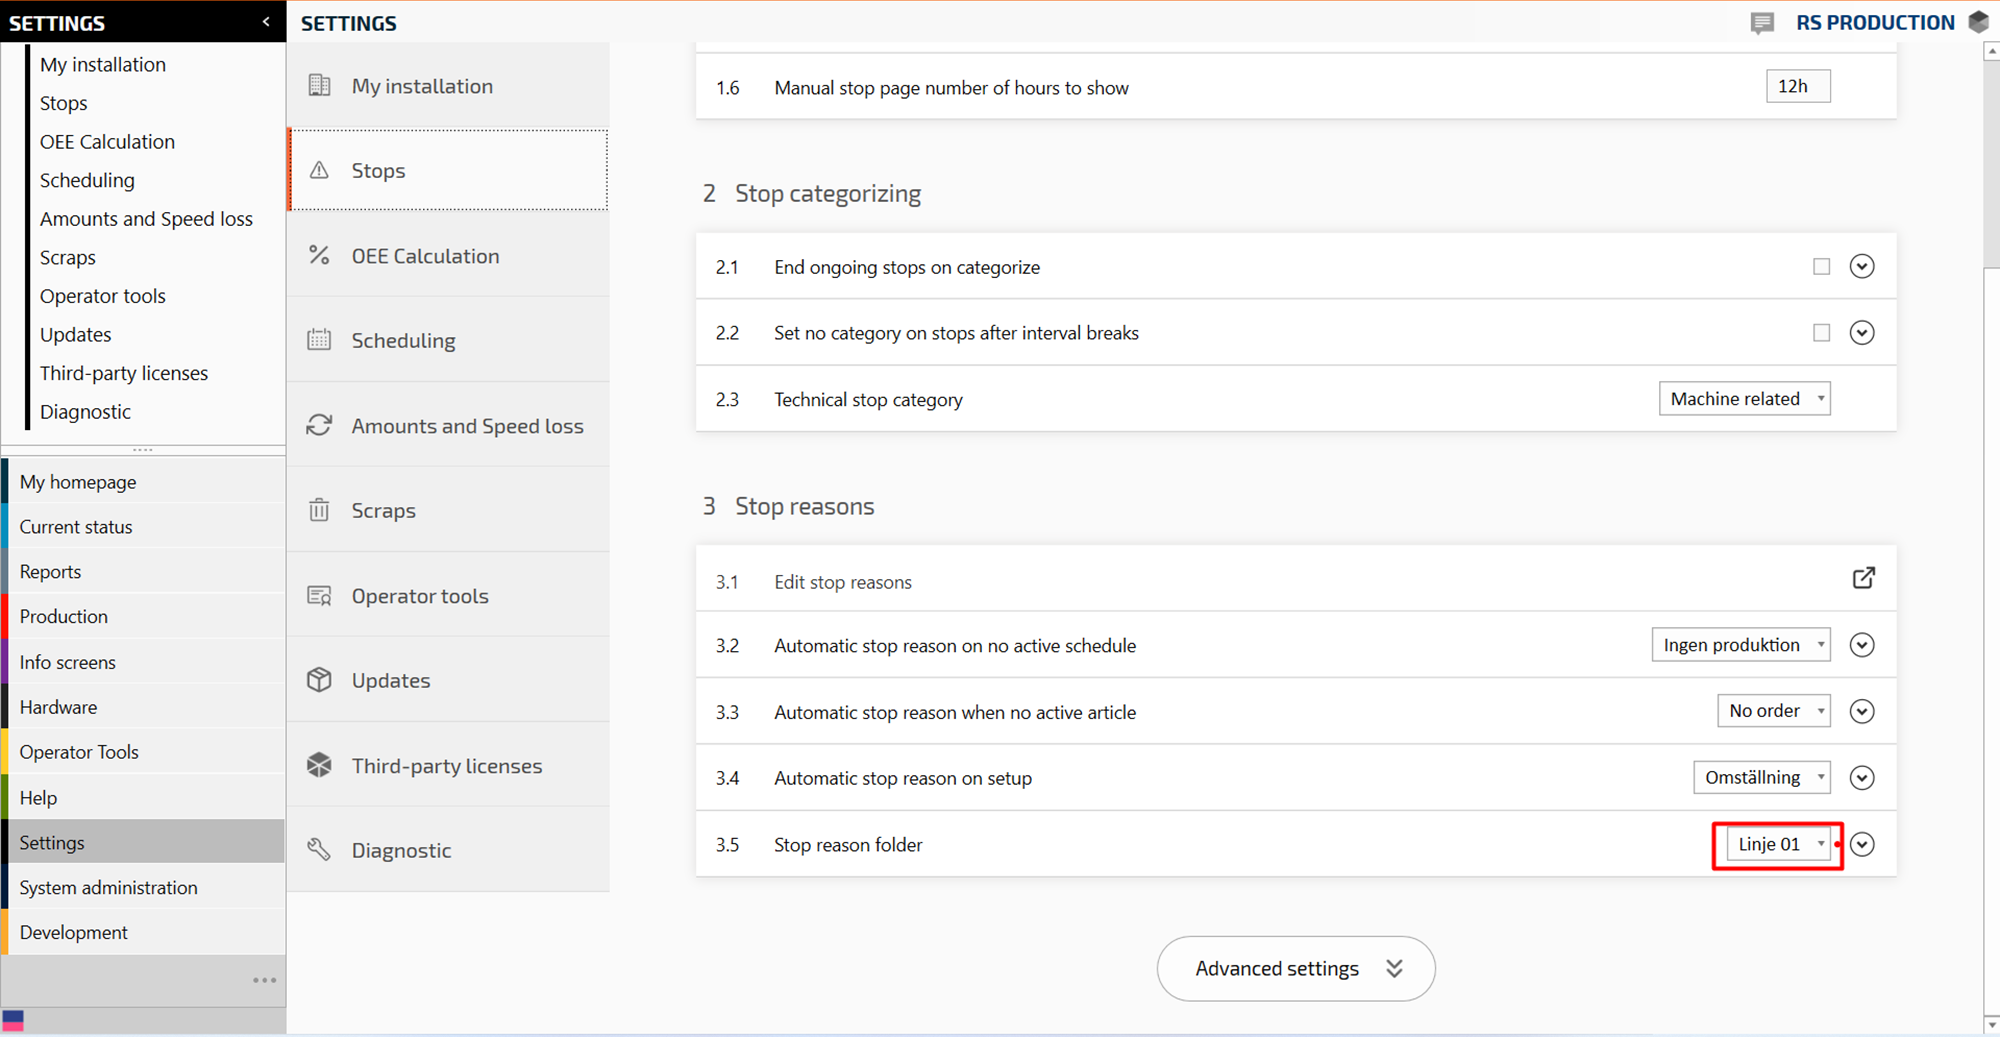
Go to Stops
Go to section “Stop reasons”
Go to “Stop reason folder”
In the drop down menu, select the standard stop reason folder you want for all measure points
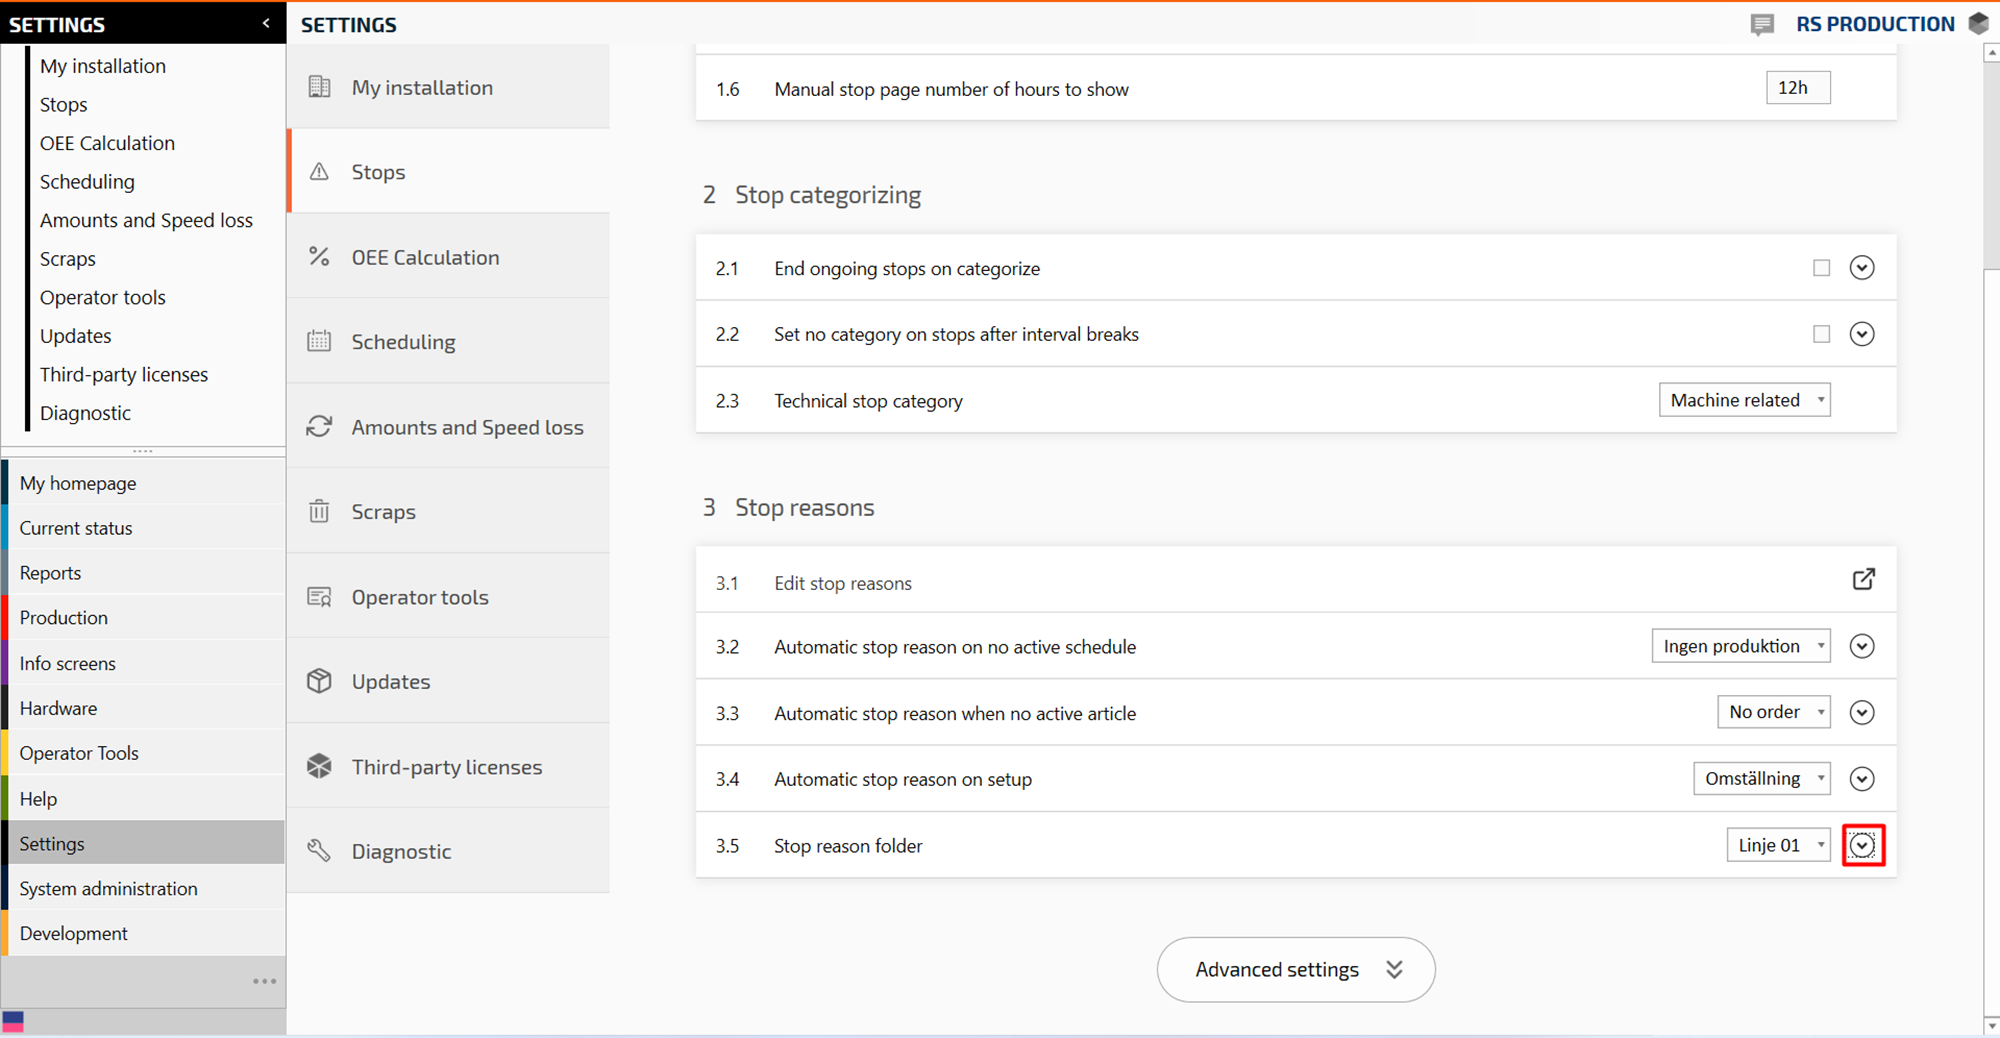
Now there should be a standard stop reason folder for all measure points. Follow the next steps to add another stop reason folder to a specific measure point or section.
Click on the “arrow down” button to be able to more schedules
Select measure point in the drop down menu (or “Section” if you want the same stop reason folder for the entire section)
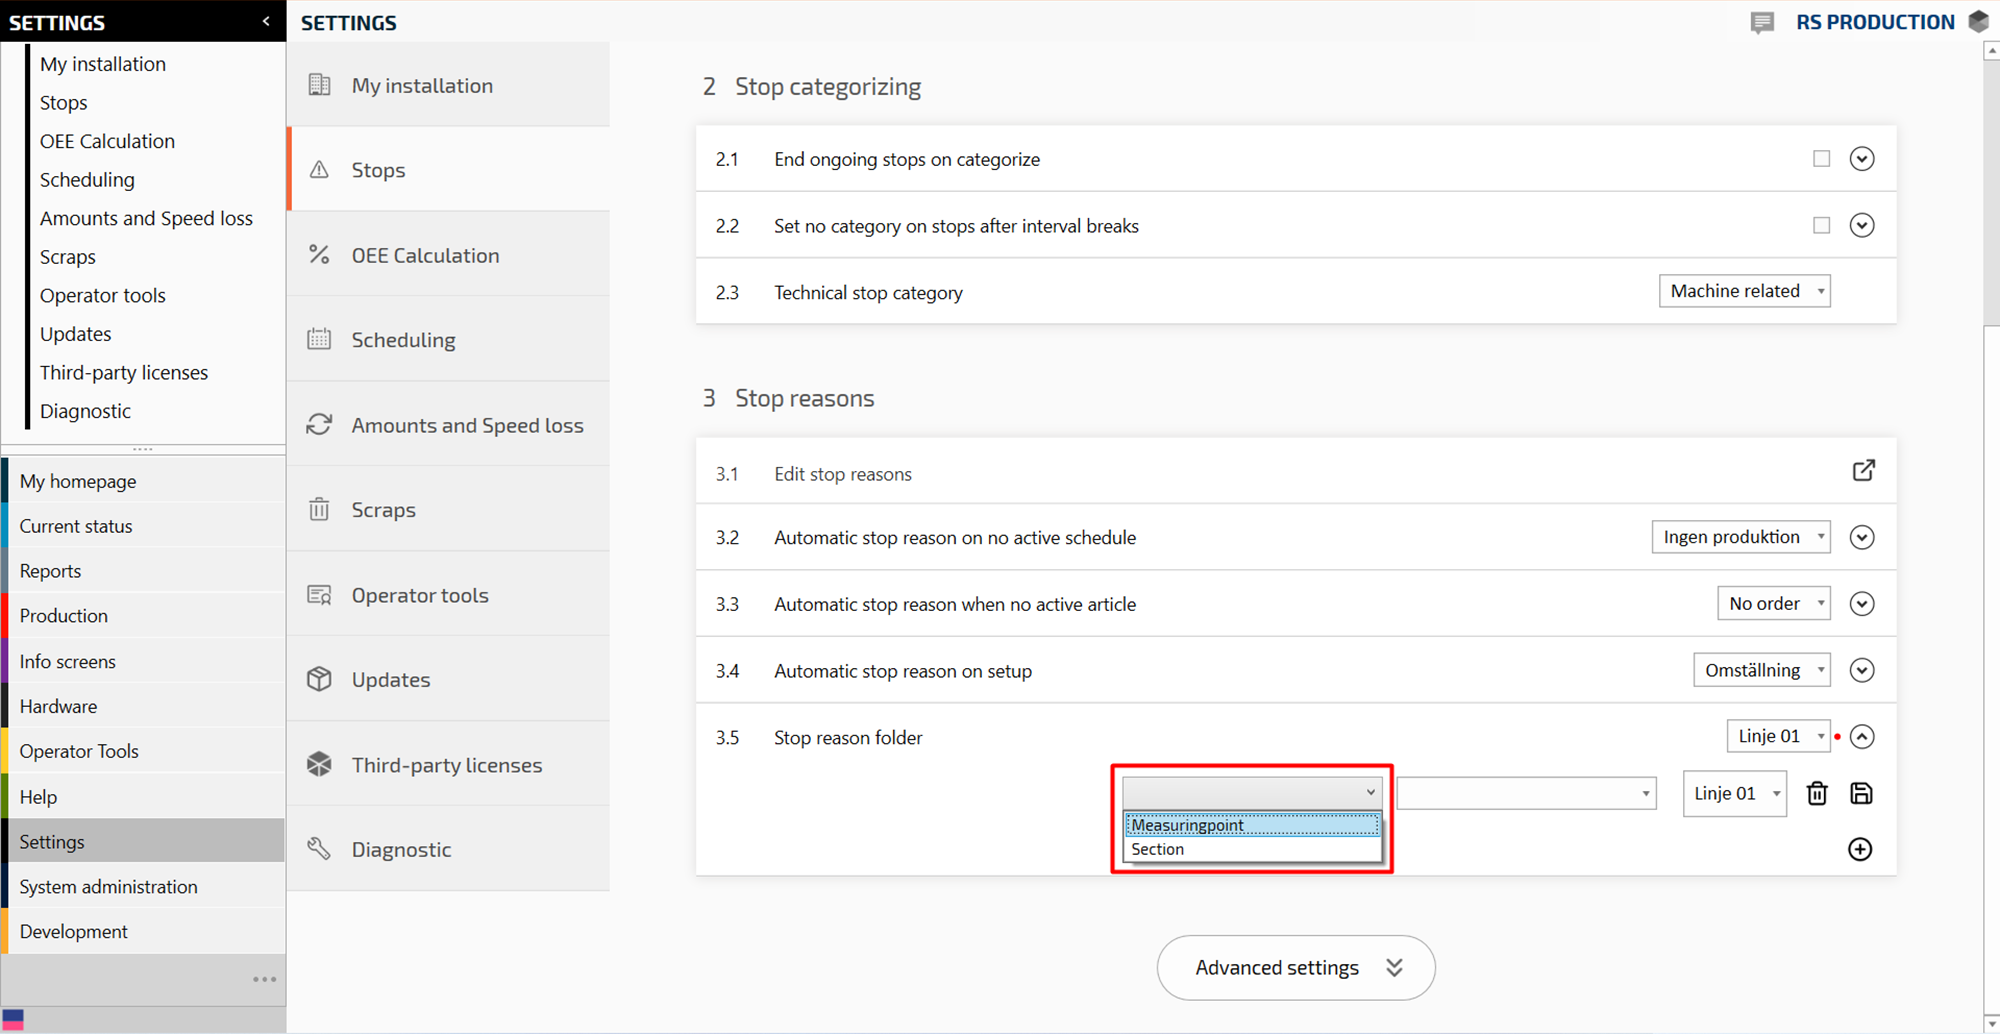
Select the specific measure point (or “Section”)
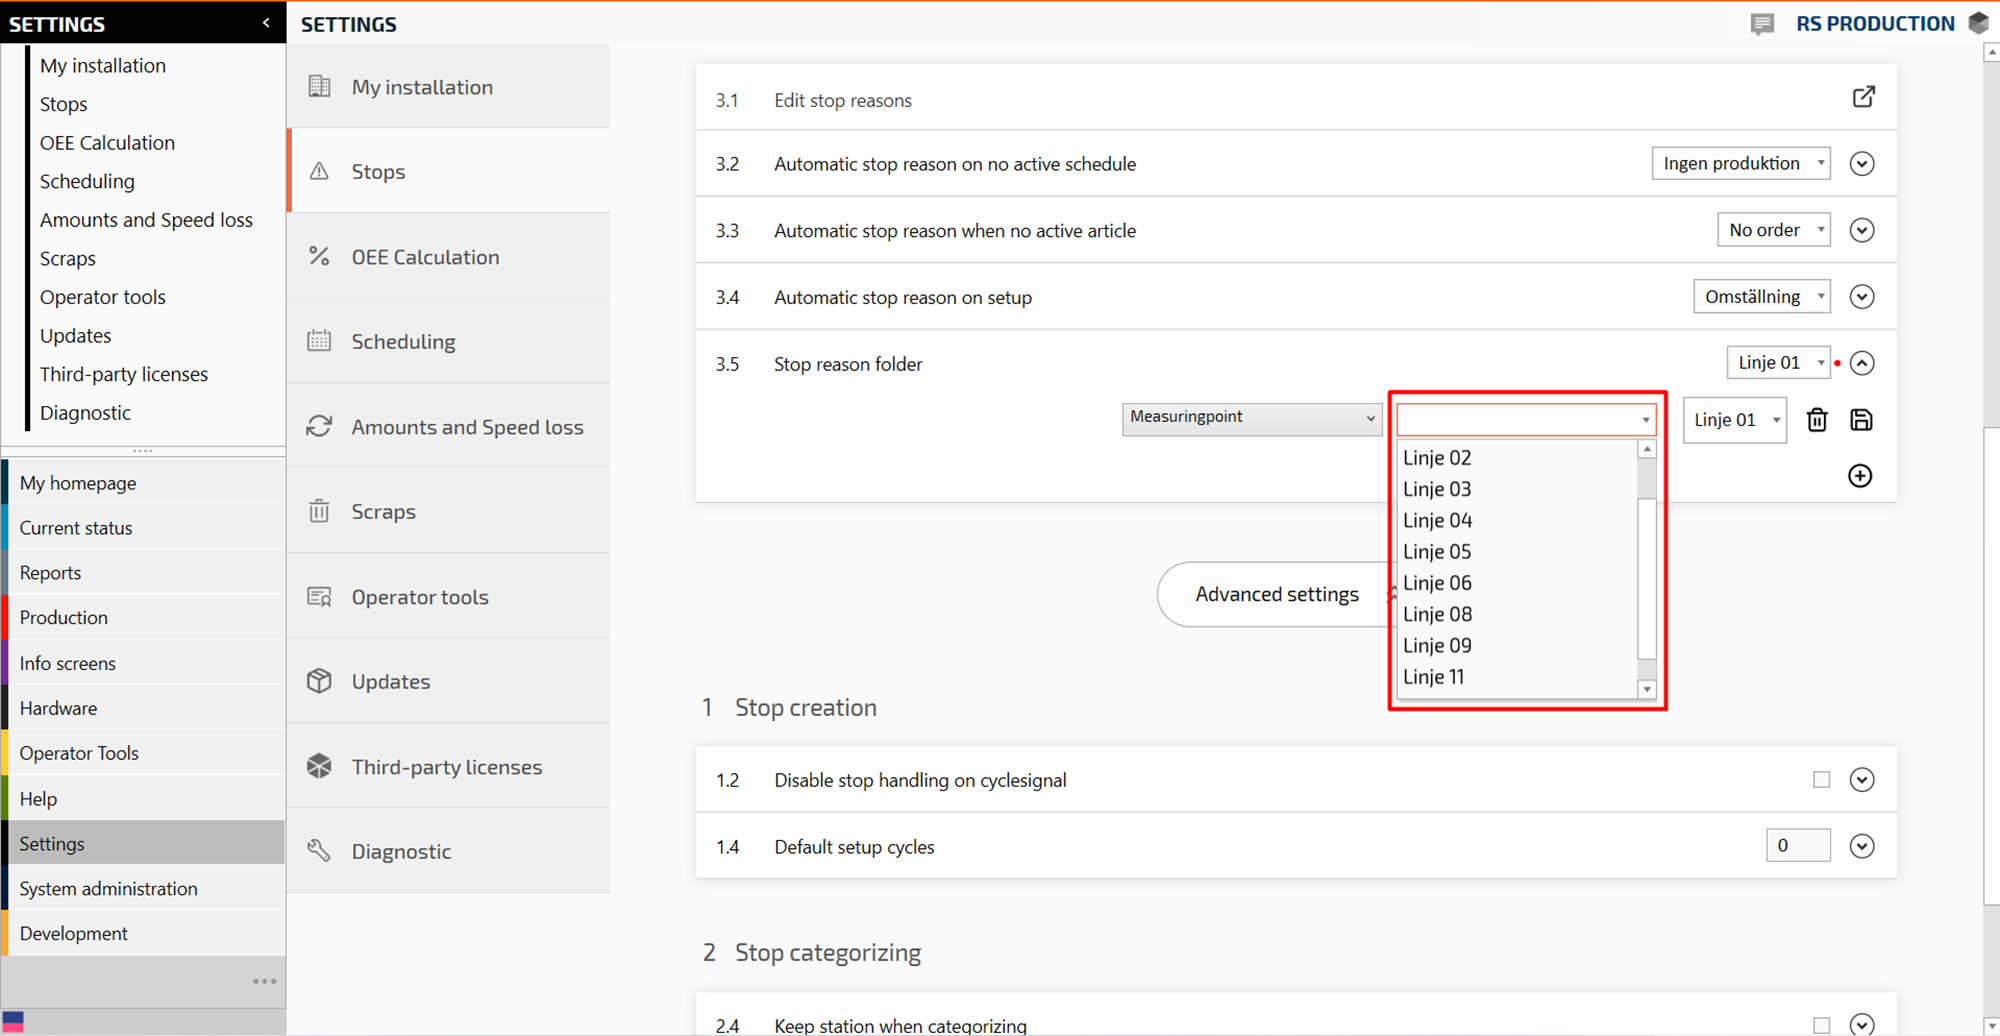
Select the specific stop reason folder
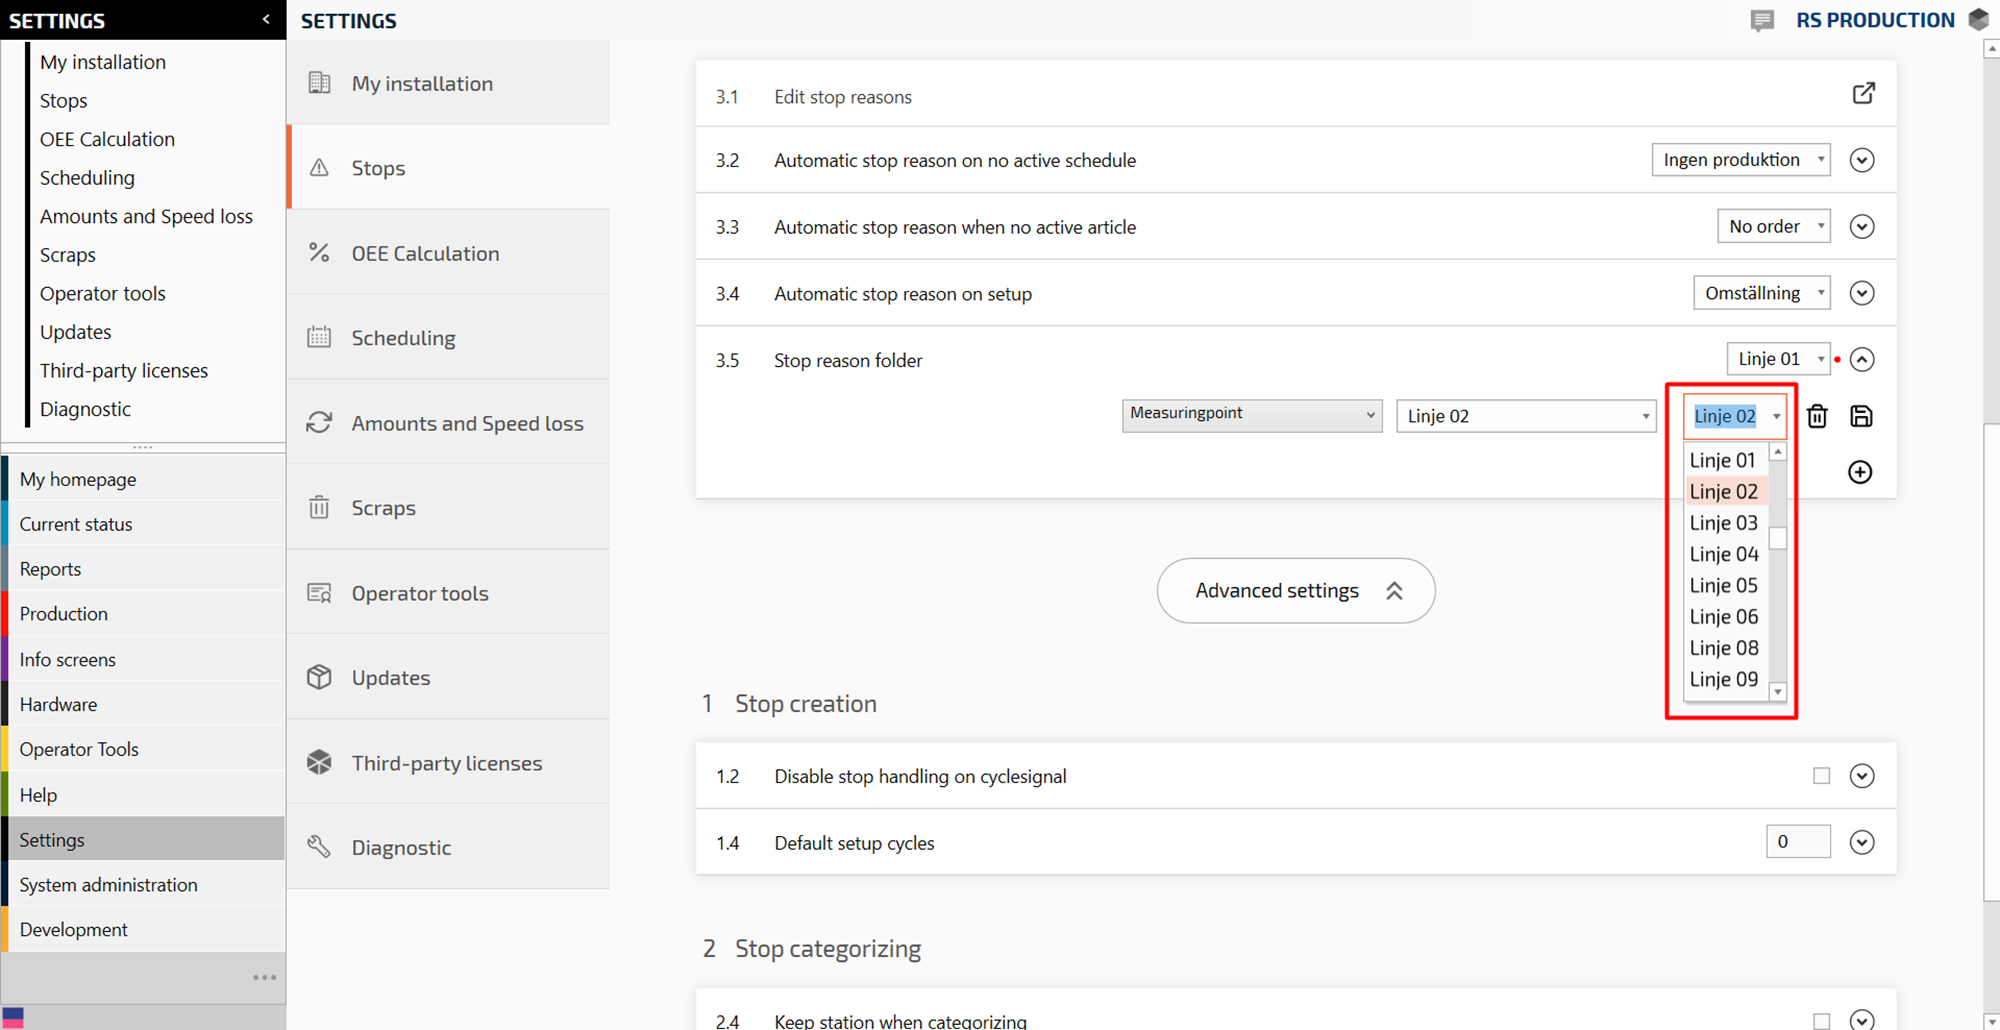
Click on the save icon and it should look like this
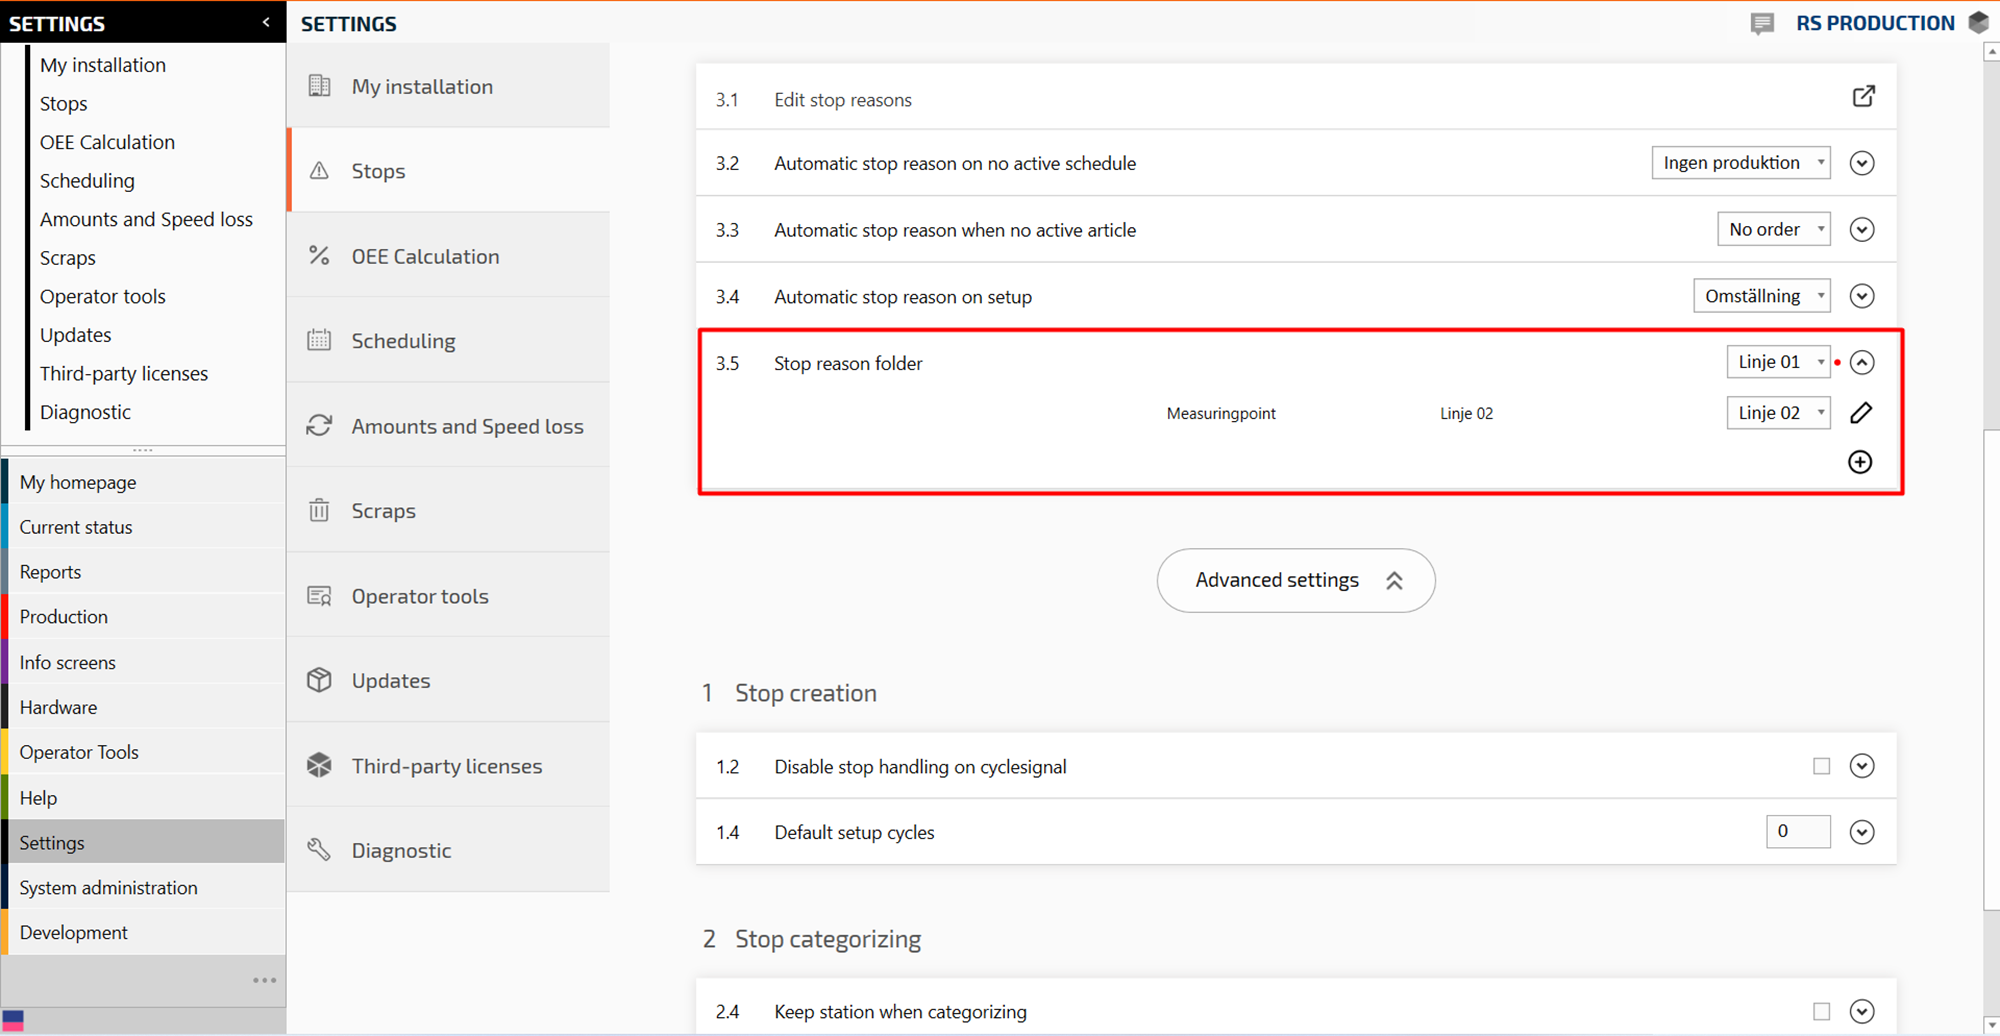
Congratulation! You have added a stop reason folder to your measure points 🙂
Connect articles/orders
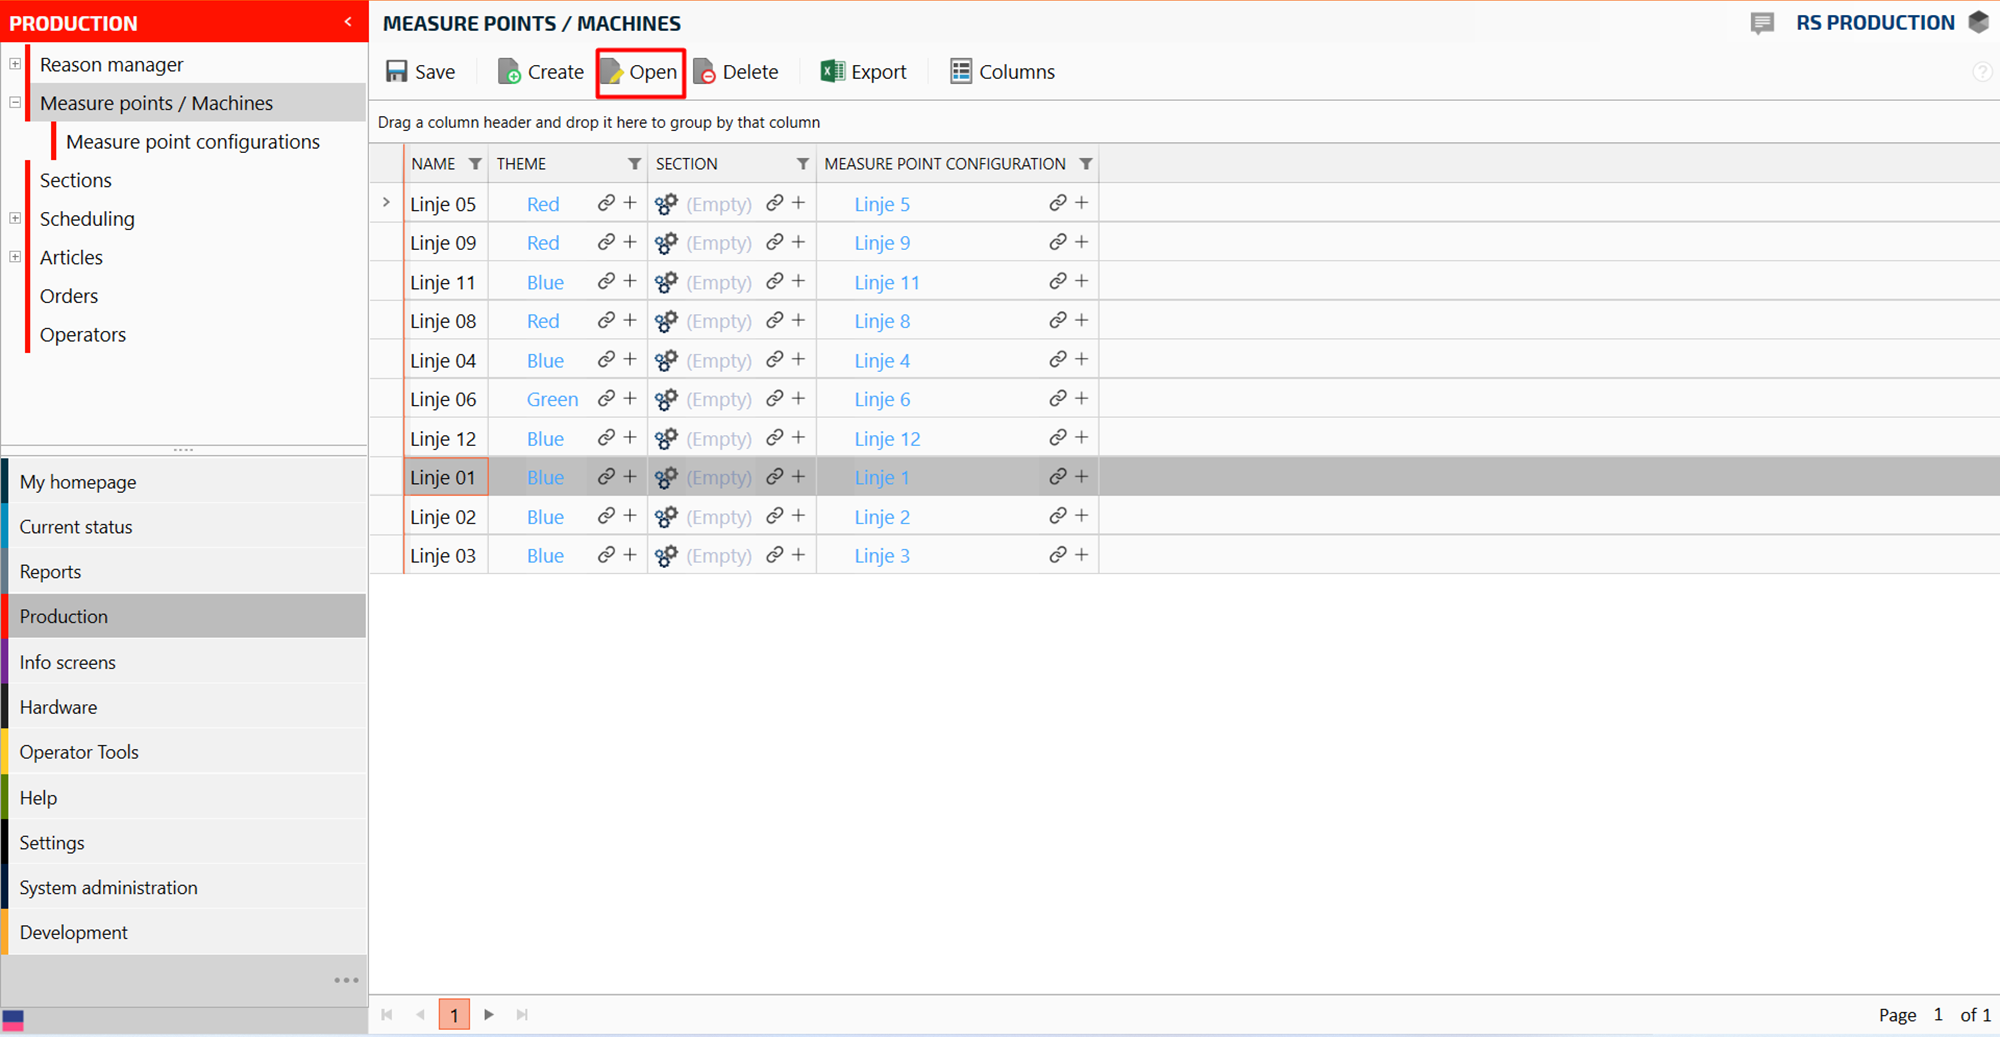
Click on Production on the left side of the menu items in RS Production
Click on Measure points
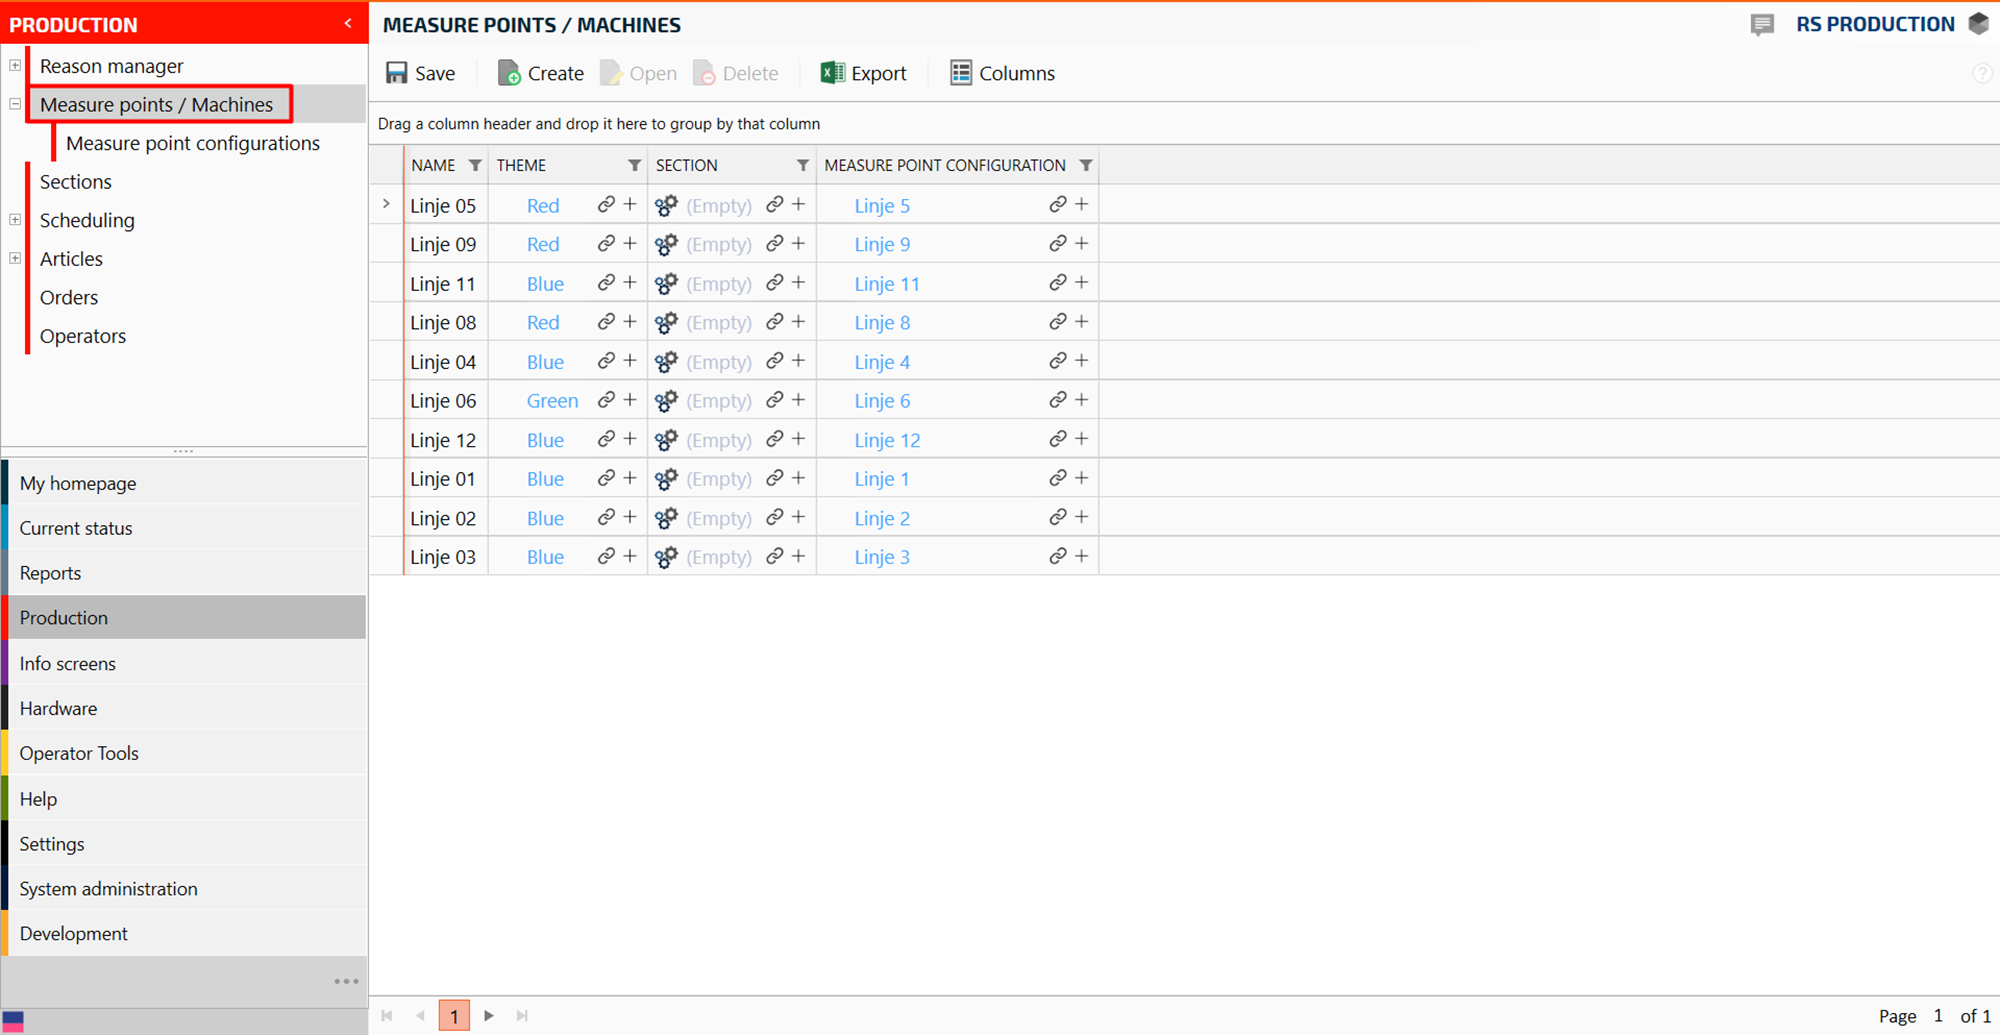
Mark the measure point you want to connect the article to and press “Open”
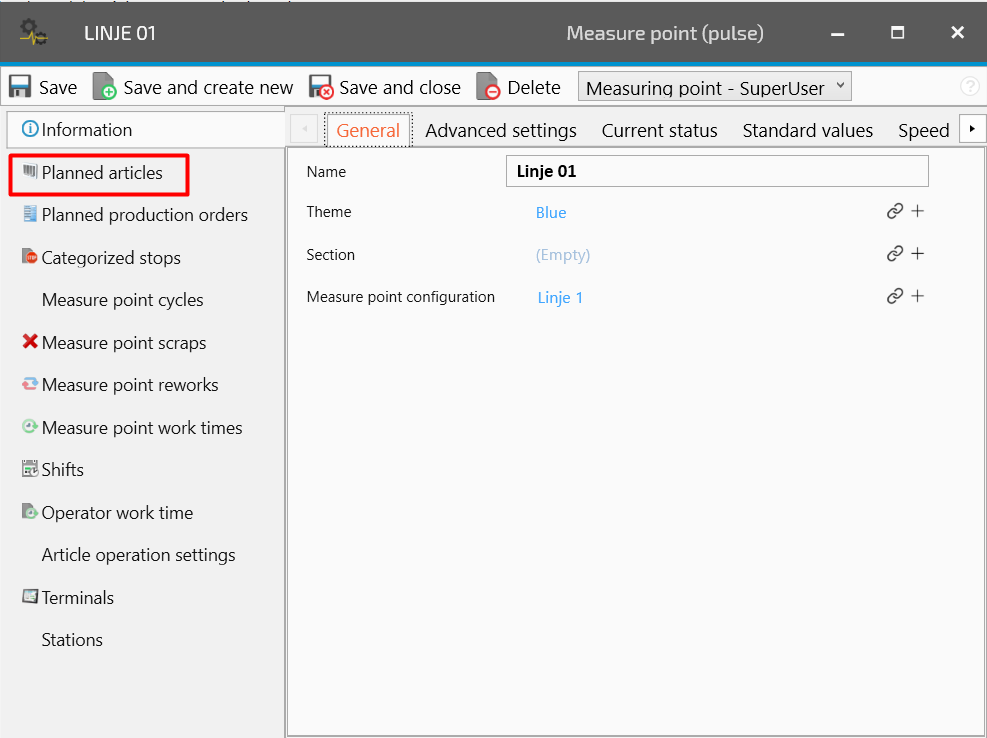
A new window till pop up. Click on “Planned Articles”
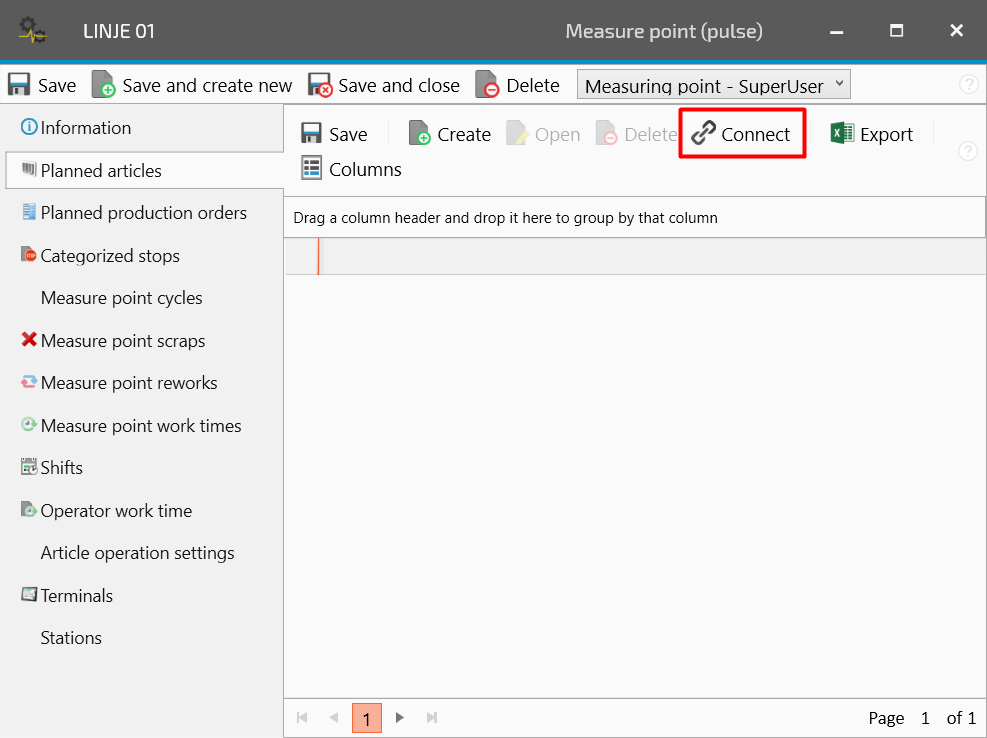
Click on “Connect”
Mark the articles on the left side and press the green arrow to add them as planned articles
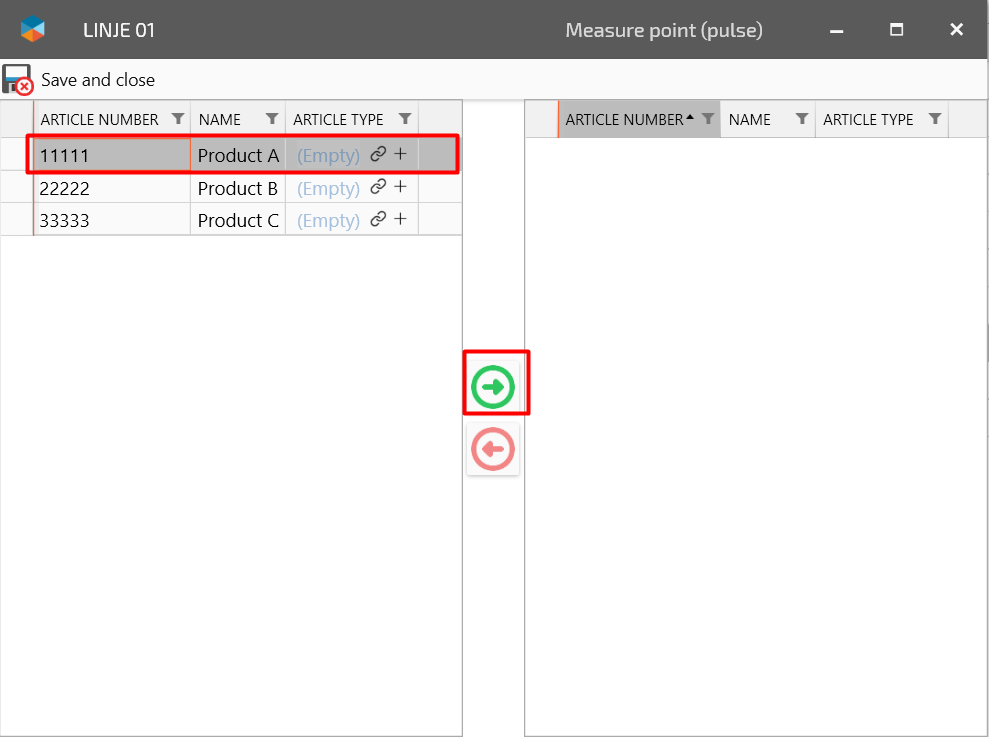
Click “Save and Close”
Now it should look like this
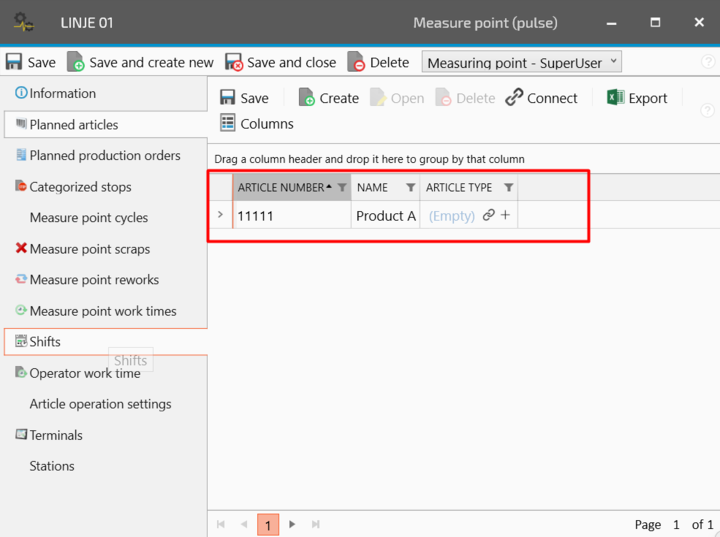
Congratulation! You have now connected an article to a measure point 🙂
If you need to remove an article from a measure point, follow step 6 but press the red arrow on the marked article in the right column to remove it.